From Cluttered Chaos to Functional Storage
How I transformed my unusable shed into organized space on a Saturday.
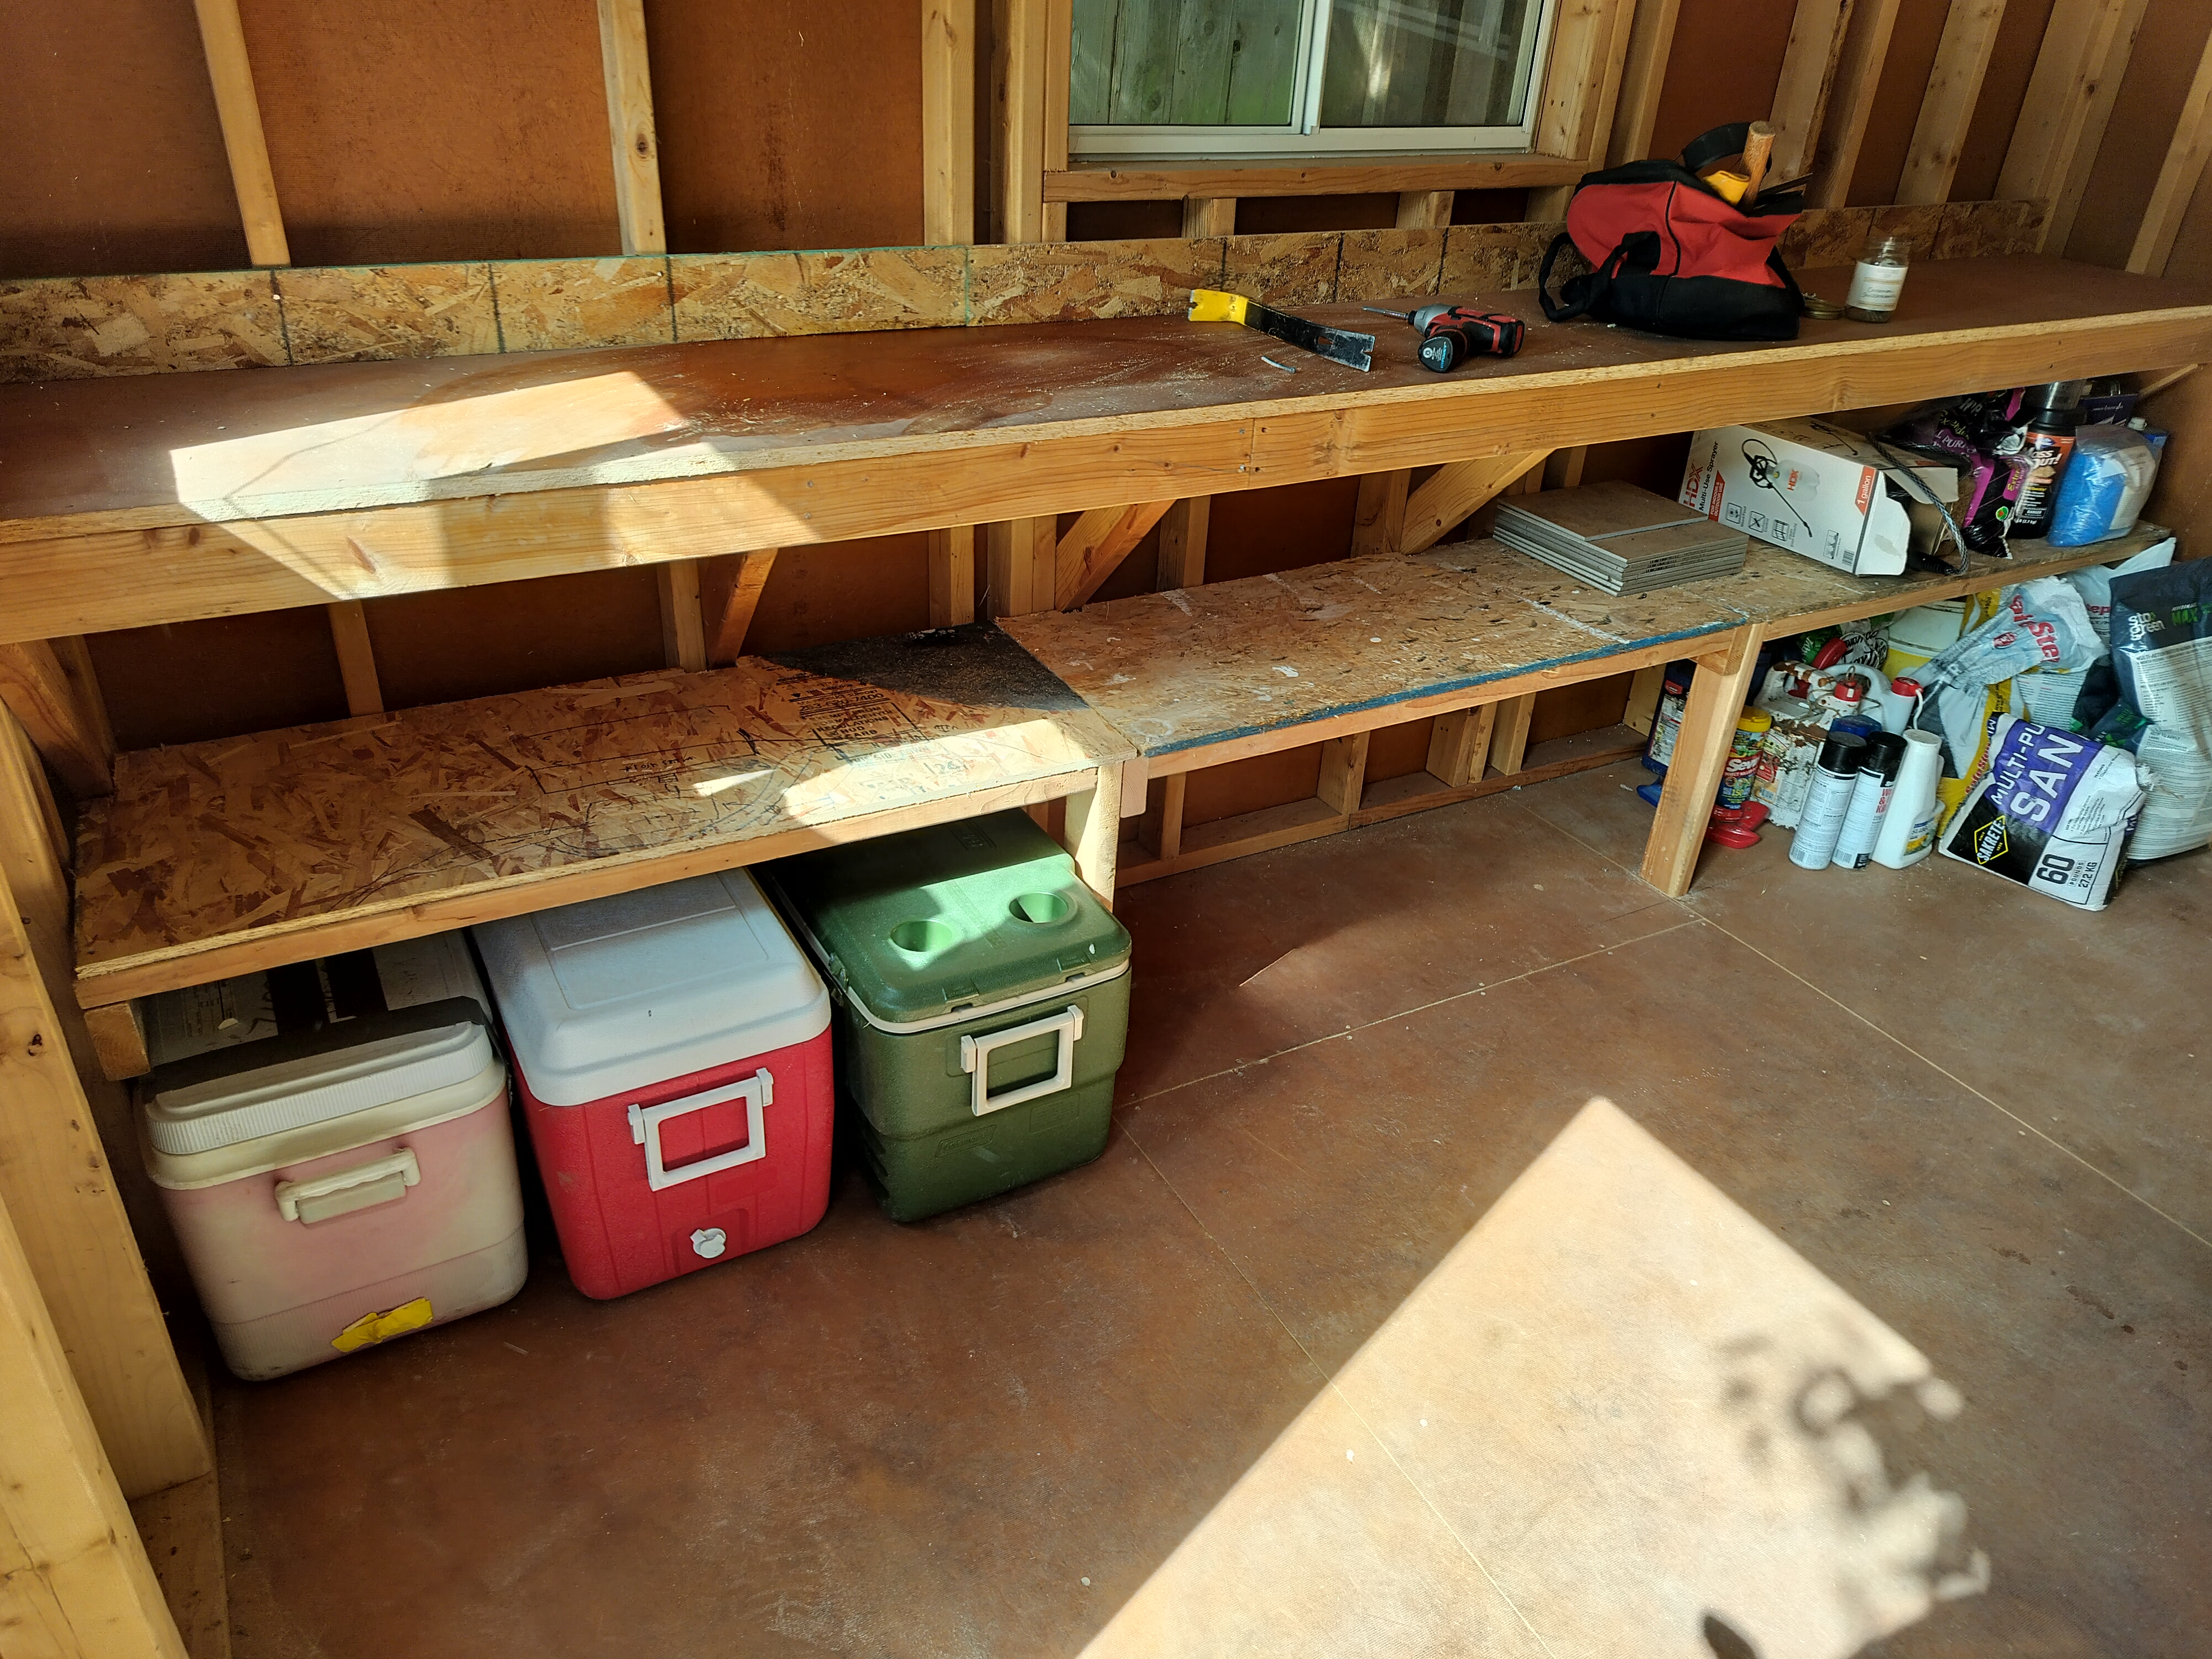
The transformation was dramatic. What had been an unusable, cluttered space where you couldn’t even walk became a clean and organized shed perfect for storing outdoor gear. Garden supplies, tools, and equipment all found their proper homes, with clear walkways and easy access to everything.
But getting there required a complete teardown and rebuild of how I approached shed organization.
The Reality Check
It happened again. The shed’s floor space was completely overtaken by clutter, leaving nowhere left to walk. Garden supplies, outdoor toys, dimensional lumber scraps, lawn tools, and outdoor chemicals had taken over every inch. The shed had become an unusable mess, and organizing it was long overdue.
For some time, we’d wanted to add shelving to make it easier to keep the space organized. But to do that, we needed the shed to be completely empty first—which meant facing the full scope of the problem.
The Strategic Approach
This wasn’t going to be a quick afternoon project. I knew from experience that trying to make “keep or toss” decisions while emptying the space would slow me down too much. So Mariana and I agreed to defer all purging decisions until after the shelves were built and everything was put back in its place.
Game Plan:
- Empty the shed completely
- Build shelving system using scrap lumber
- Add vertical storage solutions
- Reorganize everything with purpose
- Purge what doesn’t fit or belong
This approach meant we could see what we actually had and what we no longer needed, while ensuring our main goal of adding functional storage would be accomplished in one day.
Project Specs & Materials
Time Investment: 8 hours total
- 1.5 hours: Emptying and cleaning
- 3.5 hours: Shelf construction
- 3 hours: Installing wall hooks and organizing
Materials Used:
- Assorted 2x4 lumber scraps (approximately 40 linear feet)
- Leftover MDF sheets for shelf surfaces
- 3” construction screws for the lumber
- 1.25” fencing screws for the surface
- Wall hooks for vertical storage
- Impact driver, circular saw
Total Cost: $0 (used existing materials)
Phase 1: Empty and Assess
Before any building could begin, Mariana and I removed everything from the shed and gave the floors a good sweep. It was tempting to start sorting through items, but we stuck to our plan and just focused on creating a clean workspace. All nails that were being used to hang things were removed.
What I learned: Keep decision making light while we clear. Emptying first and organizing later feels faster and more effective than trying to do both simultaneously. I started a “purge pile” for obvious discards, but didn’t dwell on borderline decisions—those could wait.
Phase 2: Design the Storage System
The ideal location for new shelves was under the existing workbench. I’ve kept most of my “good” wood scraps over the years, so I had plenty of 2x4s to choose from for the project.
My Design Criteria:
- Use 2x4s around the shelf perimeter for strength
- Attach end supports directly to wall framing
- Add middle legs for extra support
- Position outward facing lumber with the narrow edge facing out for more space
- Locate the shelf midway between floor and workbench and have enough clearance on the floor for coolers.
What I learned: Plan for imperfection. Like many shed structures, my walls and floors aren’t perfectly square or level. I worked around this by taking measurements that would make the front edge of the shelf the same depth as my workbench. Using a 4-foot level, I marked the floor where the front edge would sit, then used that as the basis for all other measurements. This prevented frustration and gave me better results.
Phase 3: Construction Sequence
I planned the joints so the screw heads would be hidden from view, and used construction screws with an impact wrench for strong, quick assembly.
My Assembly Steps:
- Started with a 2x4 across the back wall
- Built the back corner frame
- Repeated the design for the front corner
- Closed off the middle span with one final 2x4
- Ripped leftover MDF board for the shelf surfaces
- Screwed the MDF into the completed frame
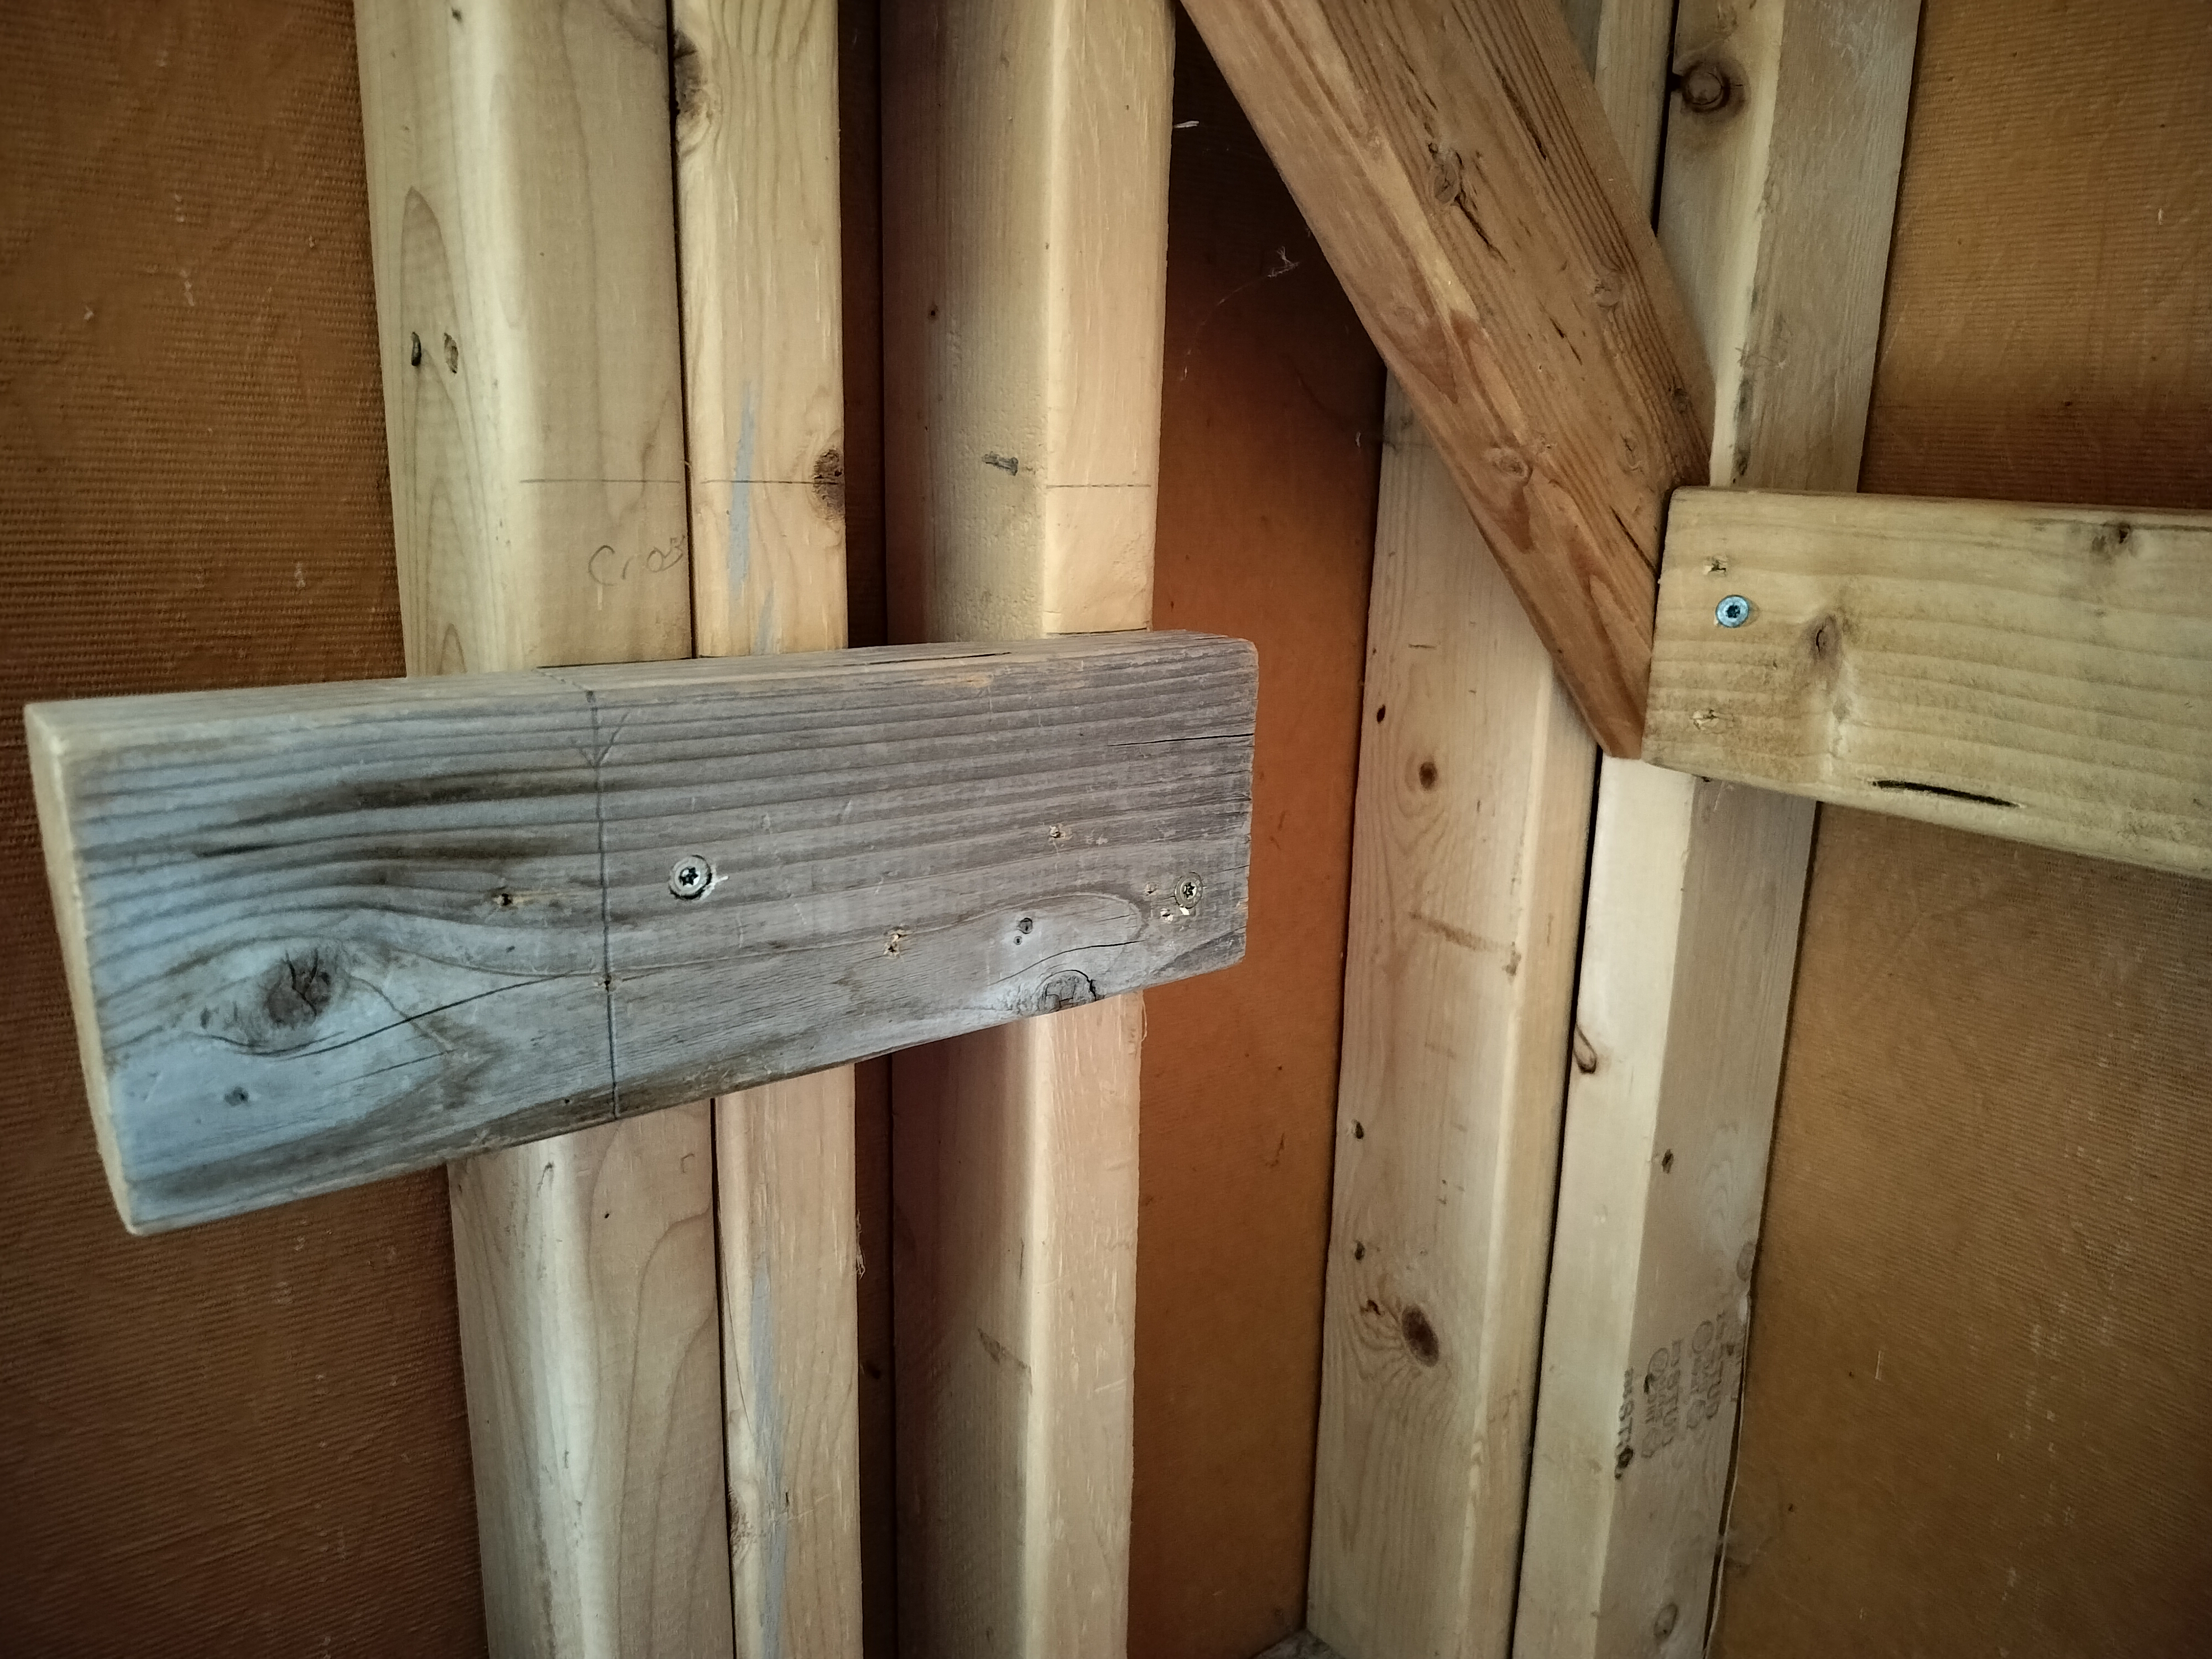
For the wall joints, I positioned the 2x4 supports one board length lower so the front edge could rest flat on top—a detail that made the whole structure more stable while maximizing the usable space.
Something I learned: I built it in smaller sections rather than trying to measure and cut everything up-front. I didn’t have any drawings or plans to follow so I found this approach suitable. It avoided the “analysis paralysis” problem that plagues many of my DIY projects.
Phase 4: Vertical Storage Solutions
Beyond the main shelving, I added wall hooks to hang ladders and a small kayak. These vertical storage solutions freed up even more floor space and kept frequently used items easily accessible.
What struck me: Wall hooks and overhead storage turned out to be just as valuable as shelving for maximizing space efficiency. I hadn’t fully appreciated how much could hang versus what needed to sit on shelves. Both ladders fit on one set of hooks!
Phase 5: Strategic Organization
The new shelving system provides ample storage while maintaining clear walkways and easy access to everything. When it came time to put things back, it became immediately obvious which items we no longer needed—exactly as we’d planned.
I managed to get all the important items put away before dinner time, leaving just the final organization touches for the next day.
Key Lessons for Future Projects
Work with what you have. Using scrap lumber and existing materials kept costs at zero while creating a sturdy, functional solution. Sometimes the best projects come from creatively using what’s already in your workshop.
Tool organization matters. Most of my projects happen on nights or weekends, when I’m already tired. I often spend too much time looking for tools instead of using them. A toolbelt and organized tool bags make a huge difference in productivity.
Plan for cleanup time. Finishing earlier and planning more time for organizing and putting tools away would be wiser. A disorganized start to the next project makes it much harder to get momentum going.
The Bottom Line
This project reinforced that organization requires both physical solutions and process discipline. The shelving created the structure needed for long-term organization, but the methodical approach—empty first, build second, organize third—made the difference between a weekend project and a month-long ordeal.
The shed is now a functional space that actually serves its purpose. Garden tools have designated spots, seasonal items are easily accessible, and there’s room to walk around and work. Most importantly, everything has a place, which makes it much easier to keep organized going forward.
Next up: The garage needs similar attention, and we’re planning pegboard for the garden hand tools. But for now, I’m enjoying having one completely organized outbuilding—and the satisfaction of building exactly what we needed with materials that were already on hand.
Photo Gallery
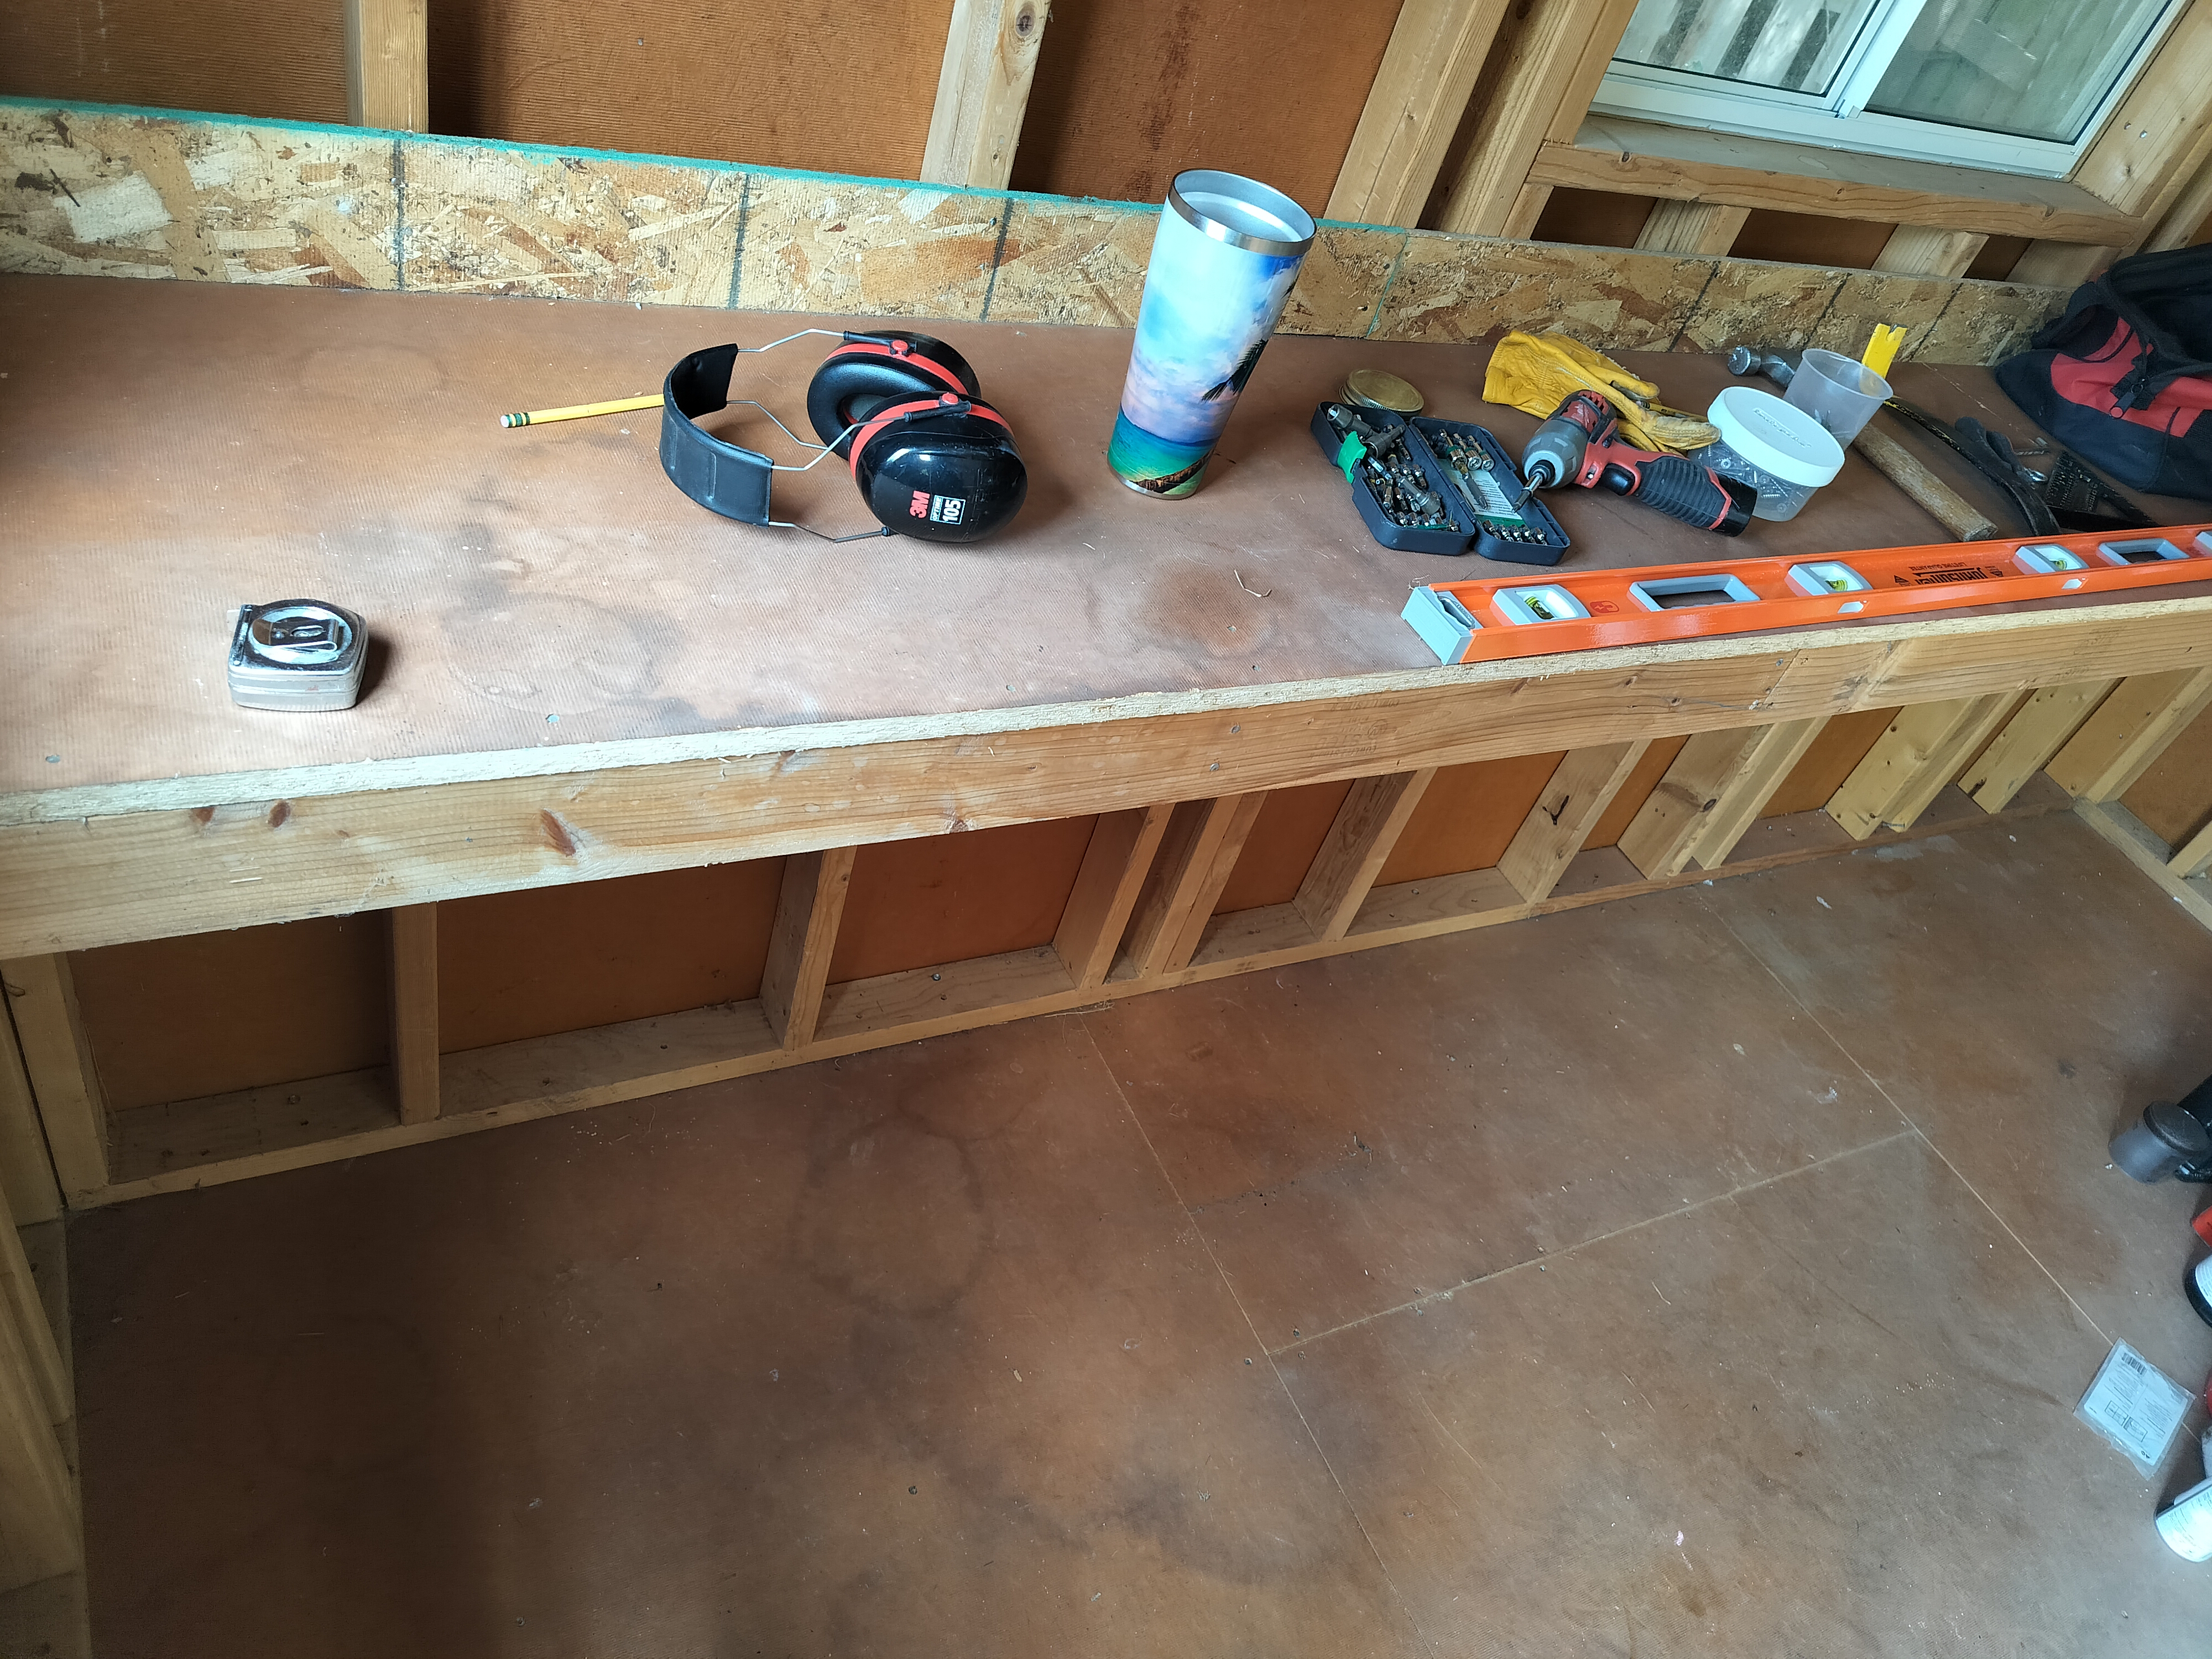
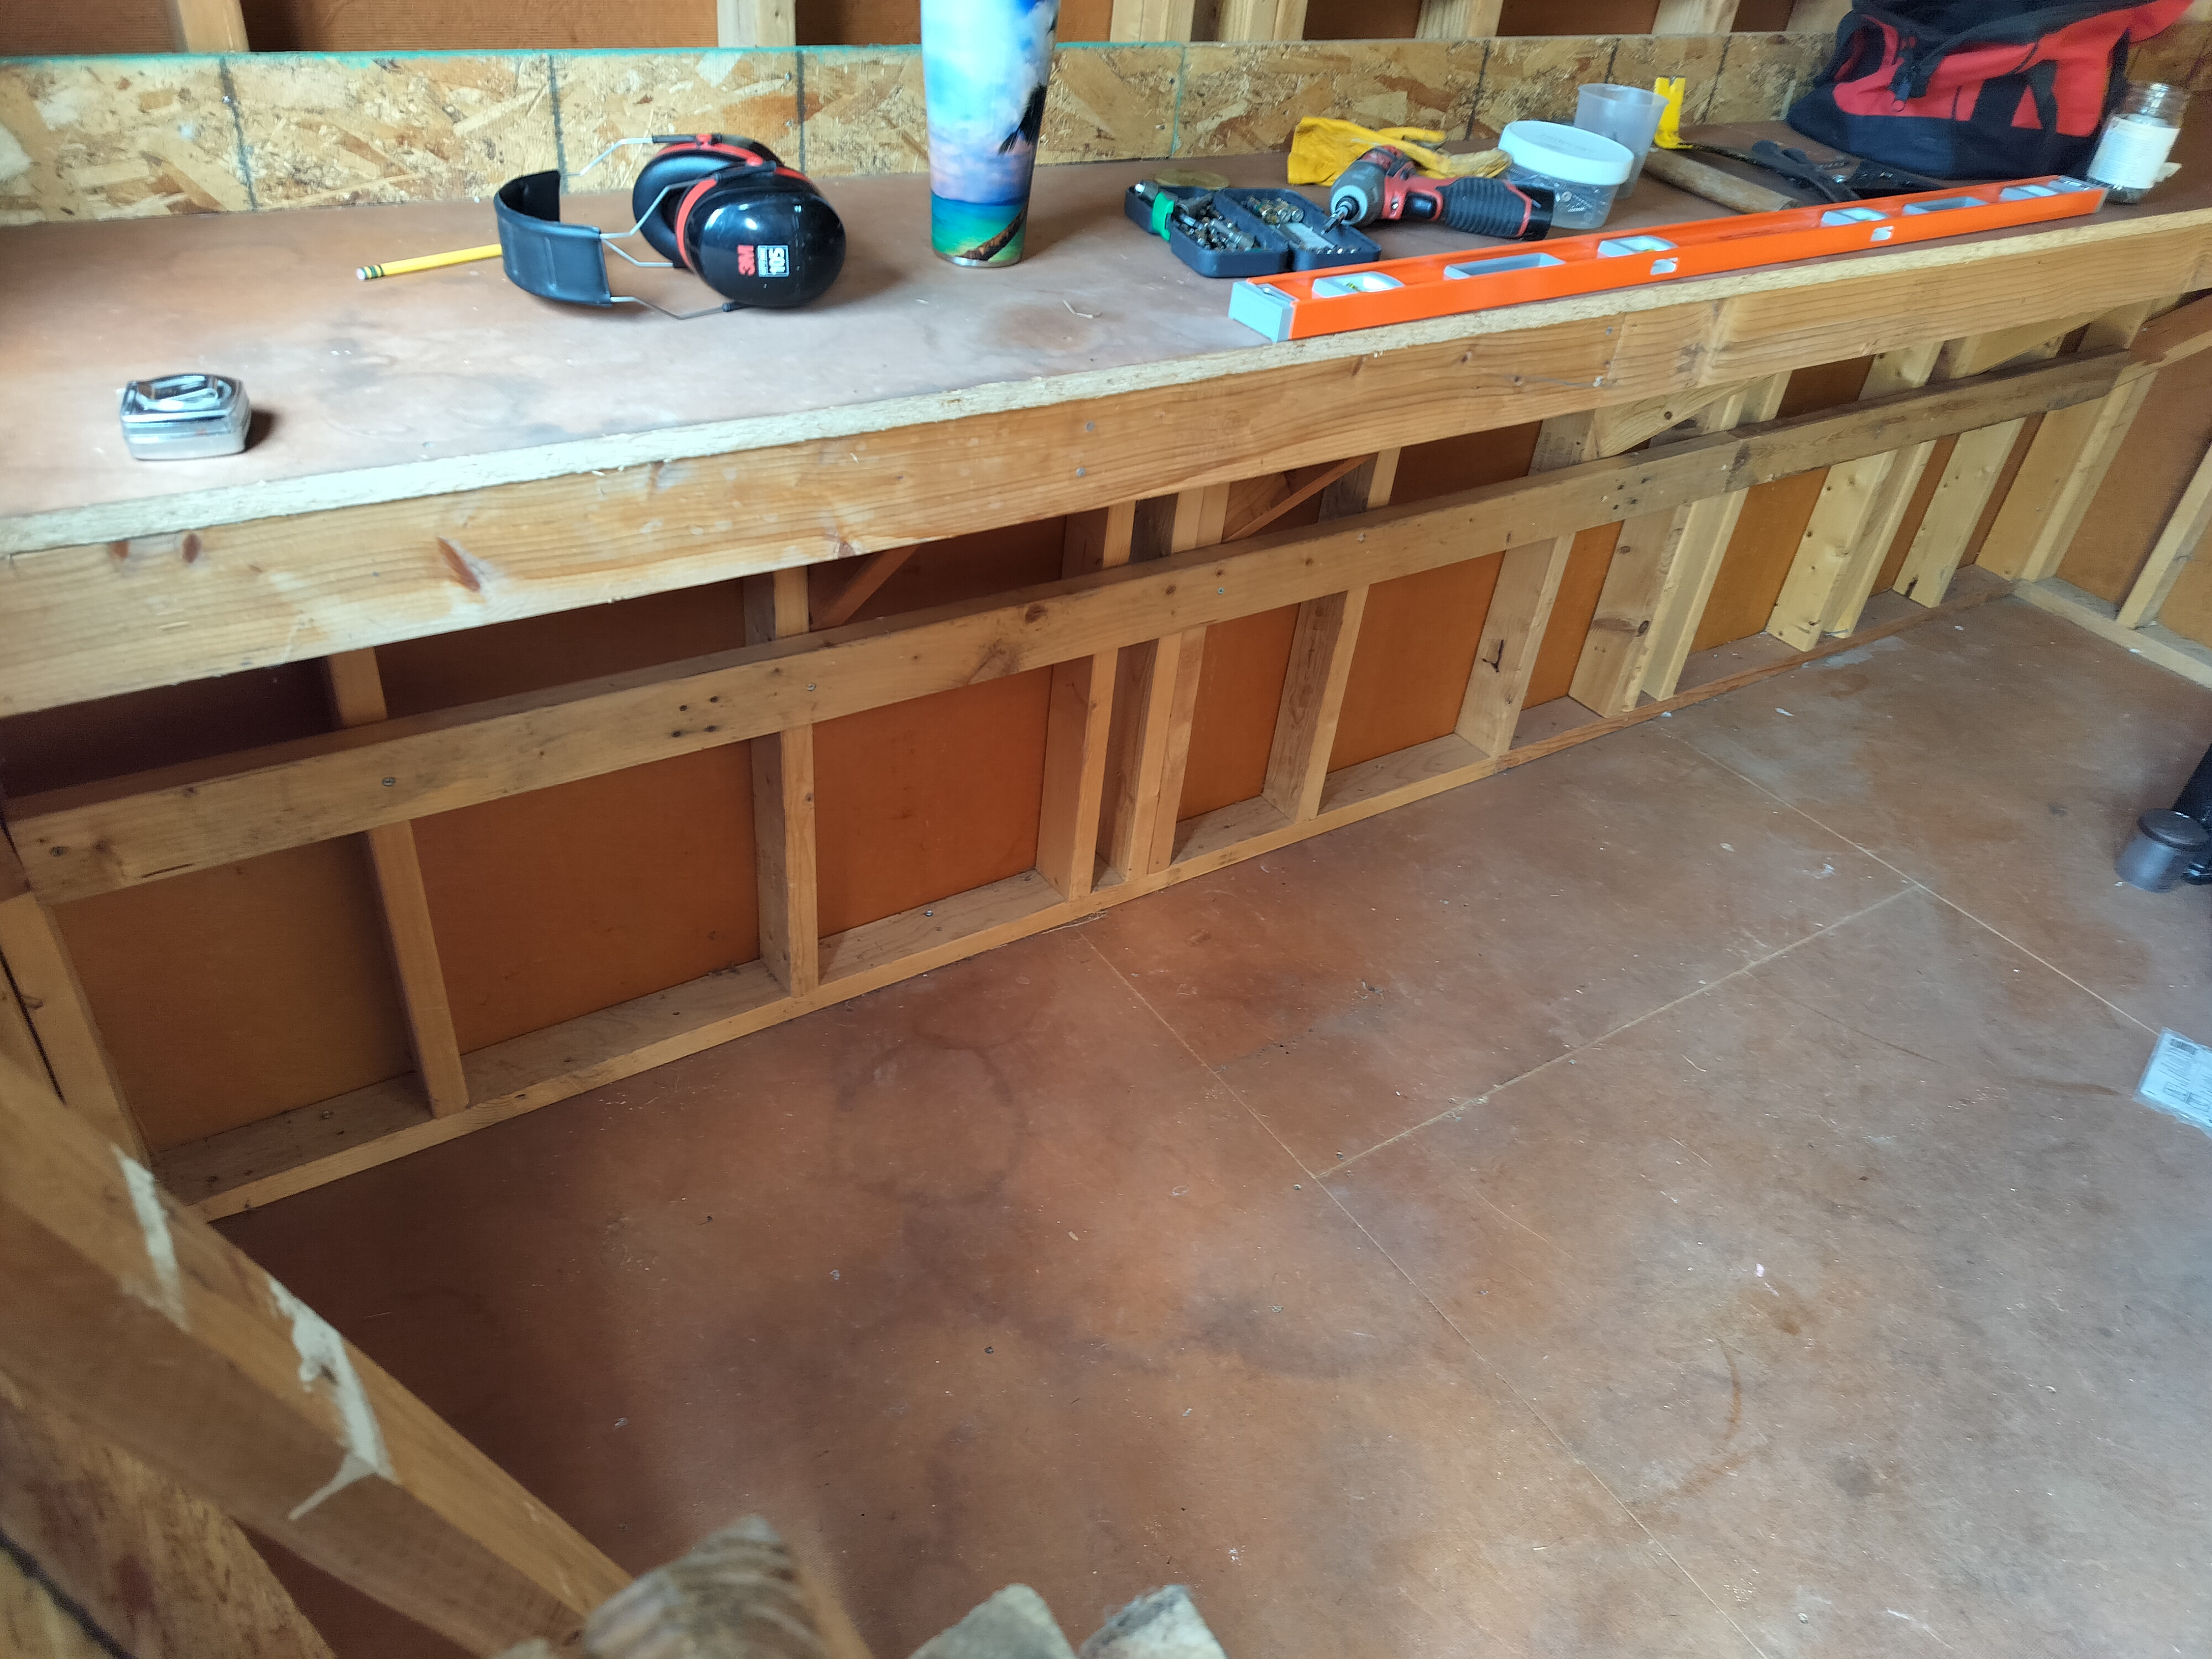
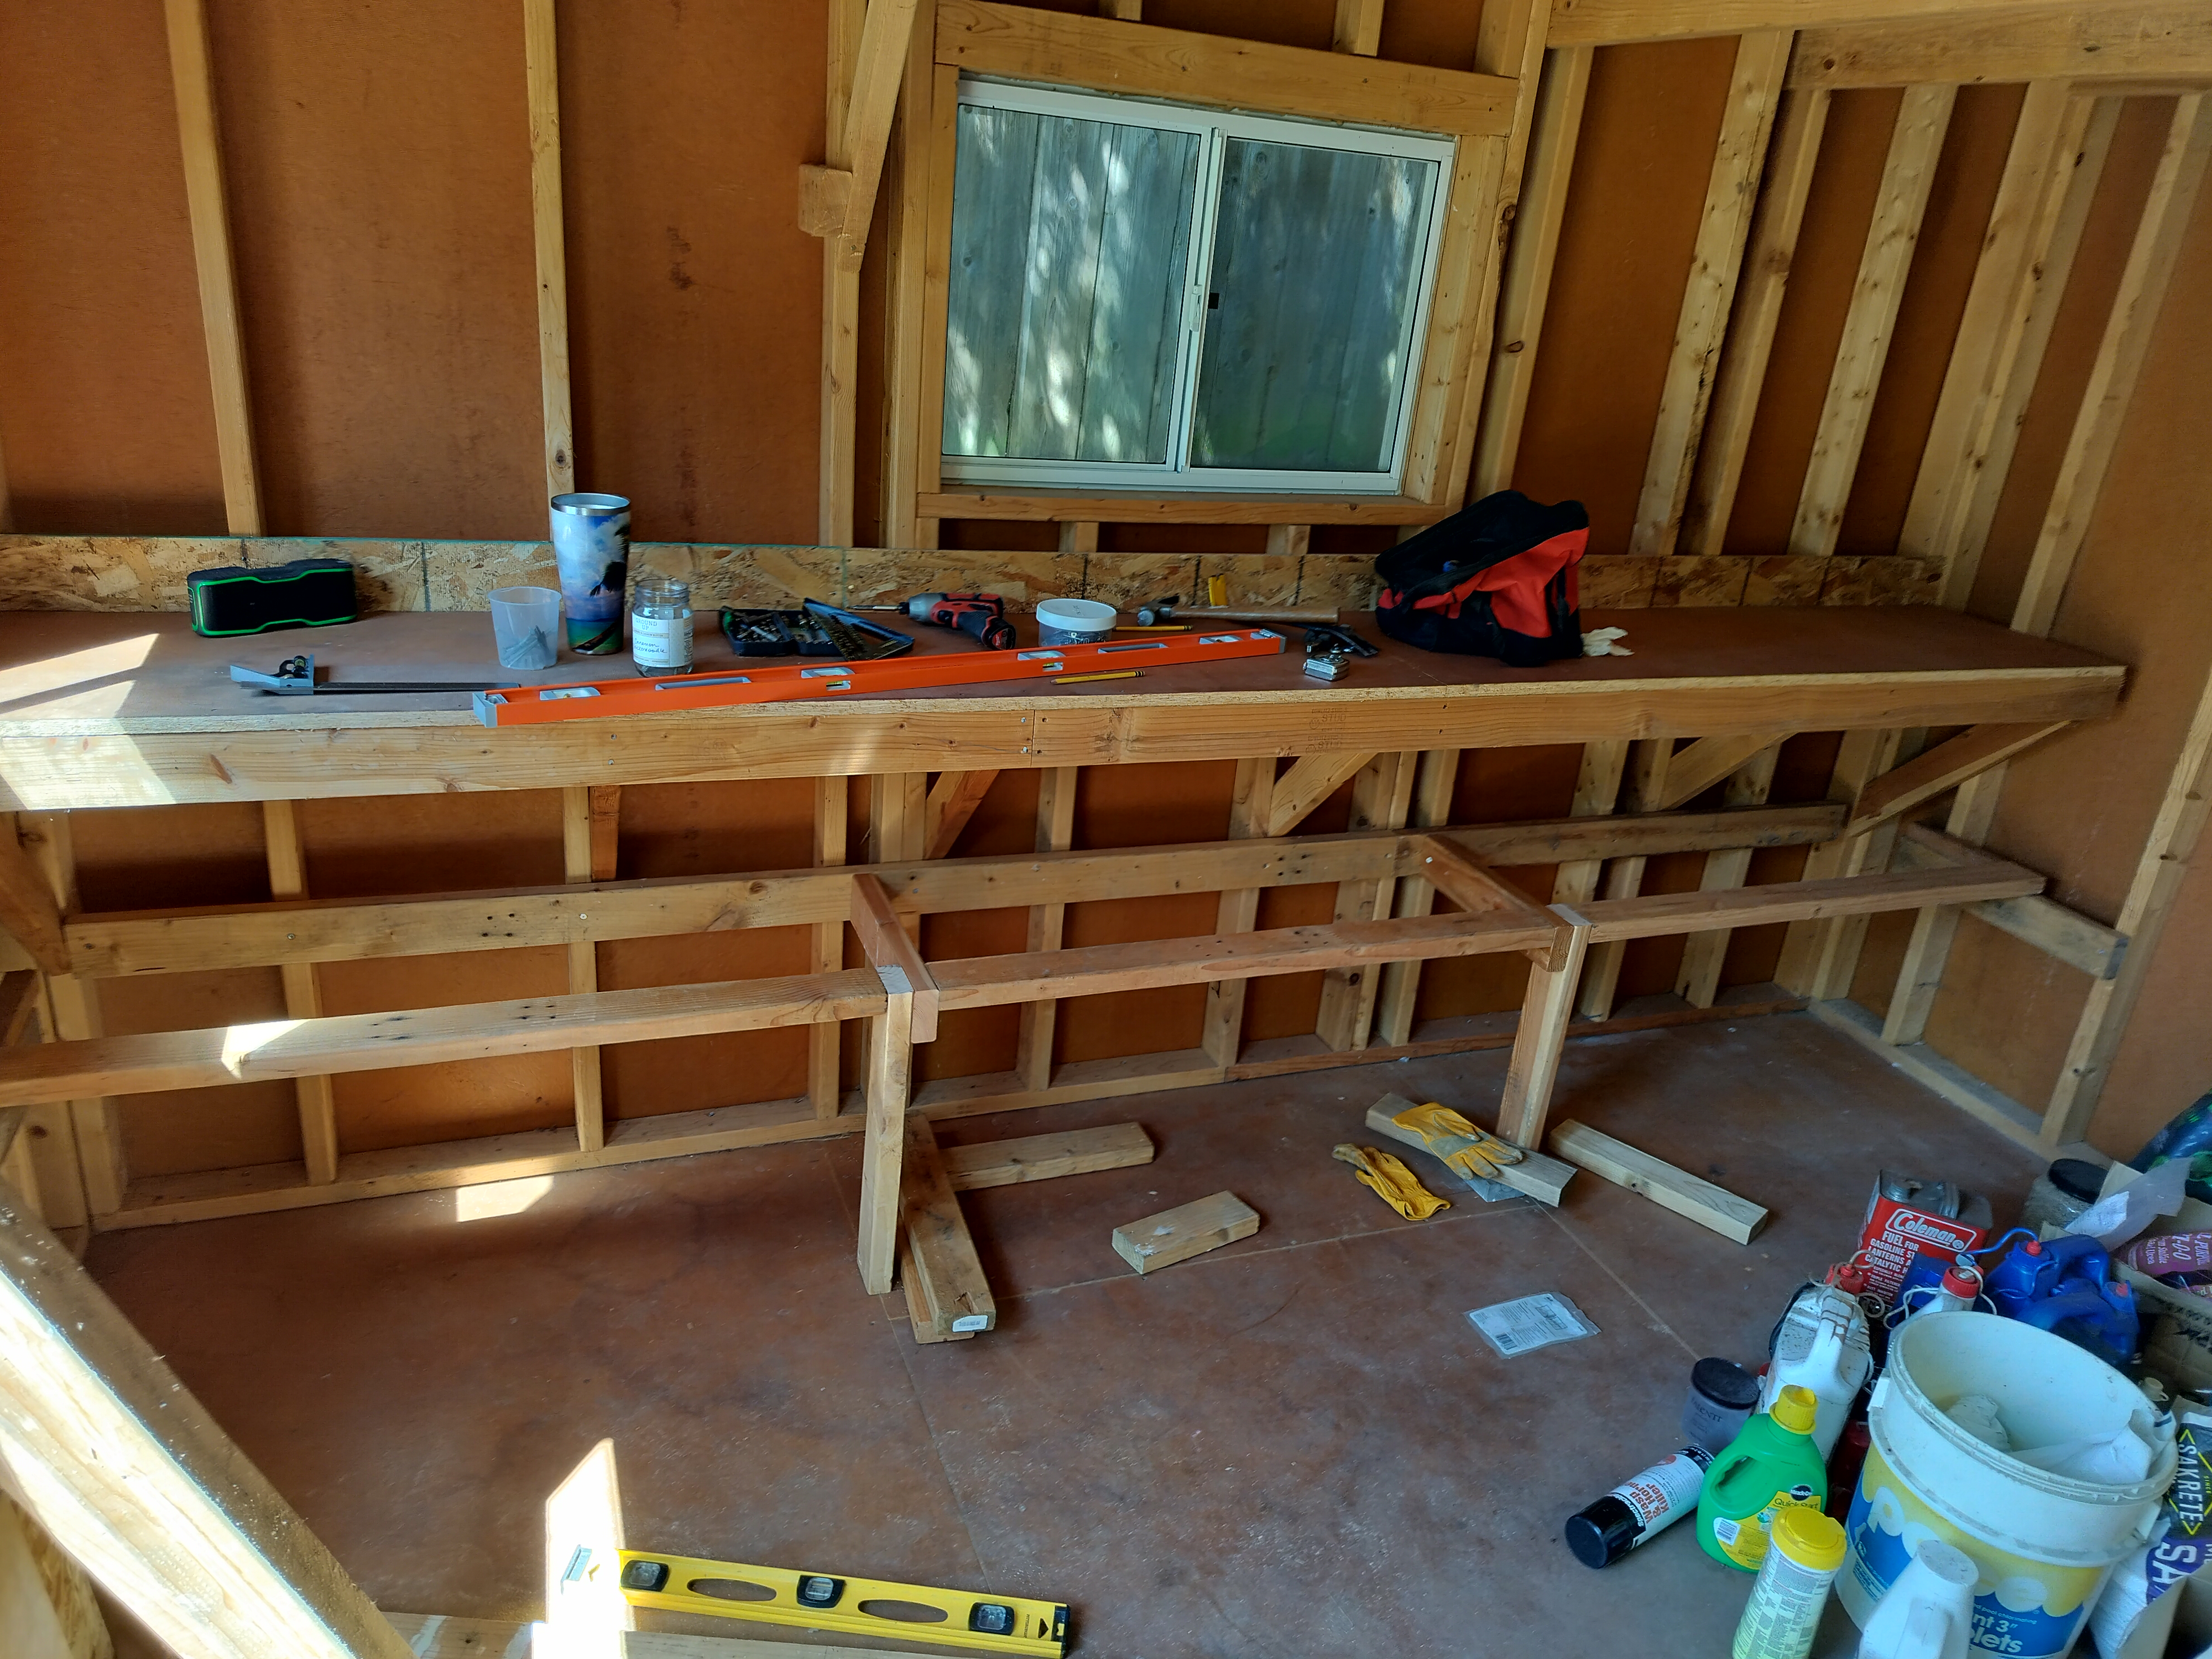
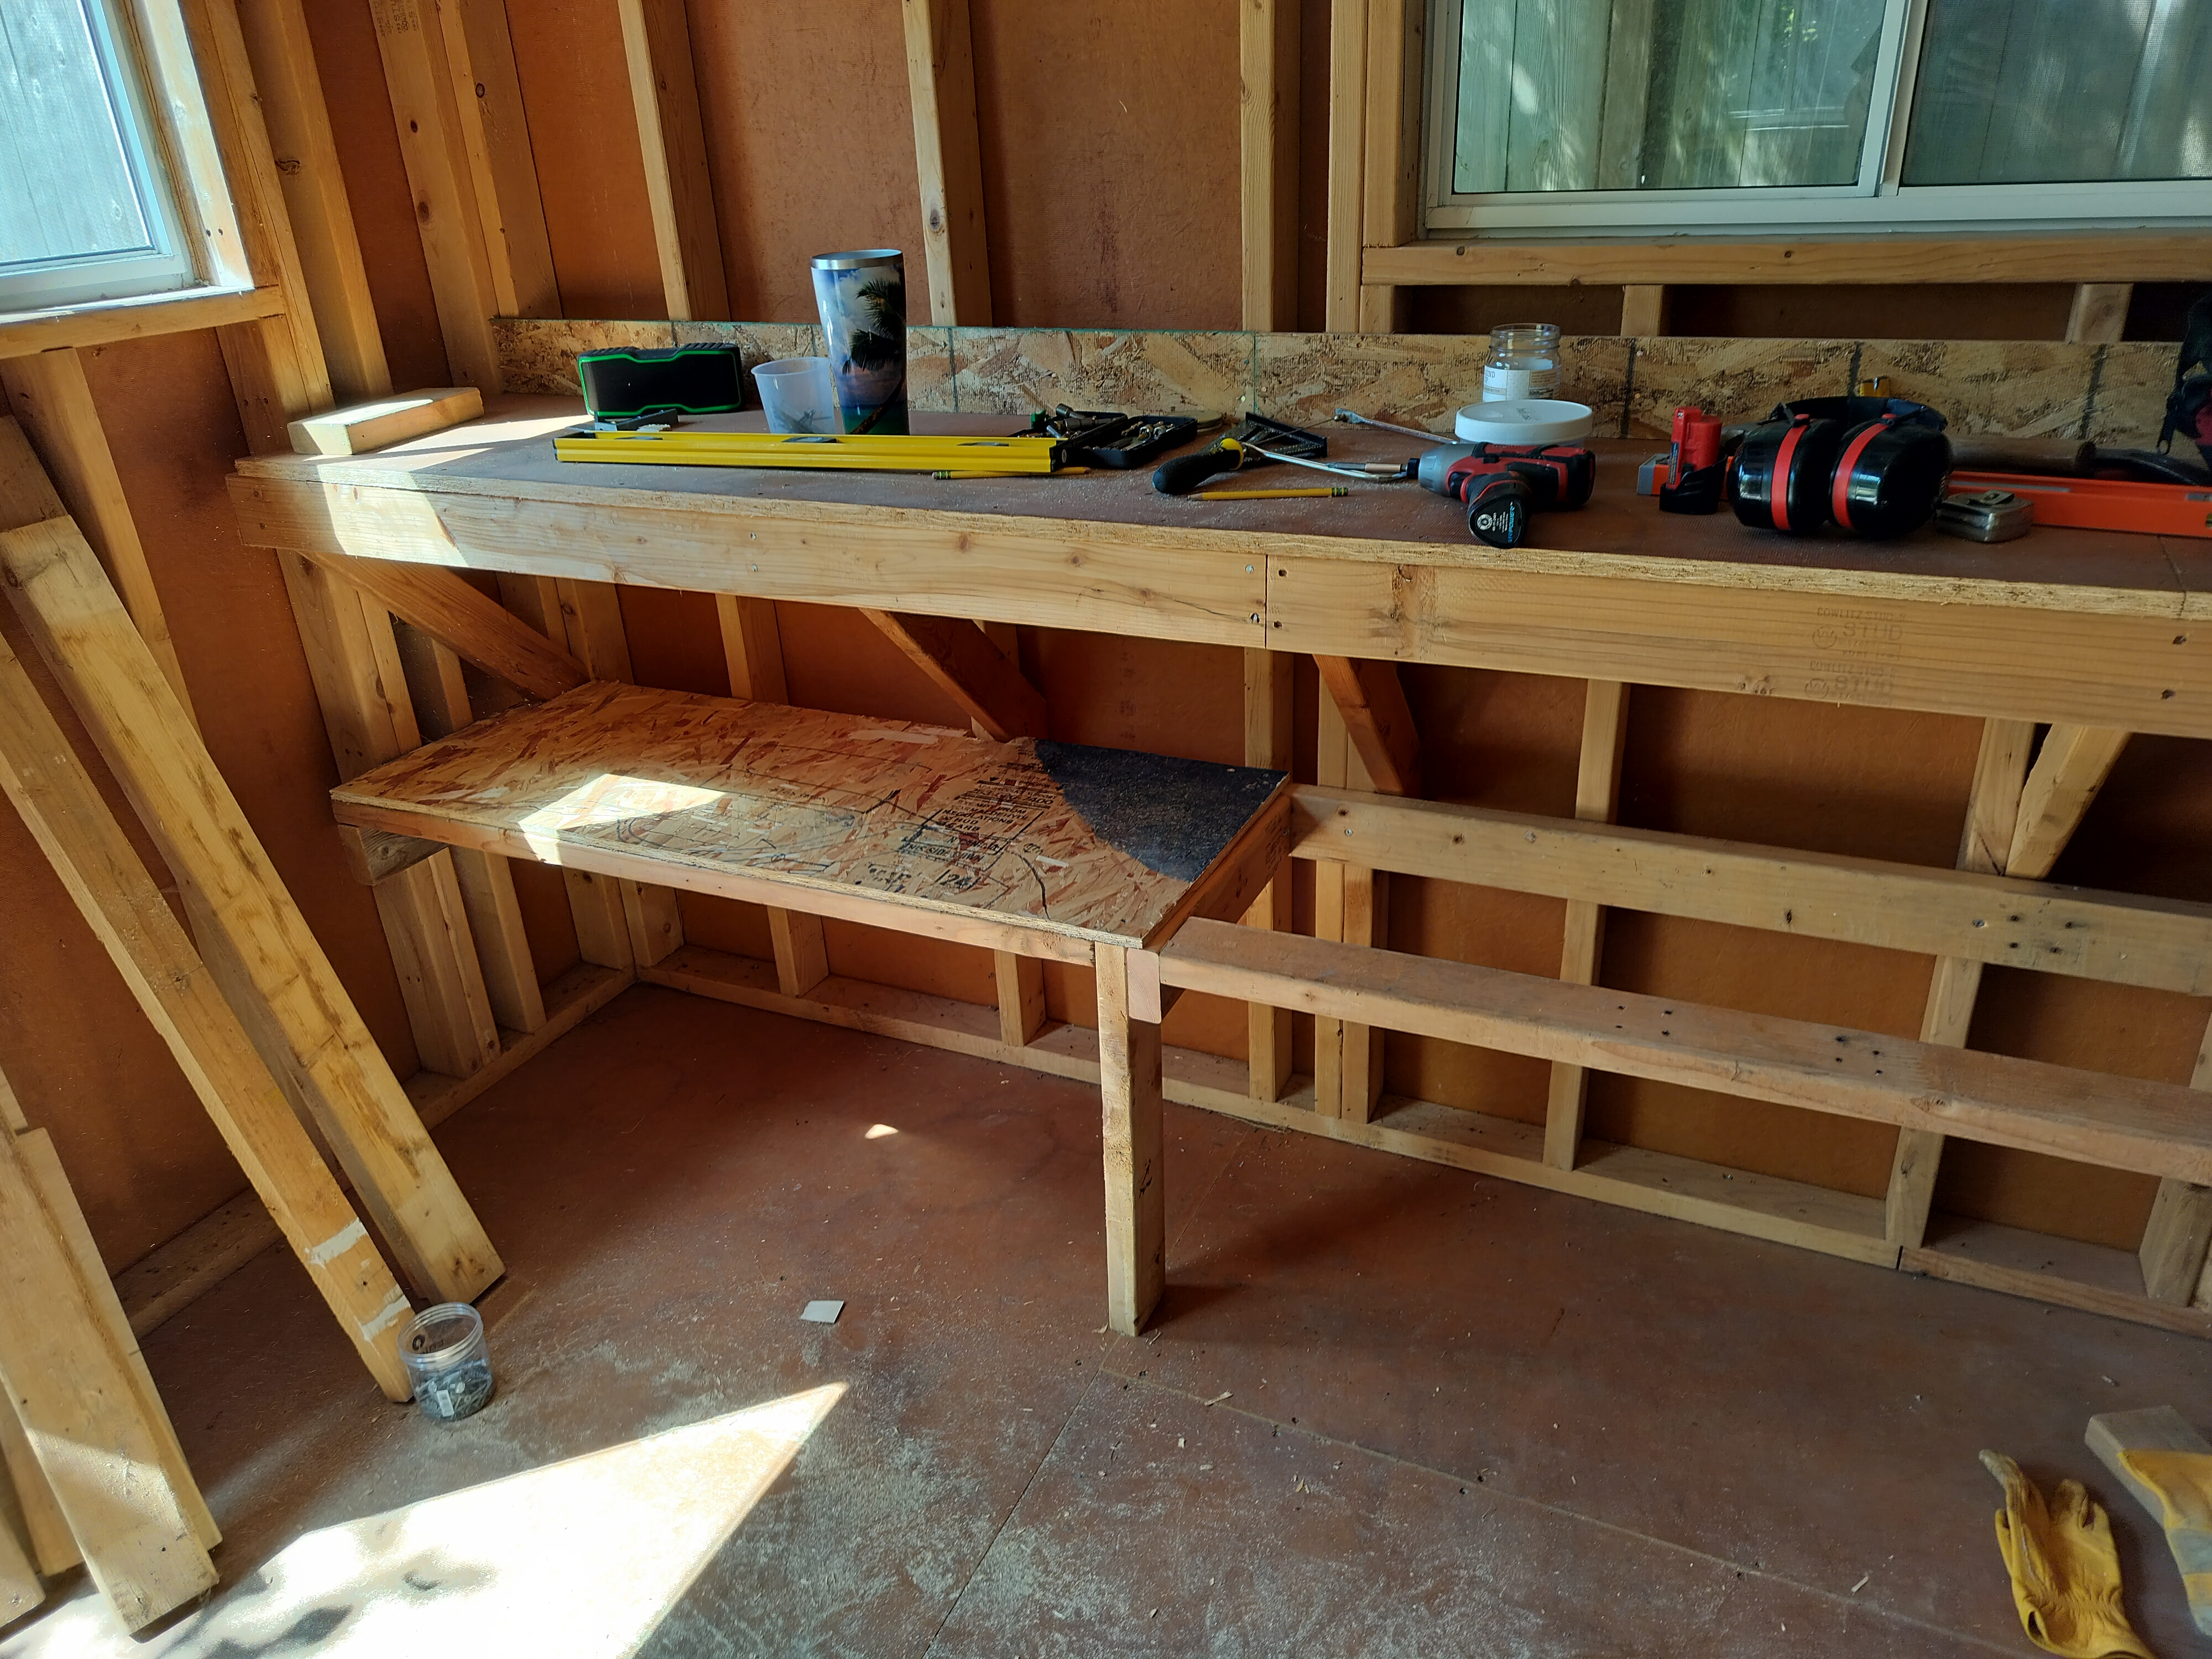
The workbench after clearing out the shed and gathering tools
Added the back support along the wall
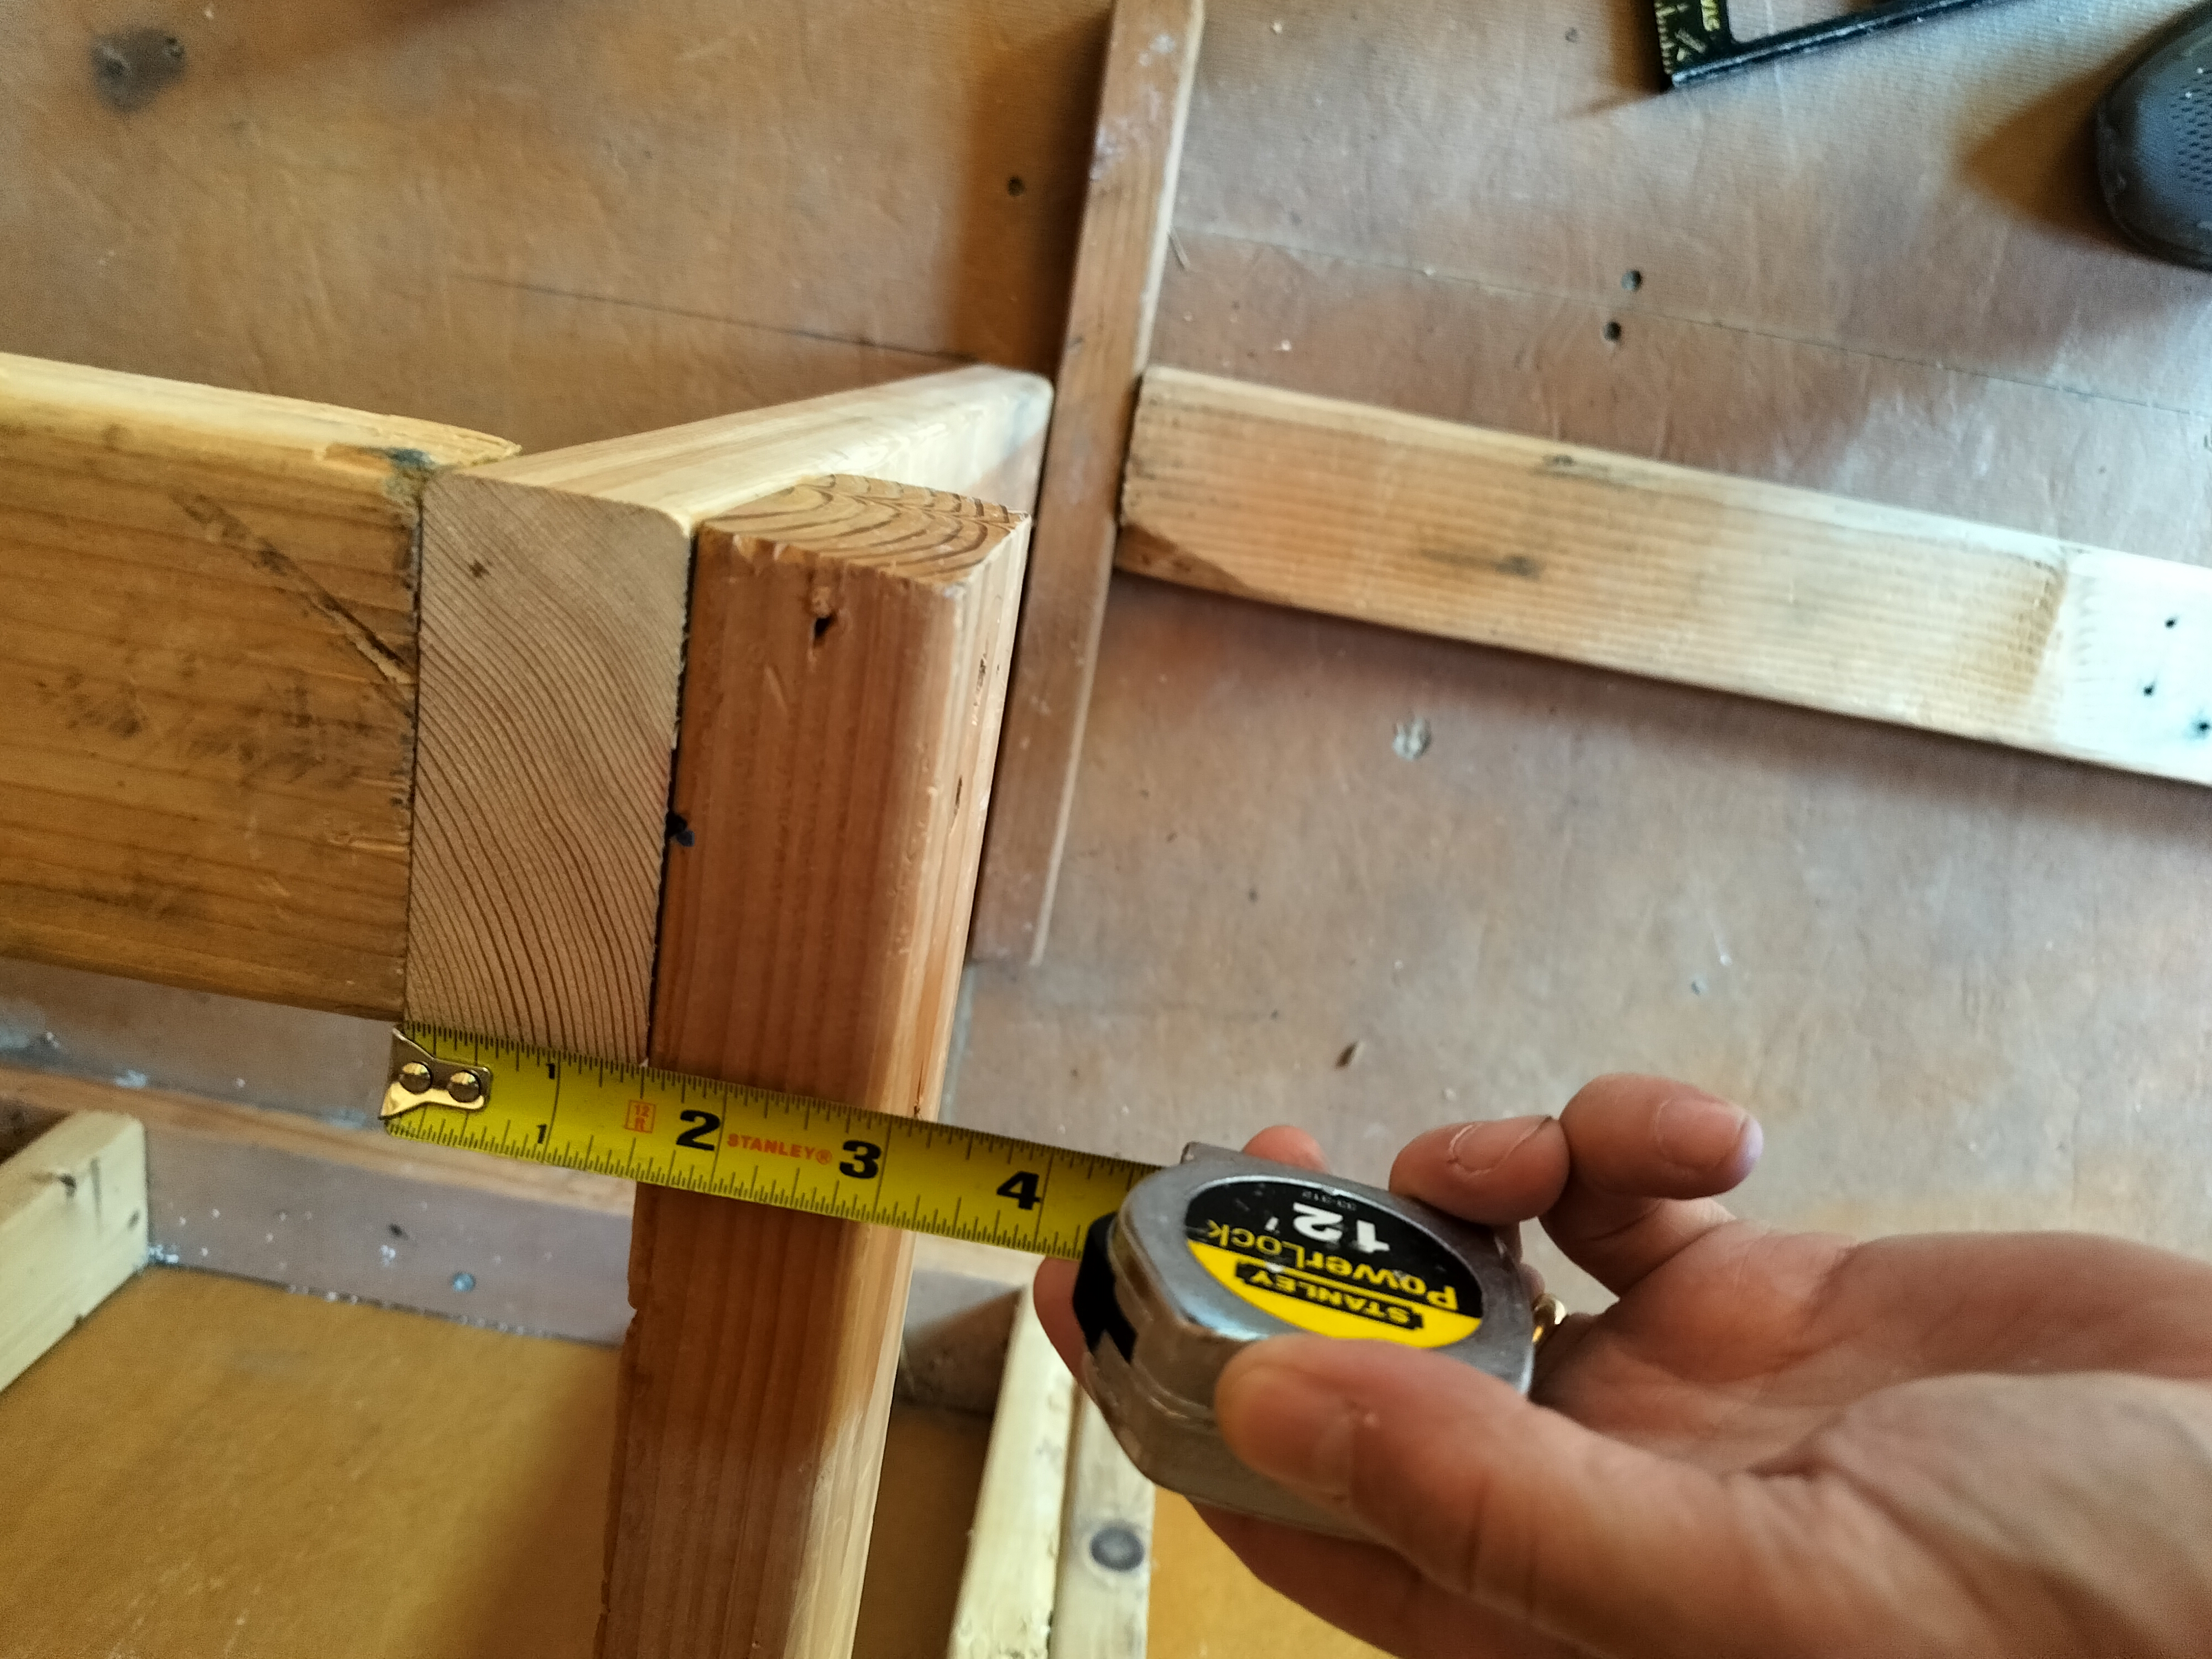
Attached the first end support to the studs, spaced by 1.5” to account for the front support flipped flat
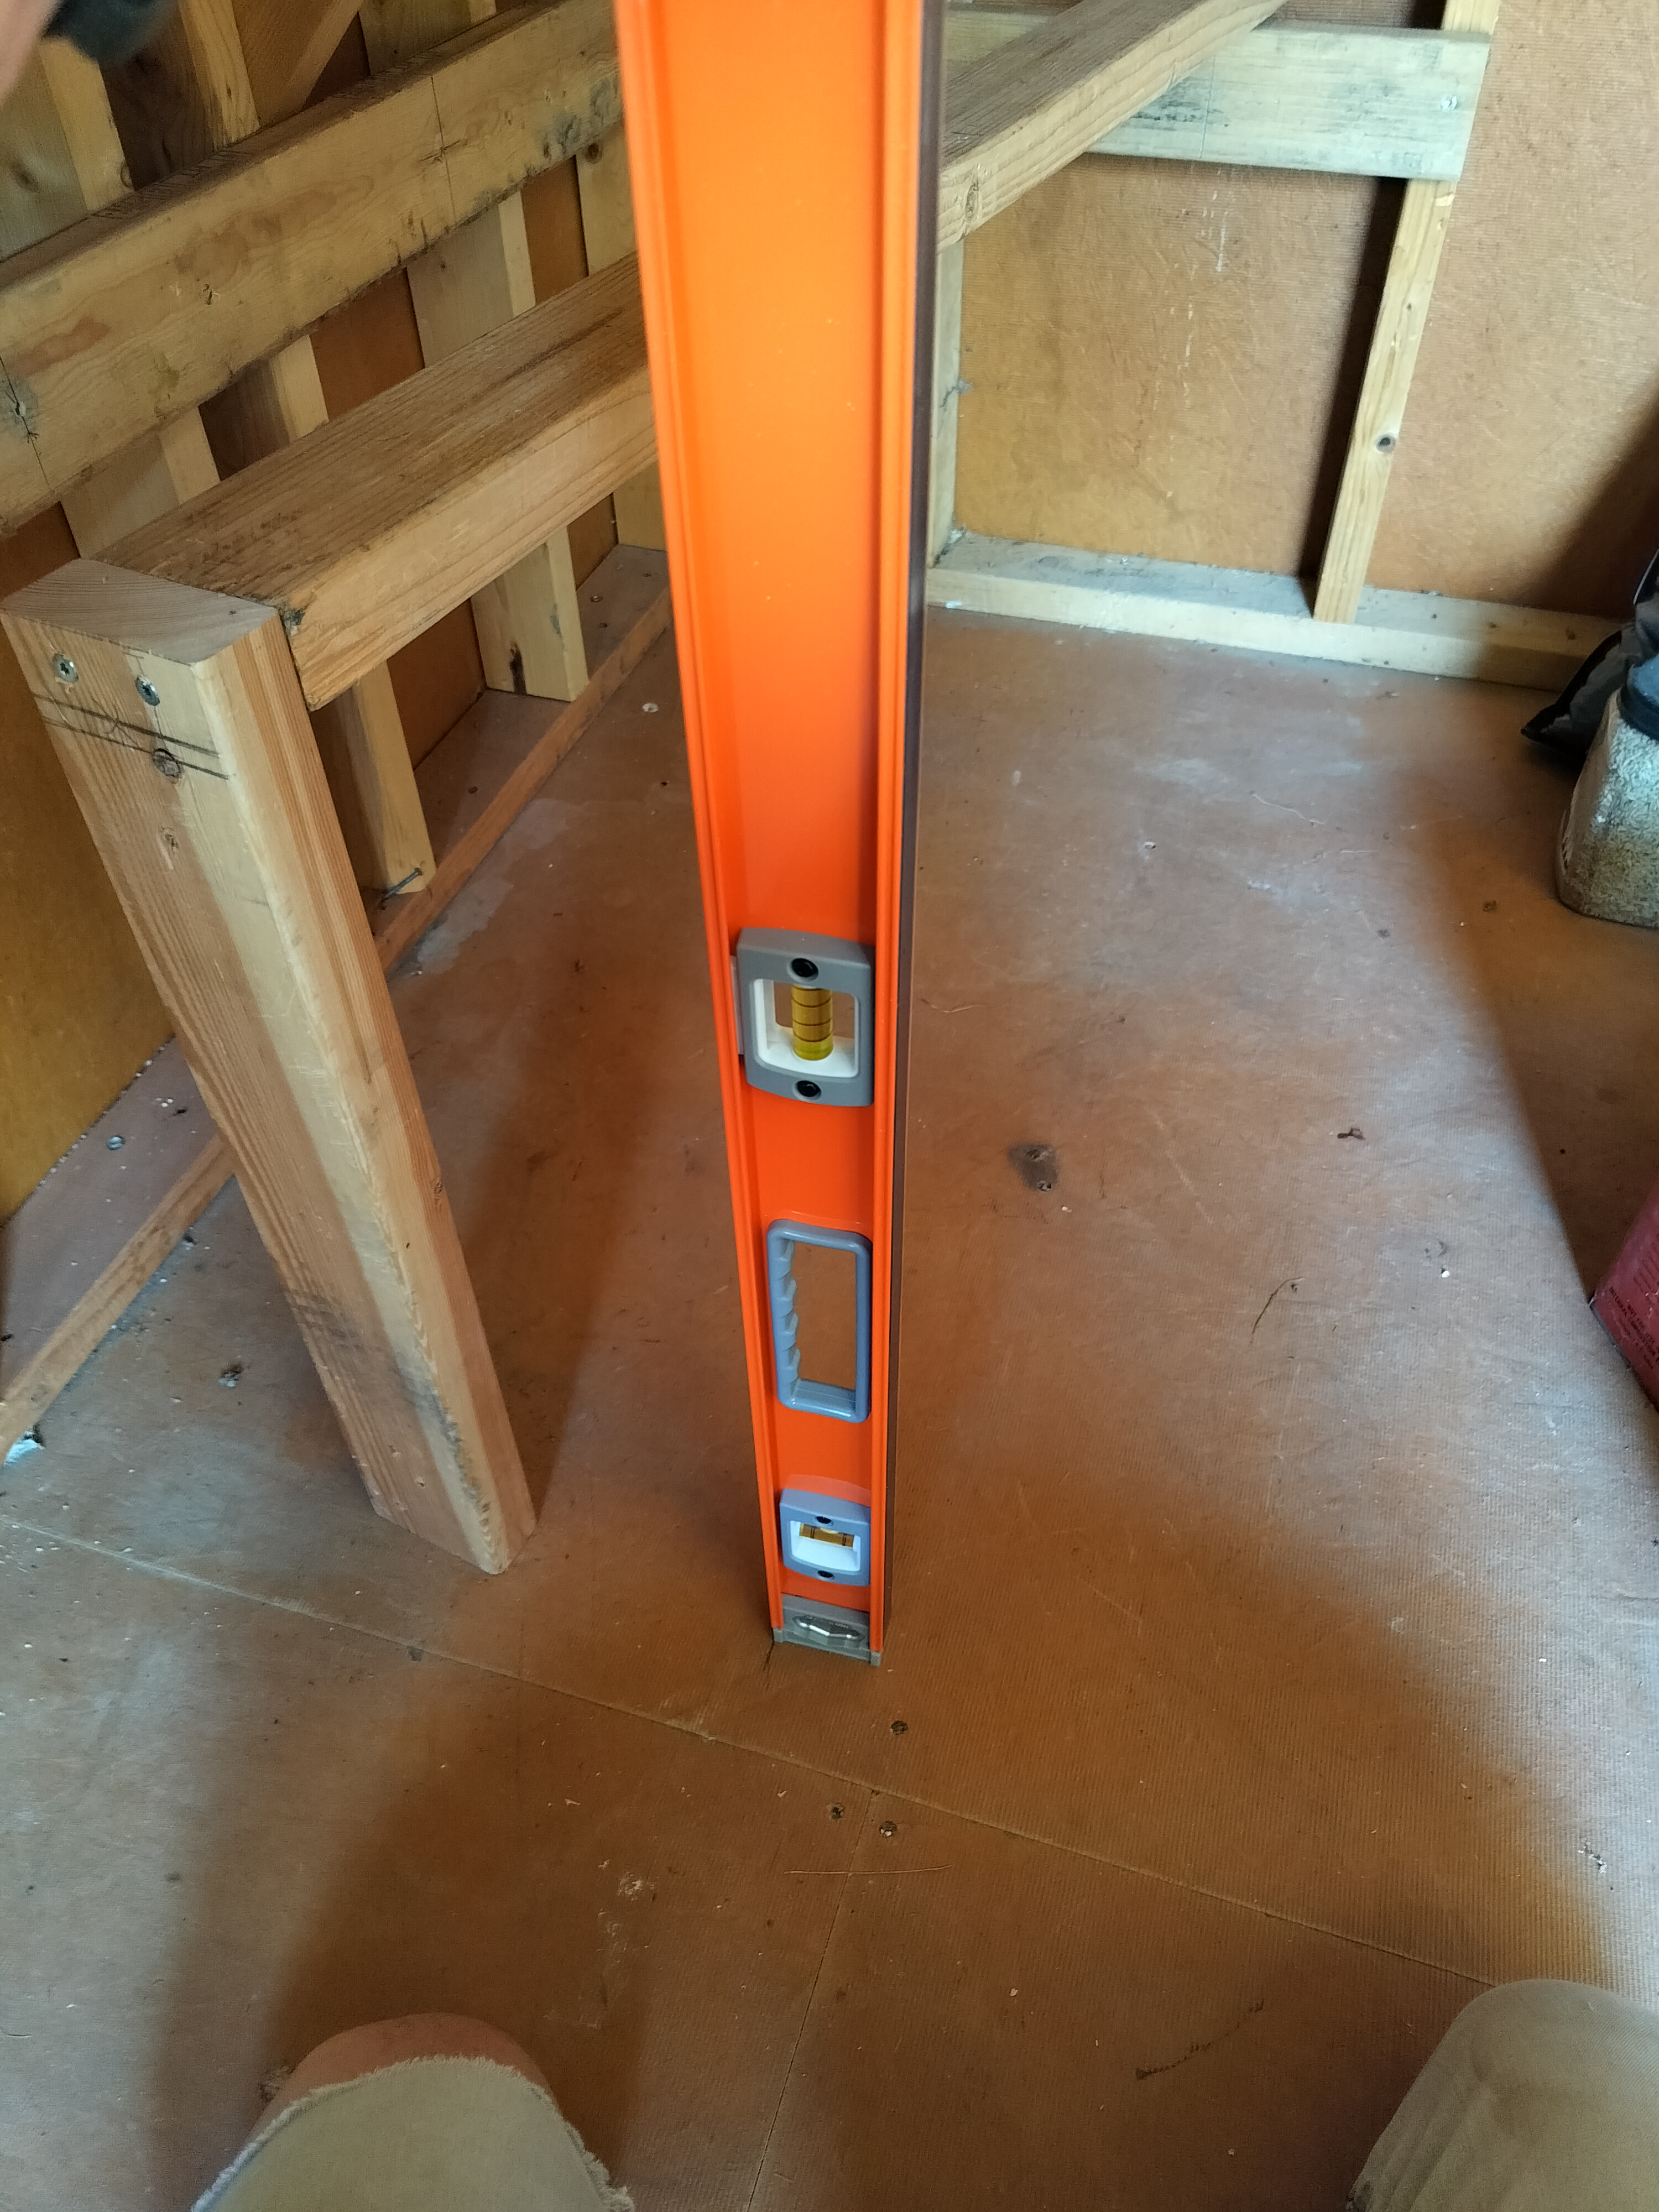
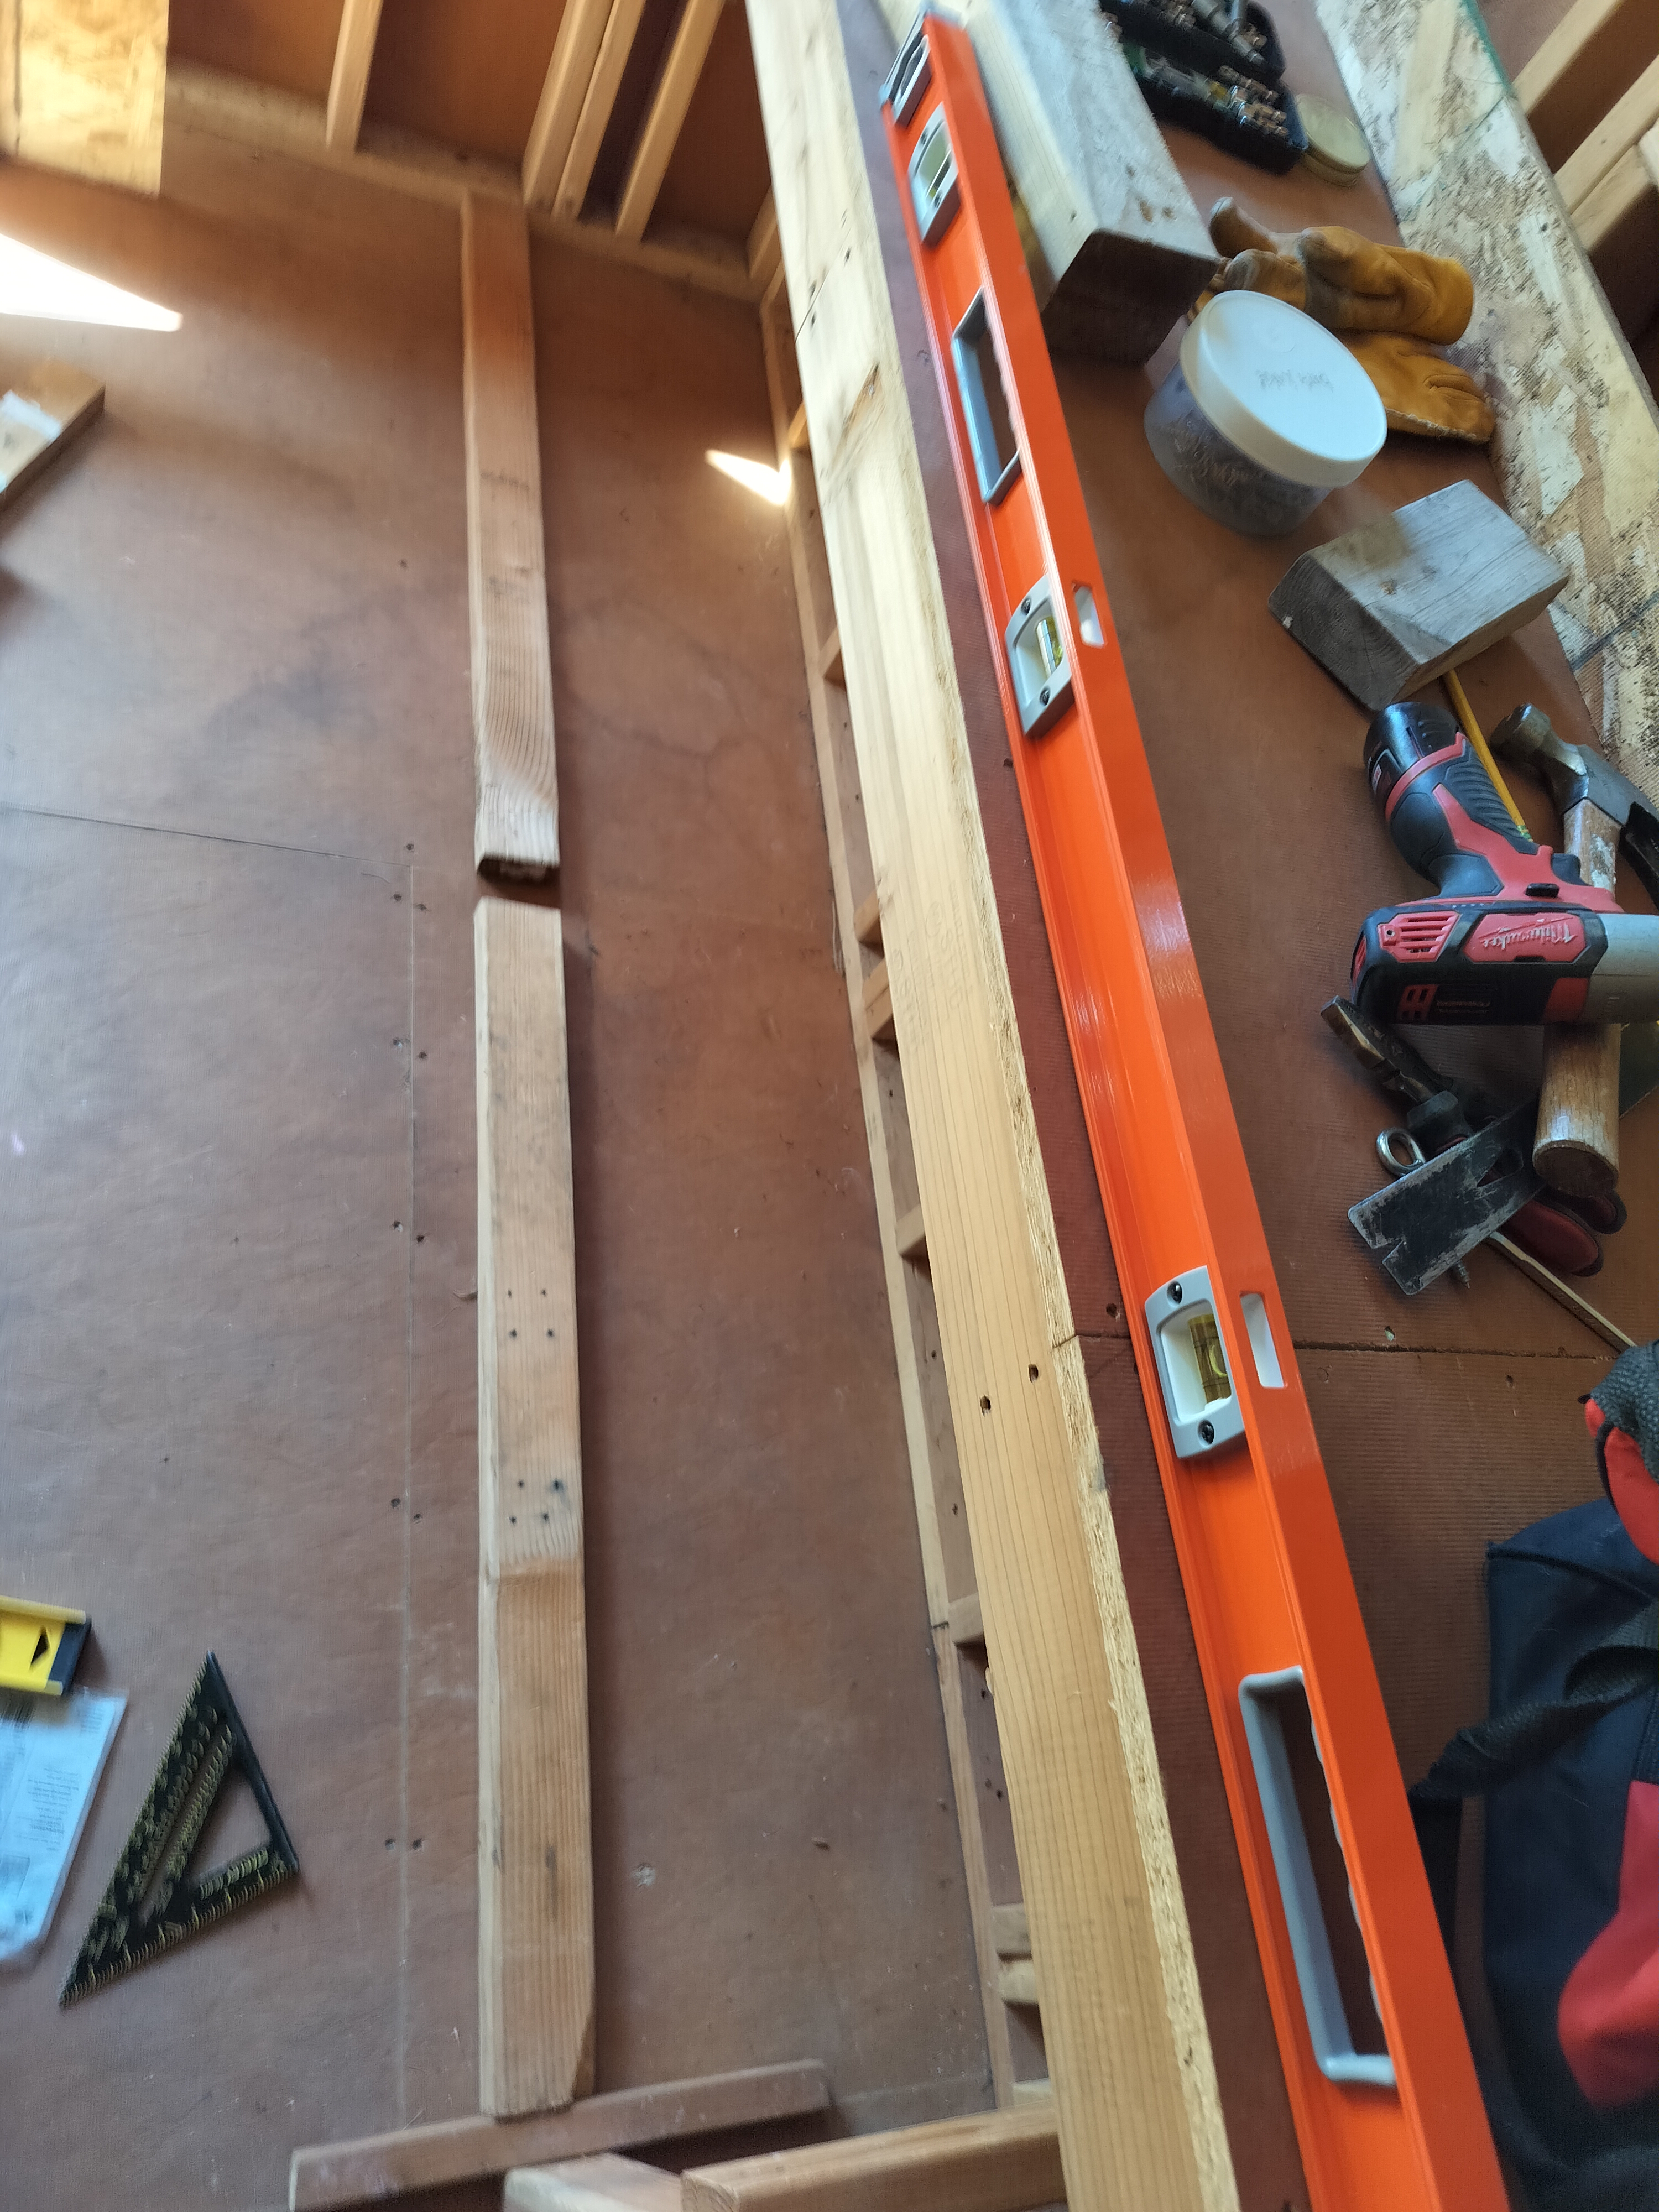
Checking for plumb

About to screw the leg to the first front support
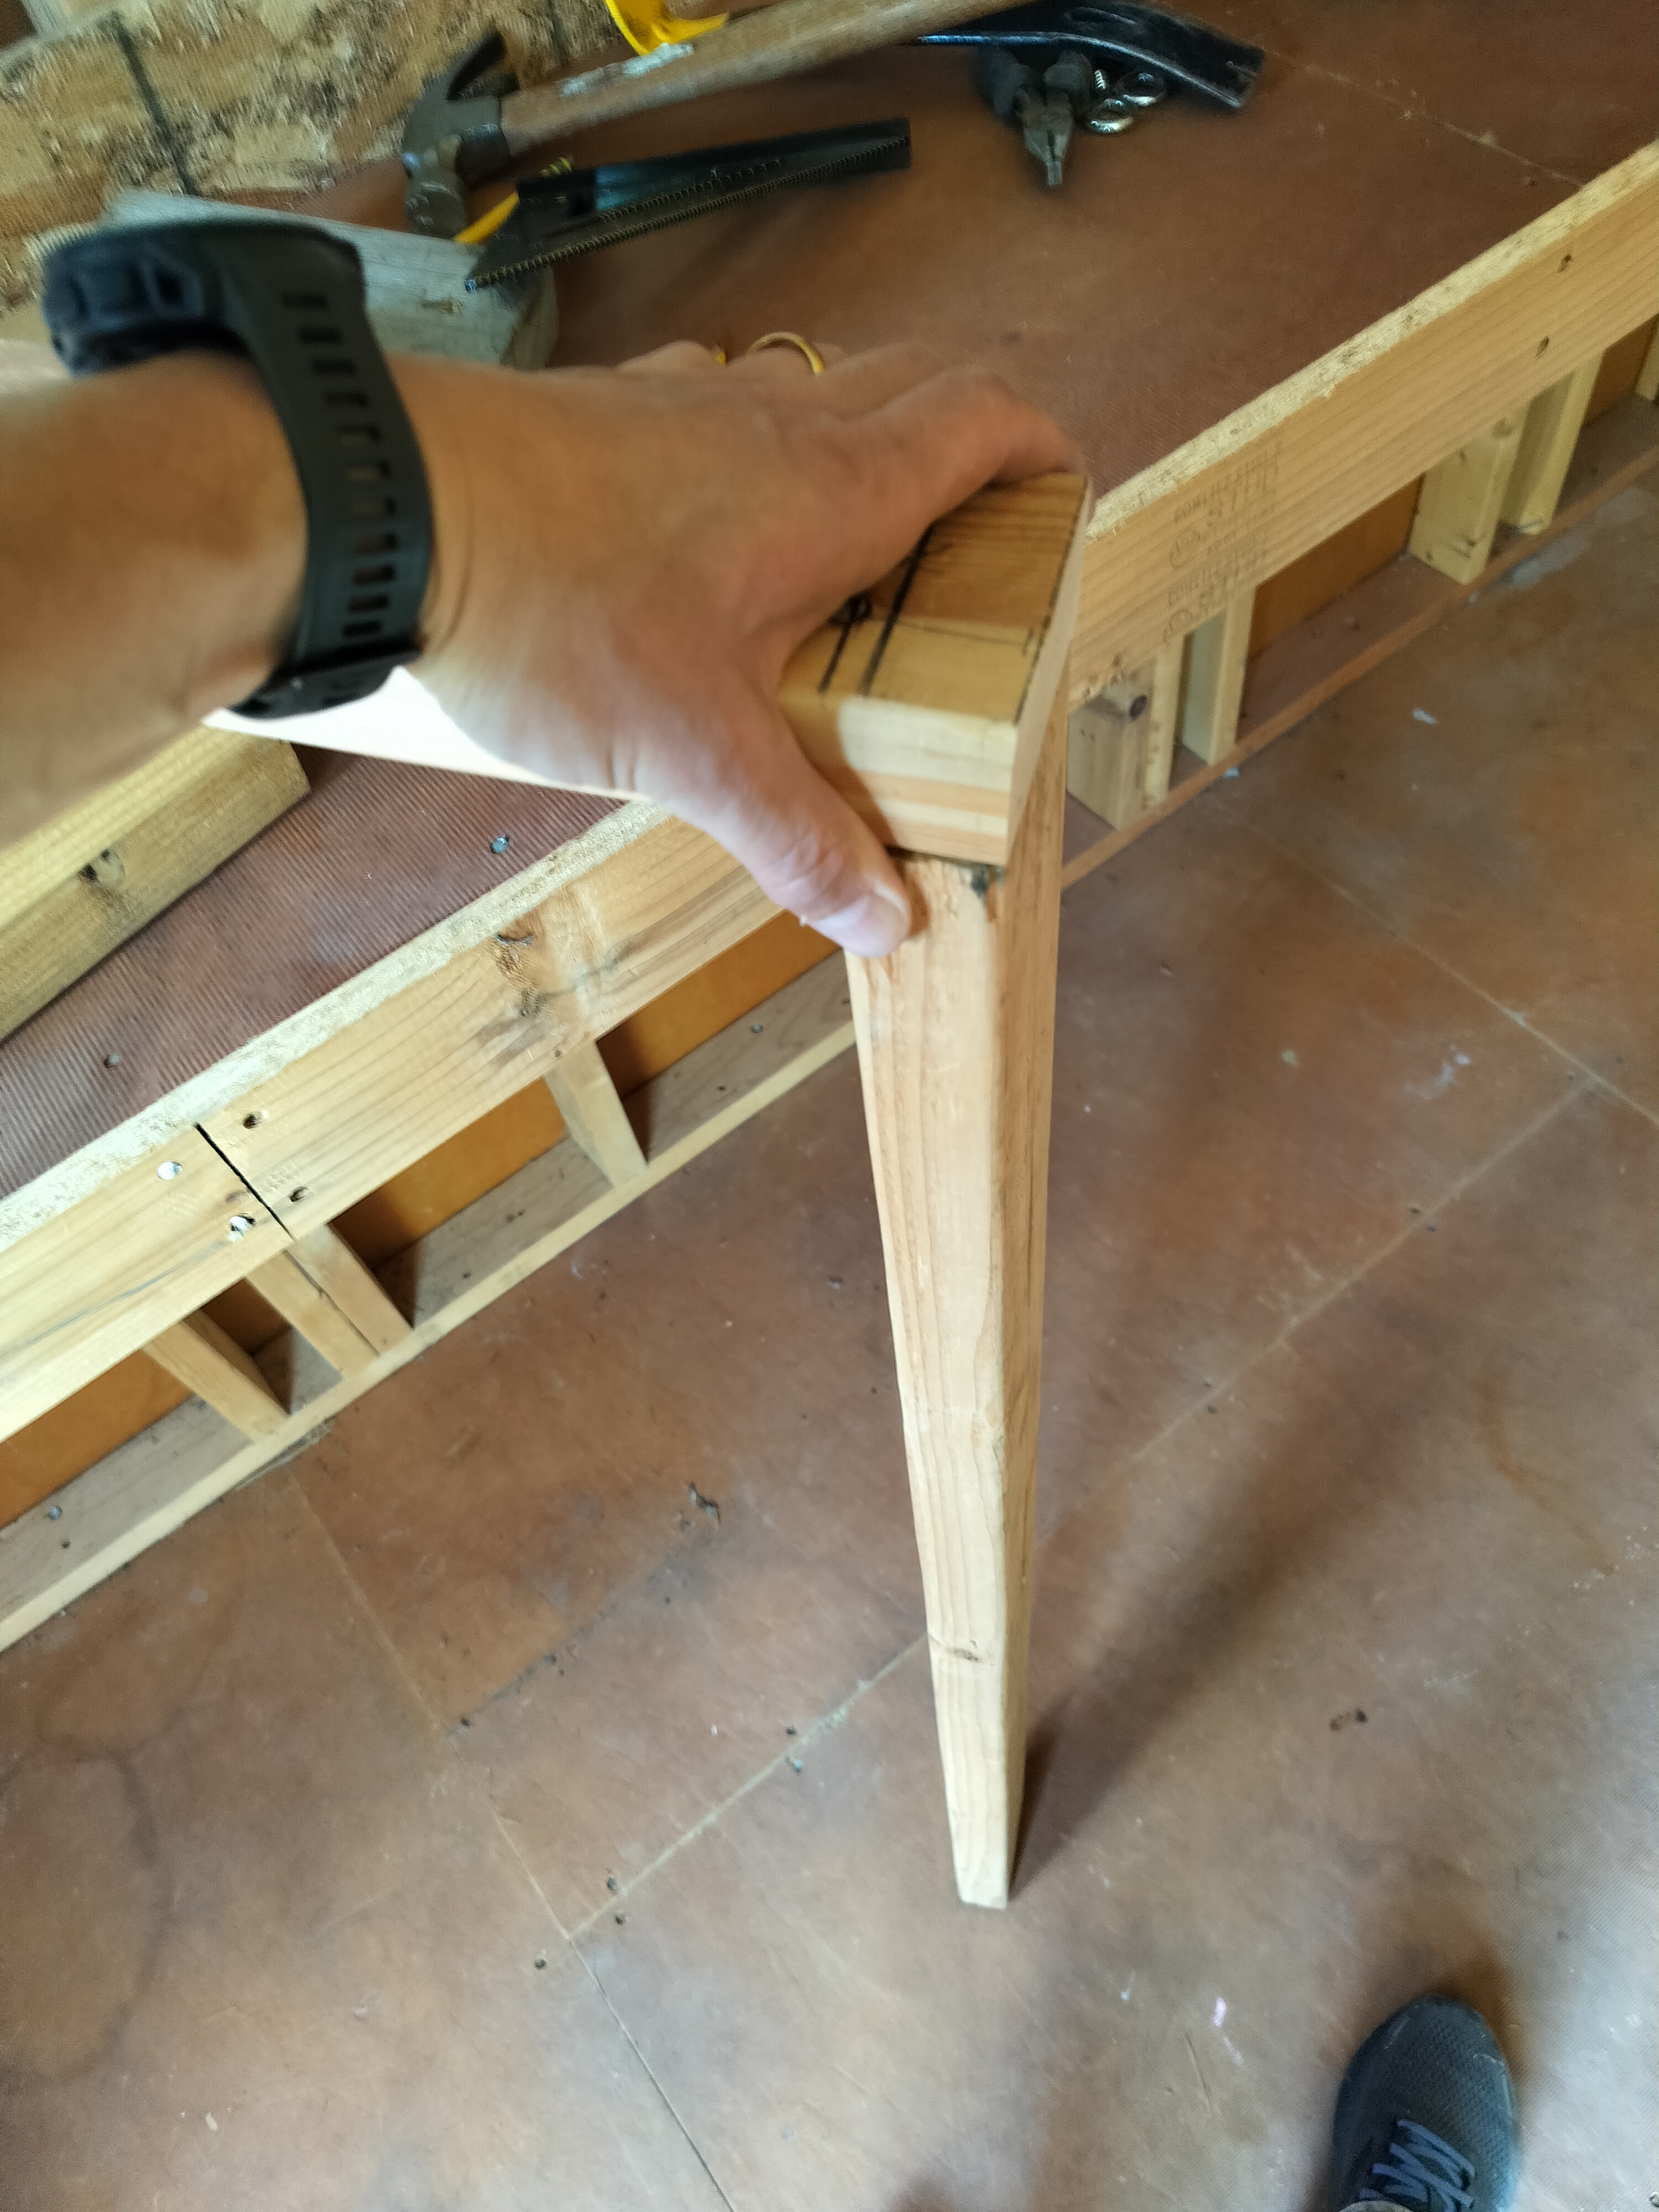
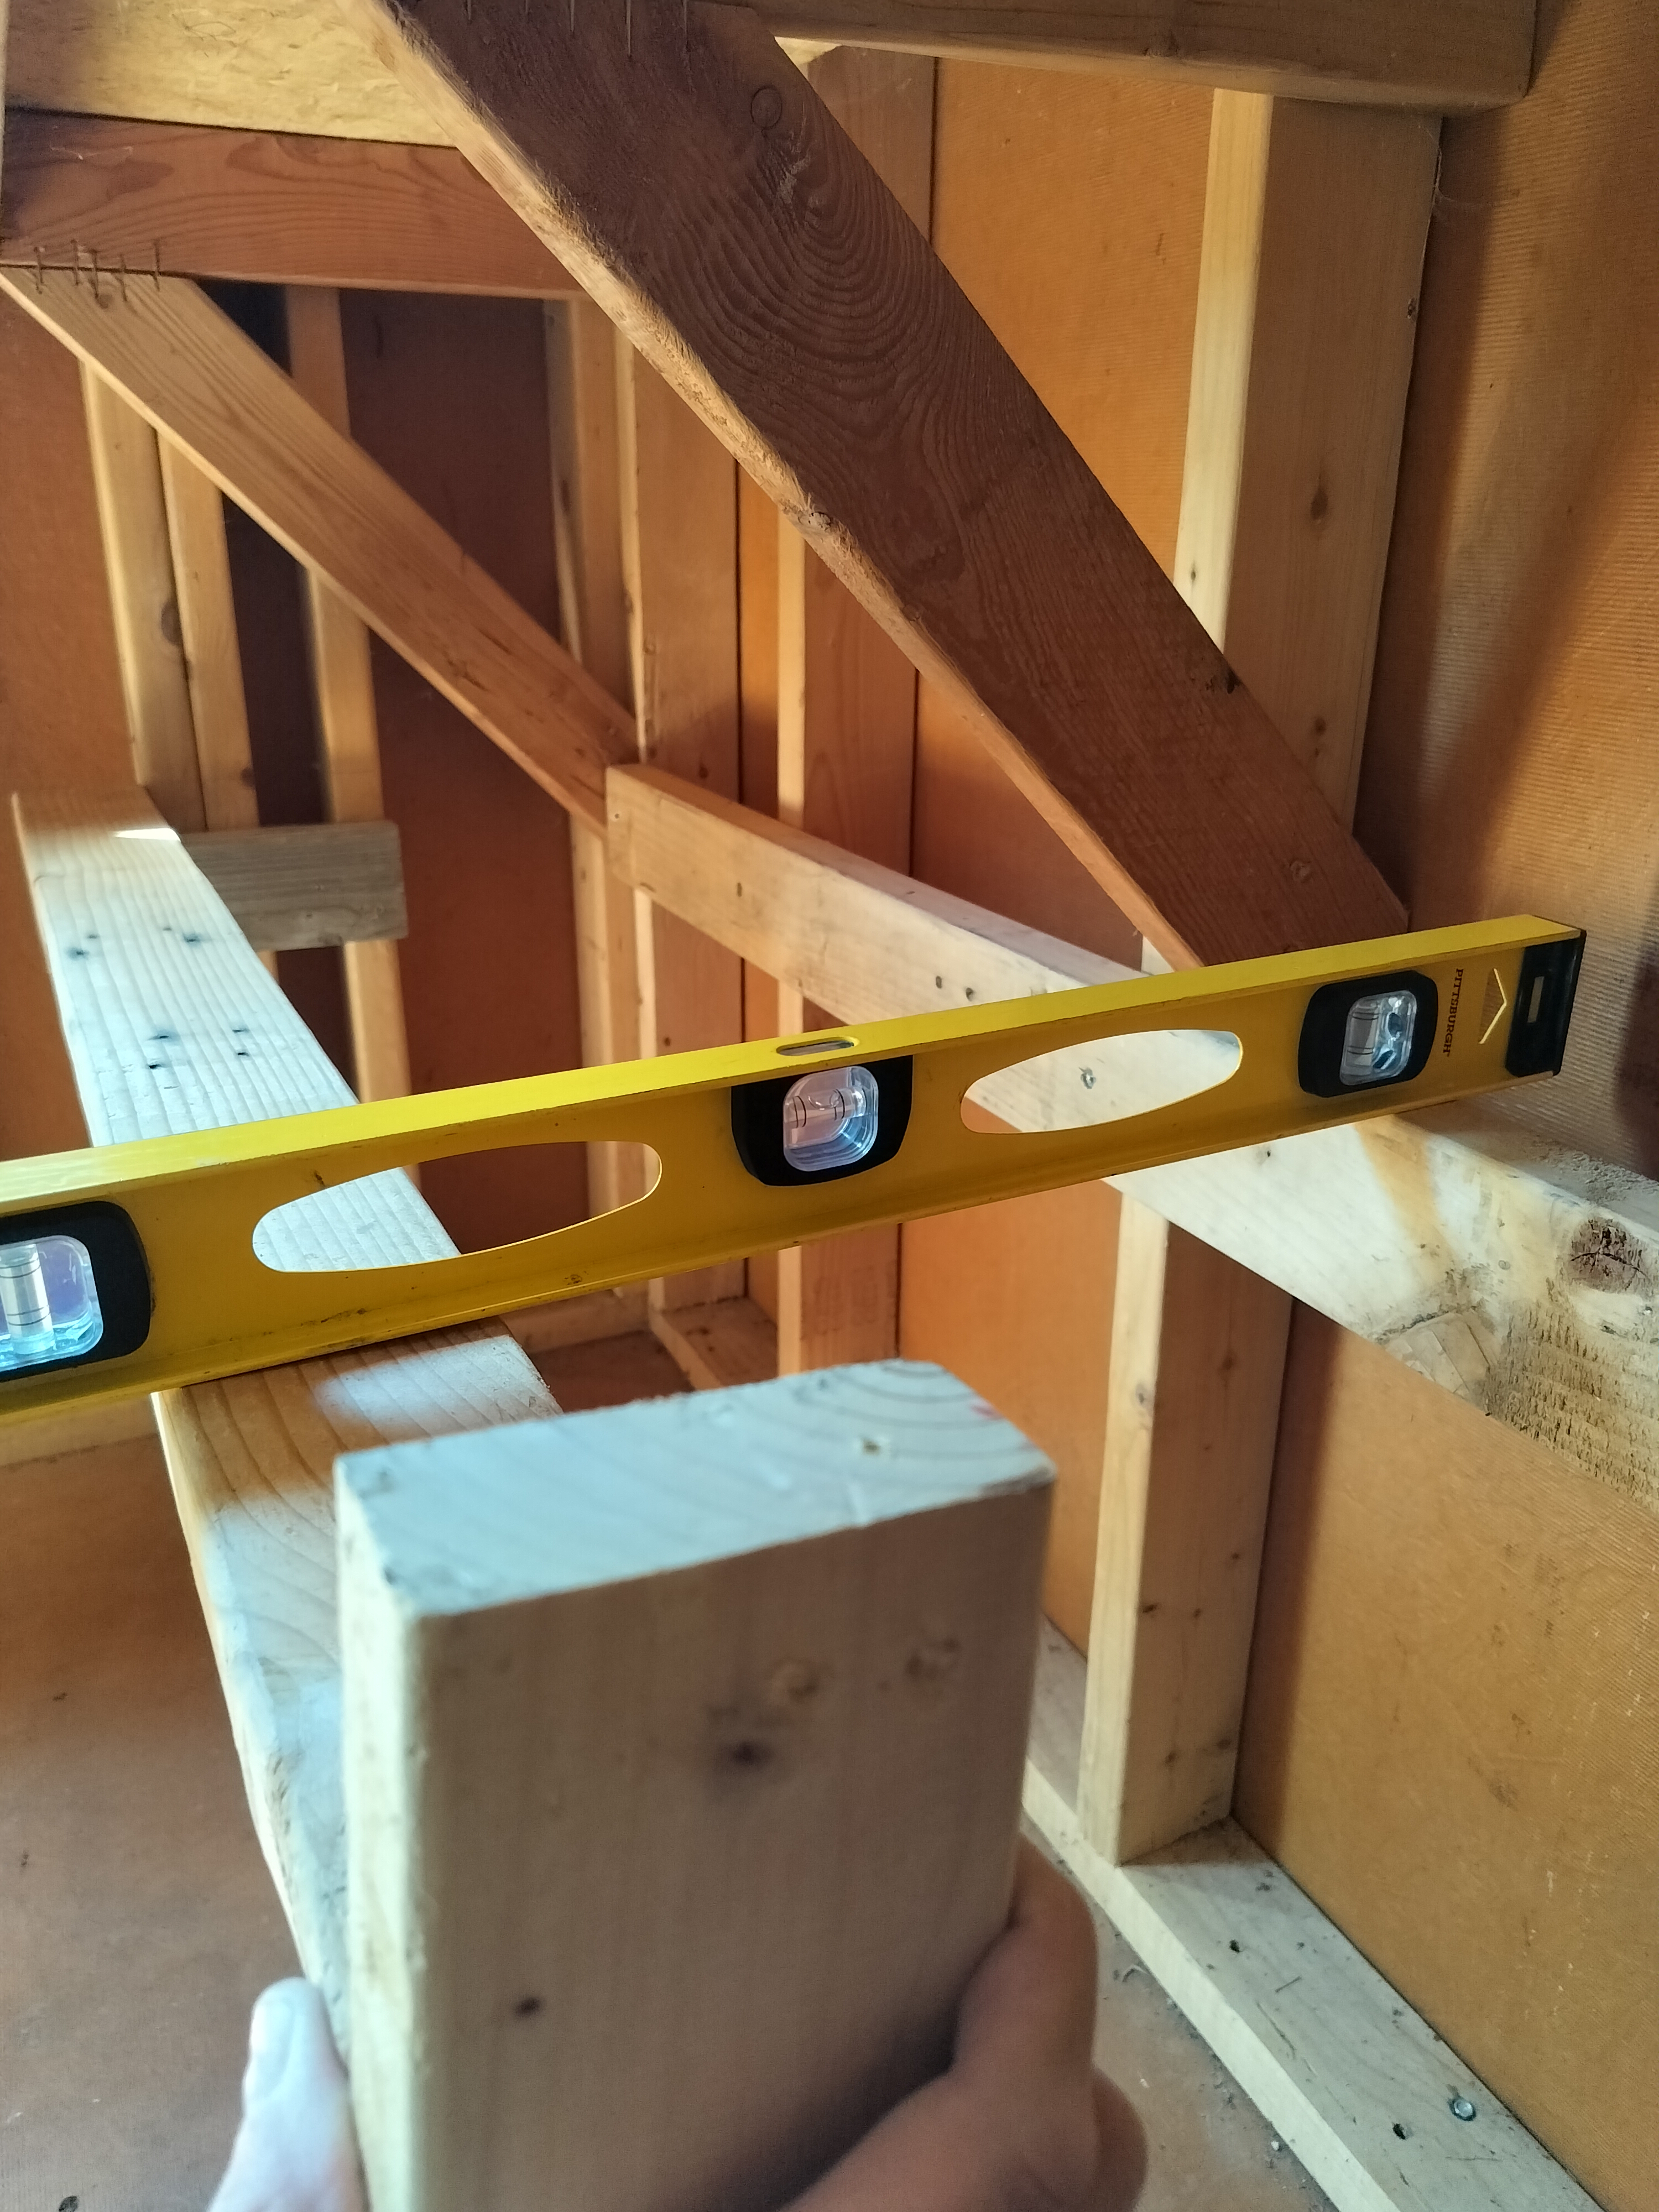
Front support dry fitted, and checking for plumb
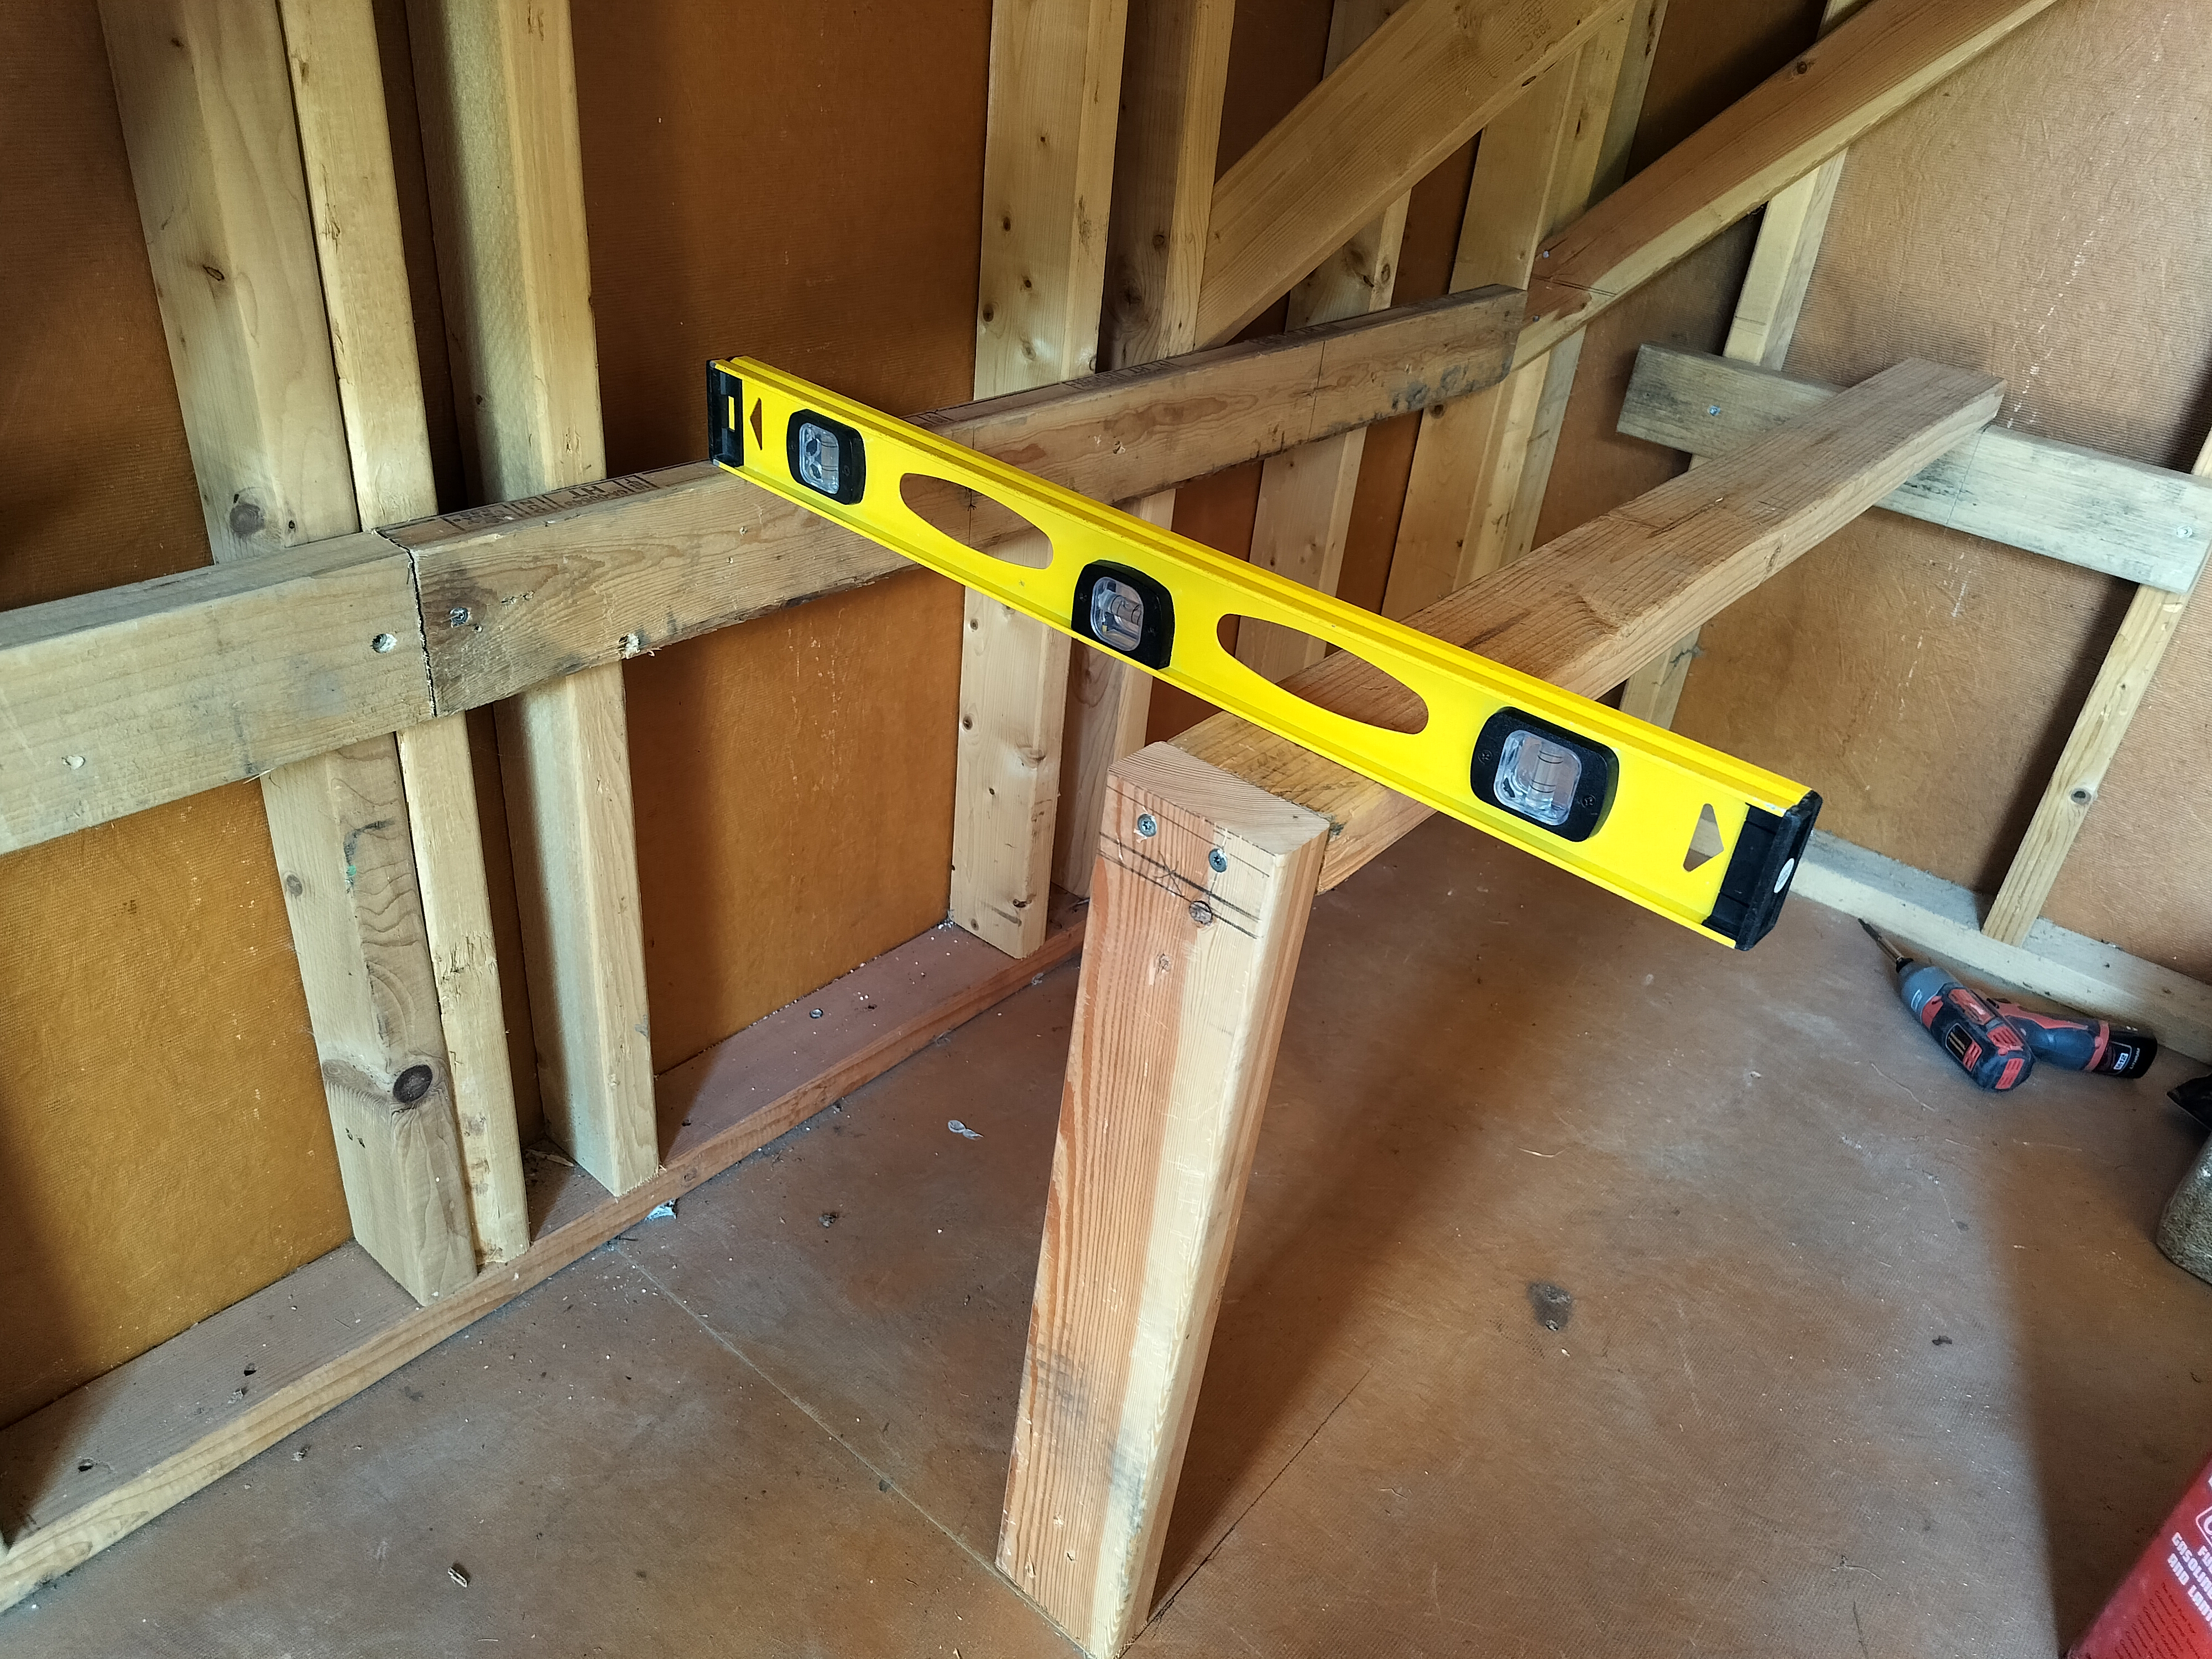
level enough!
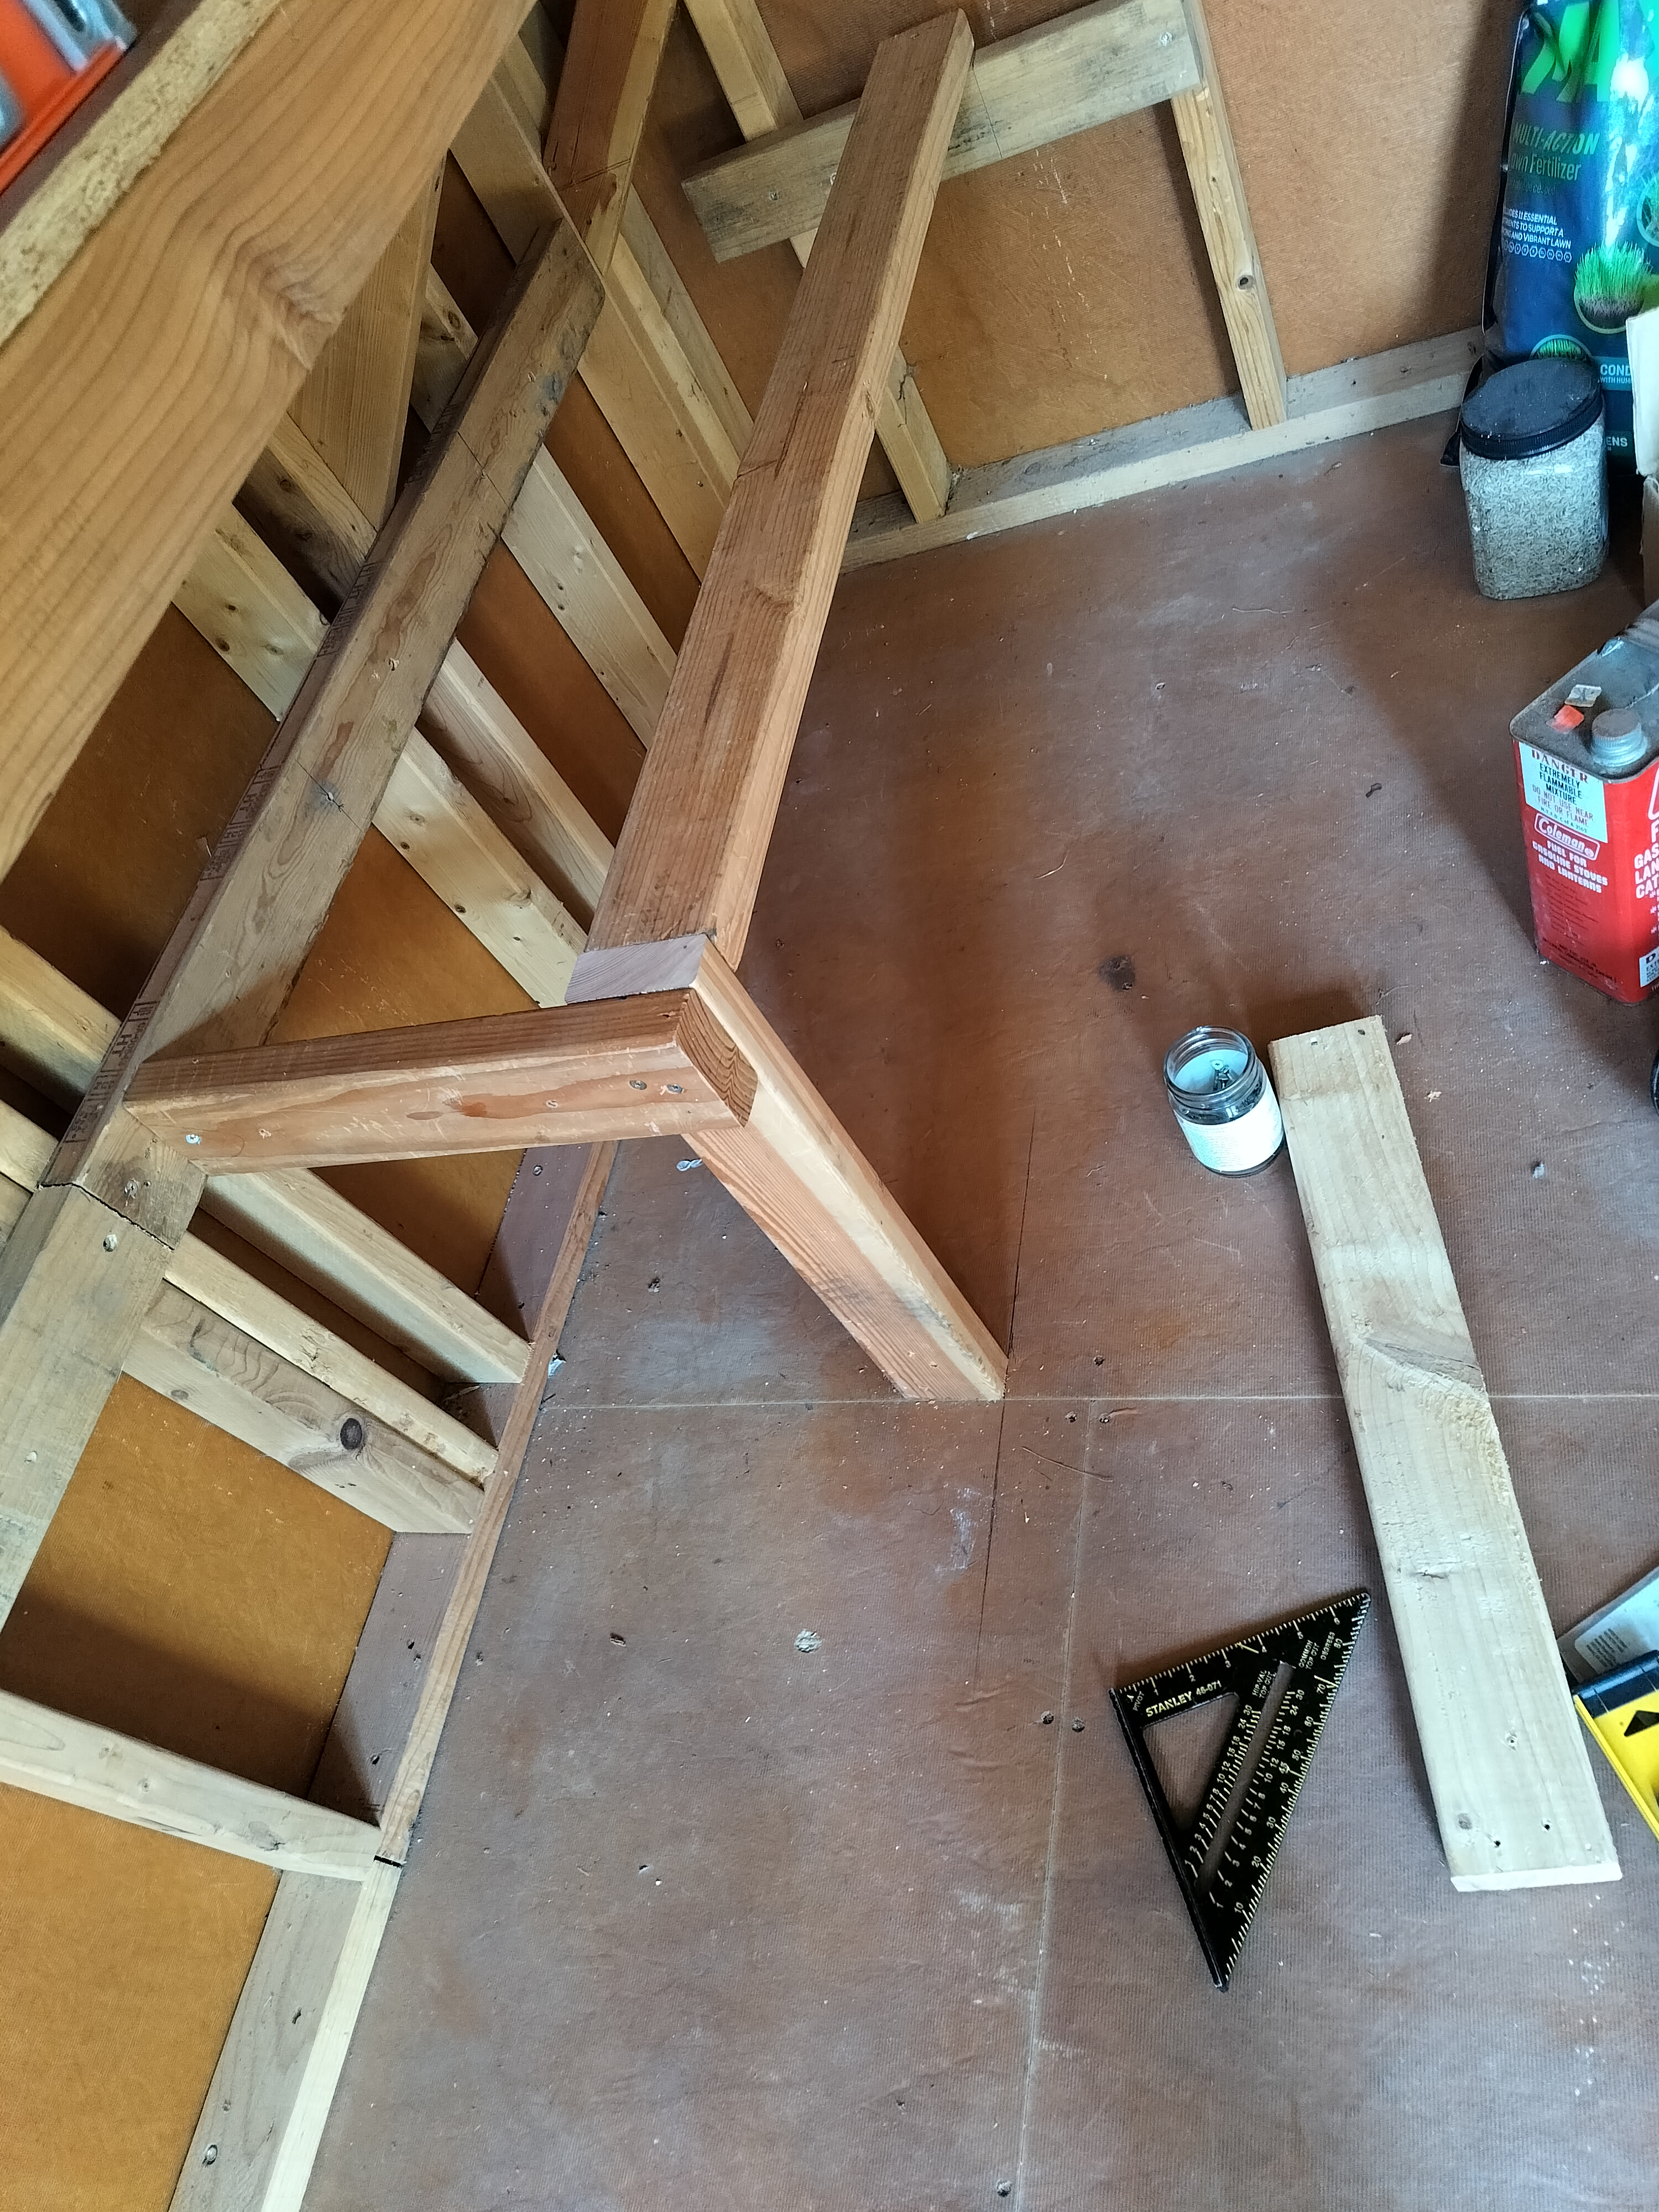
First section done!
Dry fitting the remaining front edges
More dry fitting
Other side is looking level
Double checking alignment with the workbench

Framing done!
First shelf surface added
Done! Starting to put things away.