Window Frame Replacement: From Rot to Restoration
A comprehensive window frame replacement project that turned deteriorating frames into solid, weather-resistant windows.
My window frames had started showing signs of rot and damage, so replacement became inevitable. What started as a simple inspection turned into a complete frame rebuild - but the results were worth every hour I invested in getting it right.
The transformation was dramatic. What had been failing, rotted frames became solid, properly sealed windows. Getting there required careful planning, the right materials, and attention to detail at every step.
The Problem Assessment
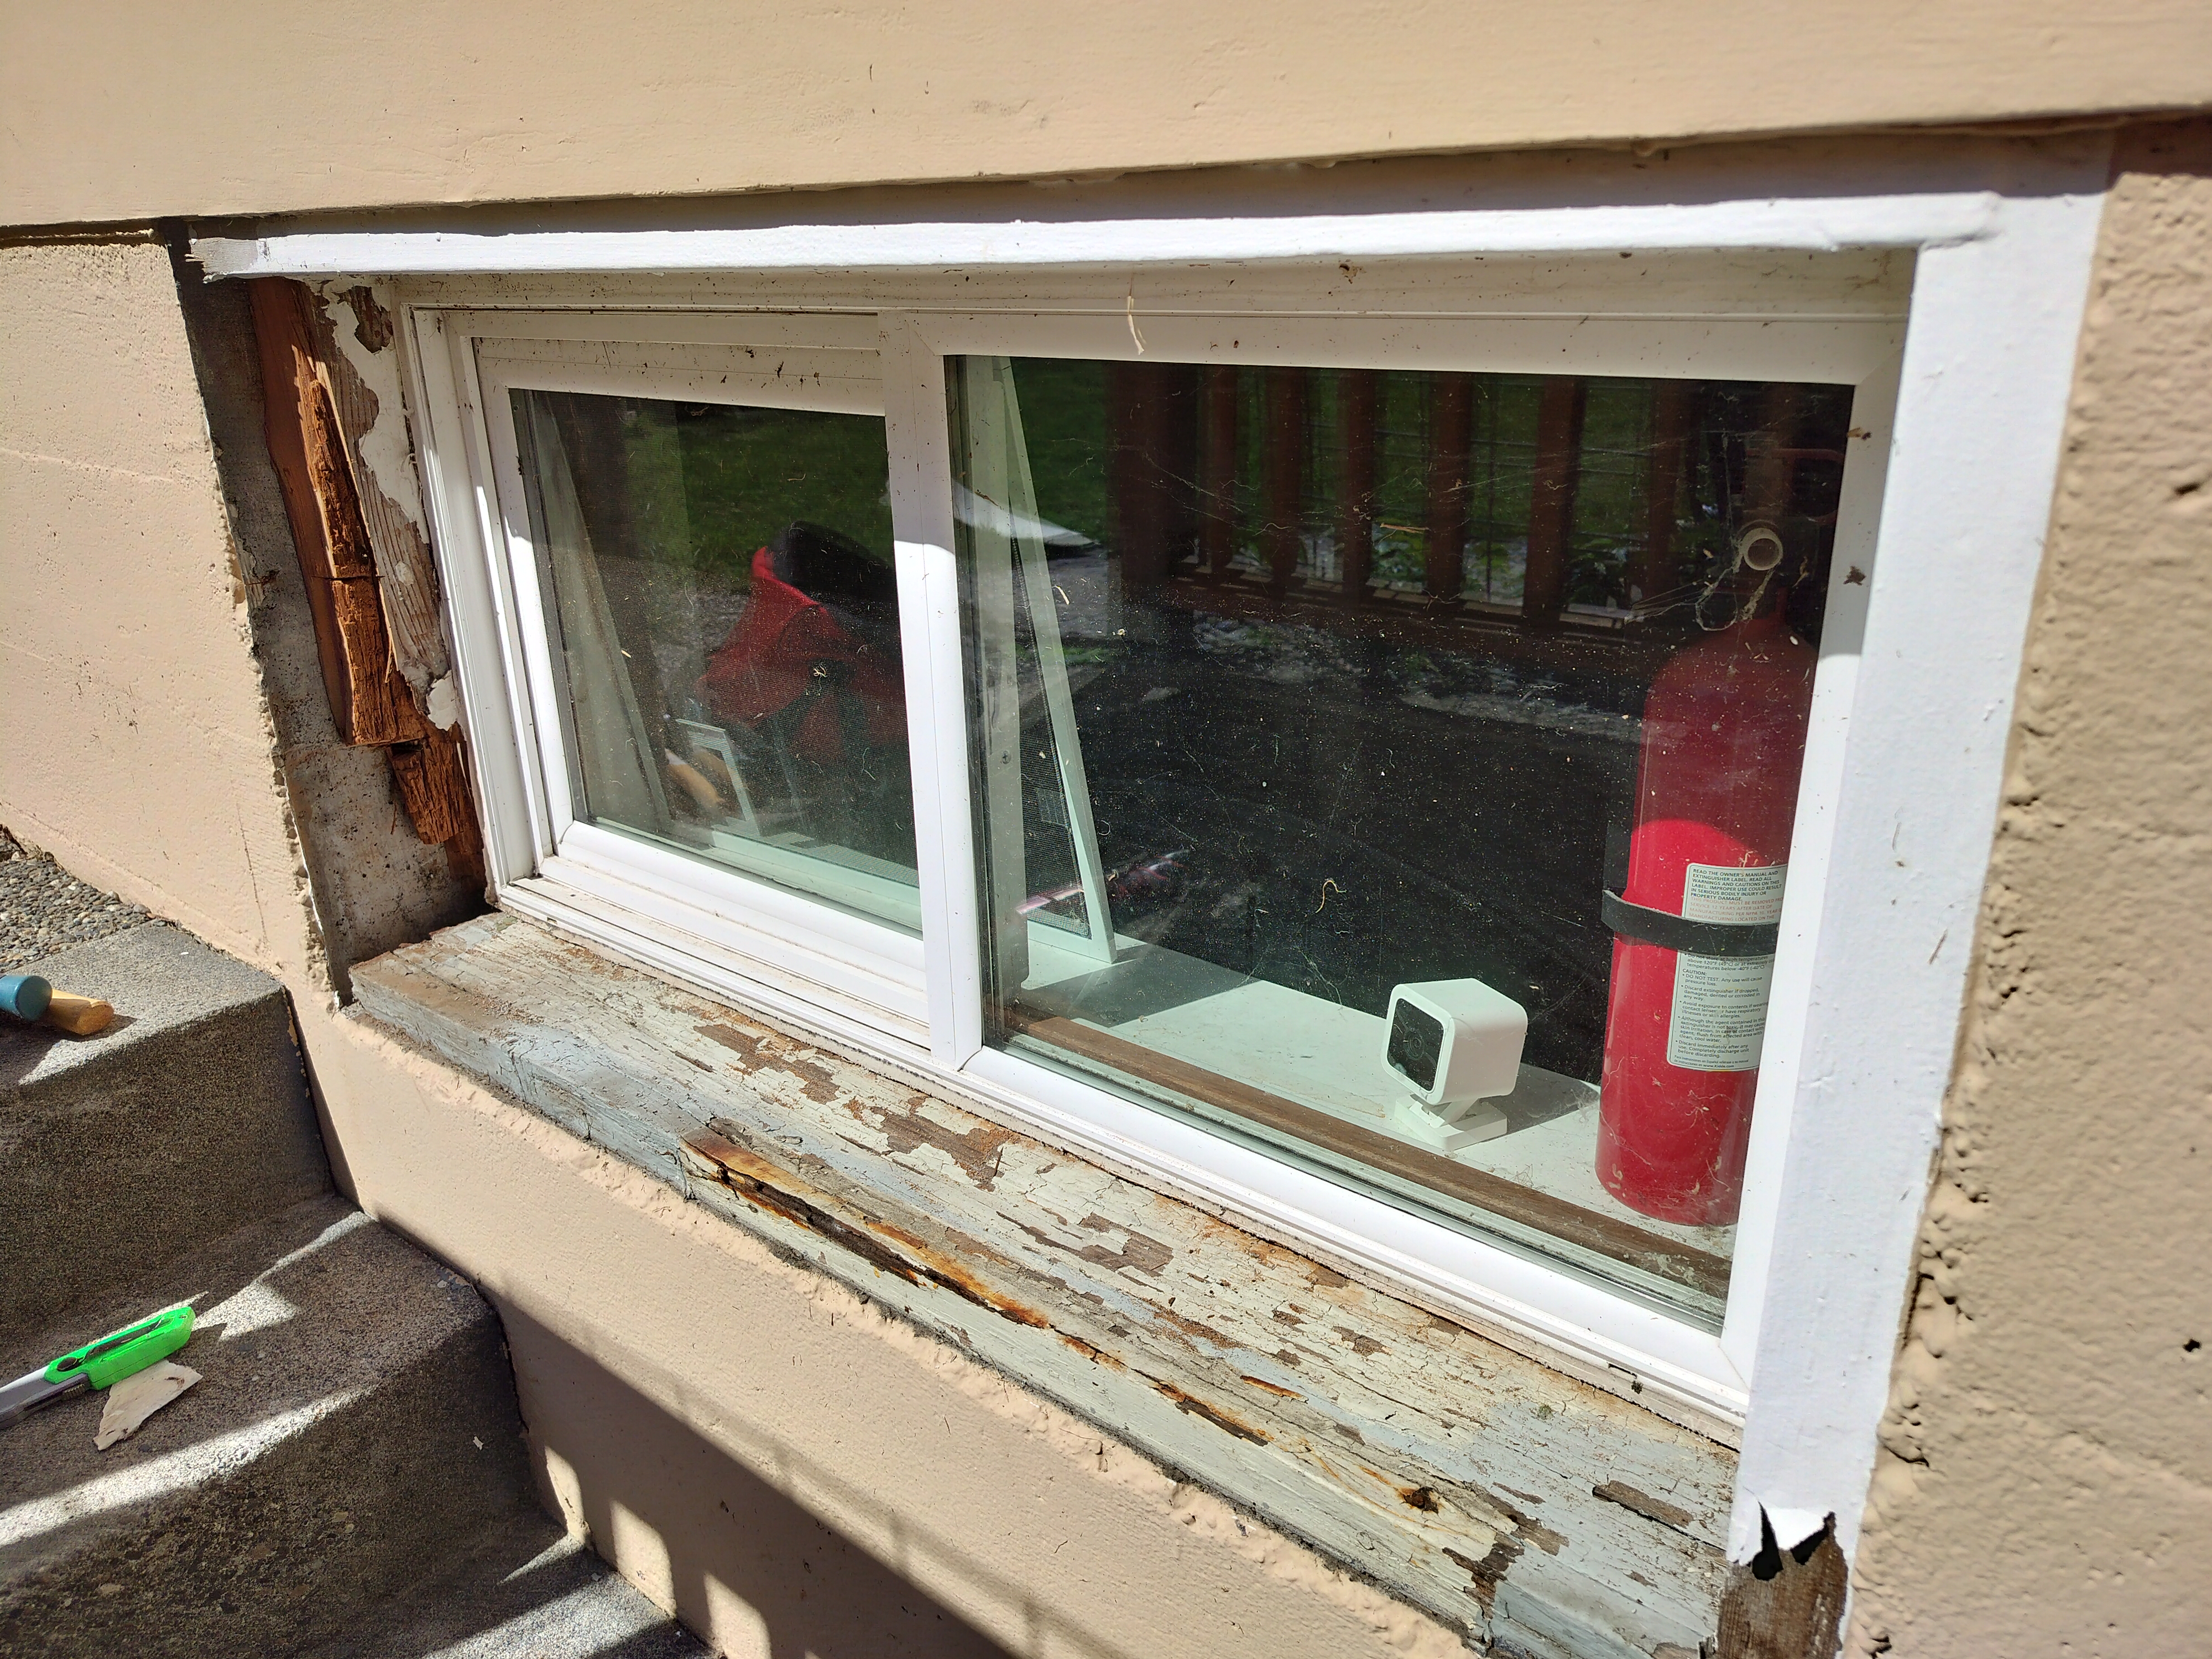
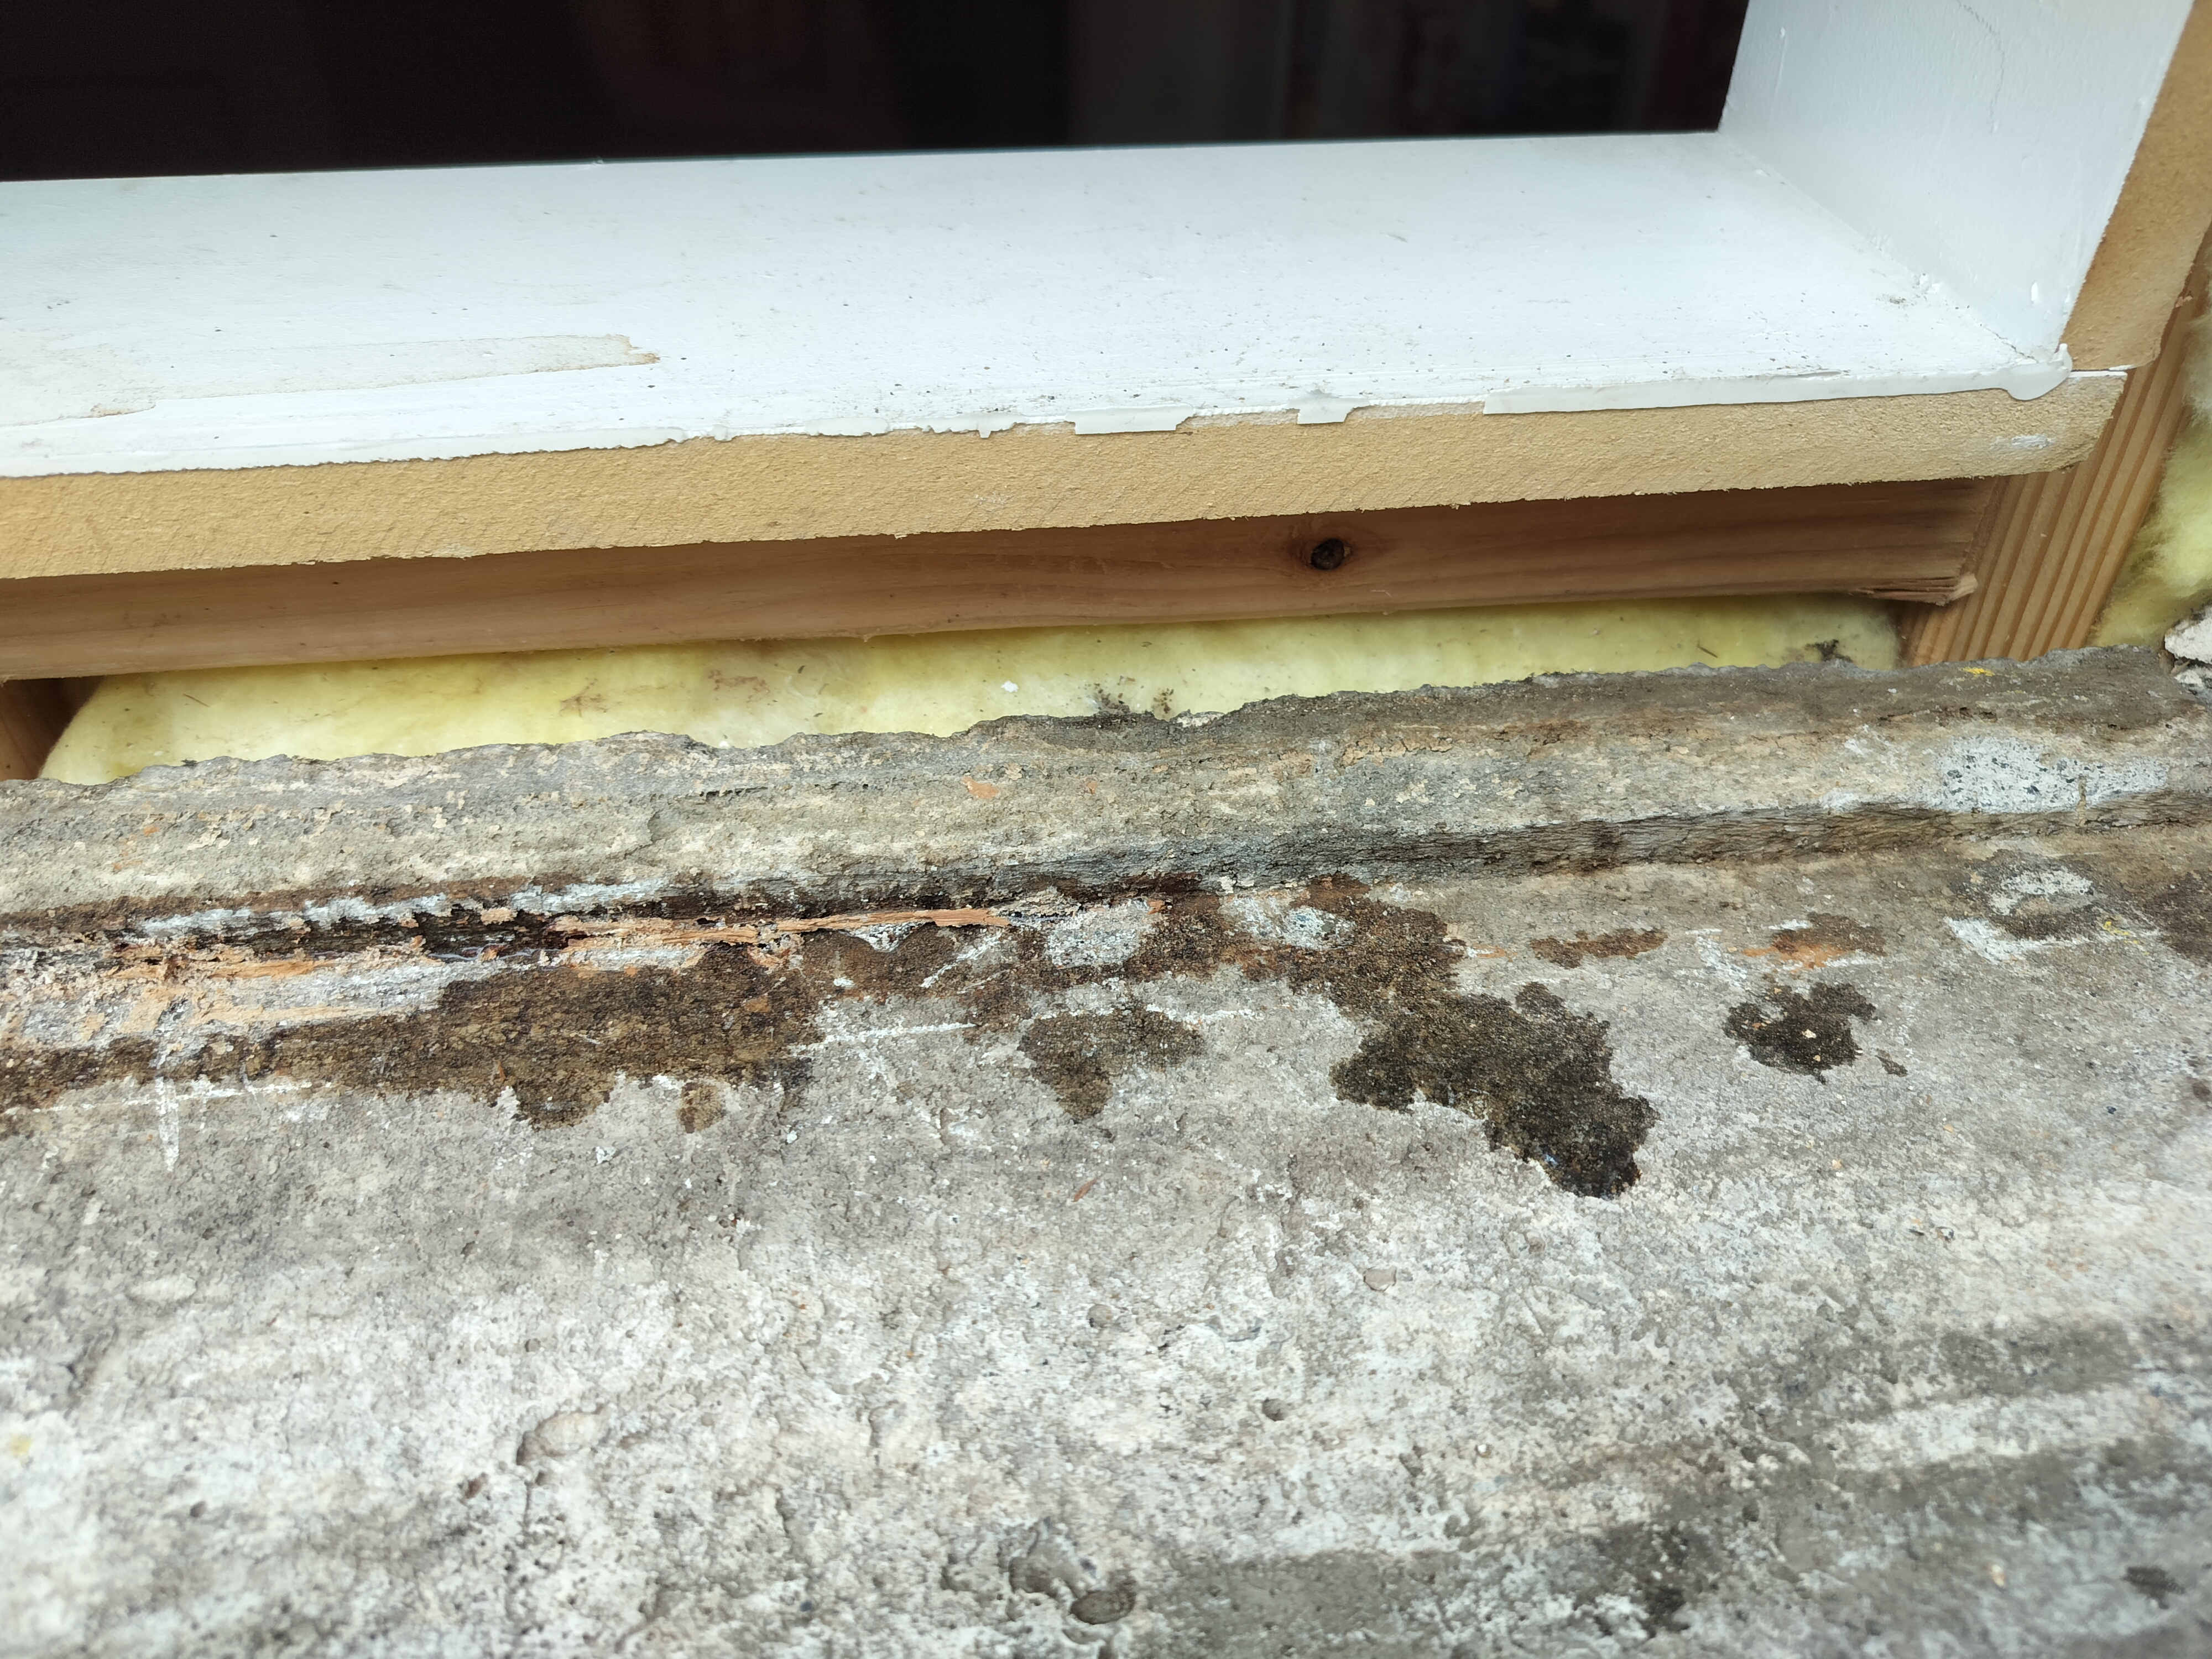
The framing around the window doubled as the concrete form when the basement foundation was poured. The wood was around 80 years old! At some point, sill flashing was added to keep the water out. It also hid the rot. It’s hard to say when the rot began though I suspect it’s been there for a while.
The jack studs showed bubbling on the paint and started to crack. I removed some paint to see the condition and those were rotted too. As I picked away at it to see how far back the rot went, I knew this problem needed a permanent fix.
The Strategic Approach
At first I thought I could remove the rotted wood, patch the edges to a flat edge, and cut wood pieces to fit. I tried using an epoxy filler kit from WoodEpox but it turned out to be more work and hassle than ripping everything out and replacing it. The project started moving fast once I began full demo of the old framing.
Game Plan:
- Remove old window framing completely
- Assess and repair any structural damage - luckily there was no rot or other issues behind the exterior wood
- Cut and prime the pressure treated wood. Pressure treated wood because it has contact with the concrete foundation wall.
- Install new frame materials with proper weatherproofing
- Ensure proper insulation and sealing
Key Lessons for Future Projects
Material selection matters. The kiln-dried heat treated pressure treated wood was great to work with.
It was much less “green” than typical wood I have purchased from big box stores. In the future I plan to shop from a local lumberyard. But sometimes in a pinch I have to make late evening runs to the big box stores because they have later hours.
Weatherproofing is critical. I made sure the sill was sloped away from the house. I did not use construction adhesive or block water exits from the framing. I left the joint between the jack studs and sill un-caulked, and left a drip edge on the sill without caulking the space where the sill meets the concrete. I had to think like water!
Tools that made the difference. Having the right tools made this project manageable. The circular saw handled most cuts, but I needed the table saw for precise angles. The coping saw was essential for finishing corner cuts on the sill that the circular saw couldn’t complete. The wonder bar made removal much easier than I expected, and the rotary hammer was crucial for drilling into the 80-year-old concrete.
Essential Tools List:
- Circular saw
- Table saw
- Coping saw for finishing corner cuts with the circular saw, mostly for the sill
- Wonder bar prybar
- Impact wrench
- Rotary hammer
- Tapcon screws
- KDHT pressure treated lumber
The Bottom Line
The windows are now properly sealed, structurally sound, and should provide decades of reliable service. I learned that wood patching is a last resort and is best suited for minor imperfections like nail or screw holes. Which reminds me that I need to fill the tapcon holes before we paint!
Next up: We’ll be having a contractor paint the exterior for us. I’ll be prepping hole saw patches from when we had blown insulation installed. The contractor will paint the new window framing for us. It’s primed and ready to go.
Photo Gallery
Initial Assessment and Damage
Initial window condition showing deterioration. At this point I’d removed the sill flashing to uncover the rotted wood underneath, and removed the rotted portions of the studs on the side.
After more wood rot removal. This is about when I realized that this was a full replacement job. Not a patching job.

Removal and Construction Process
After unscrewing the window from the framing, I cut through the caulking with a utility knife. I removed the vinyl window, and then removed all of the framing. It came out with a wonder bar and some elbow grease.
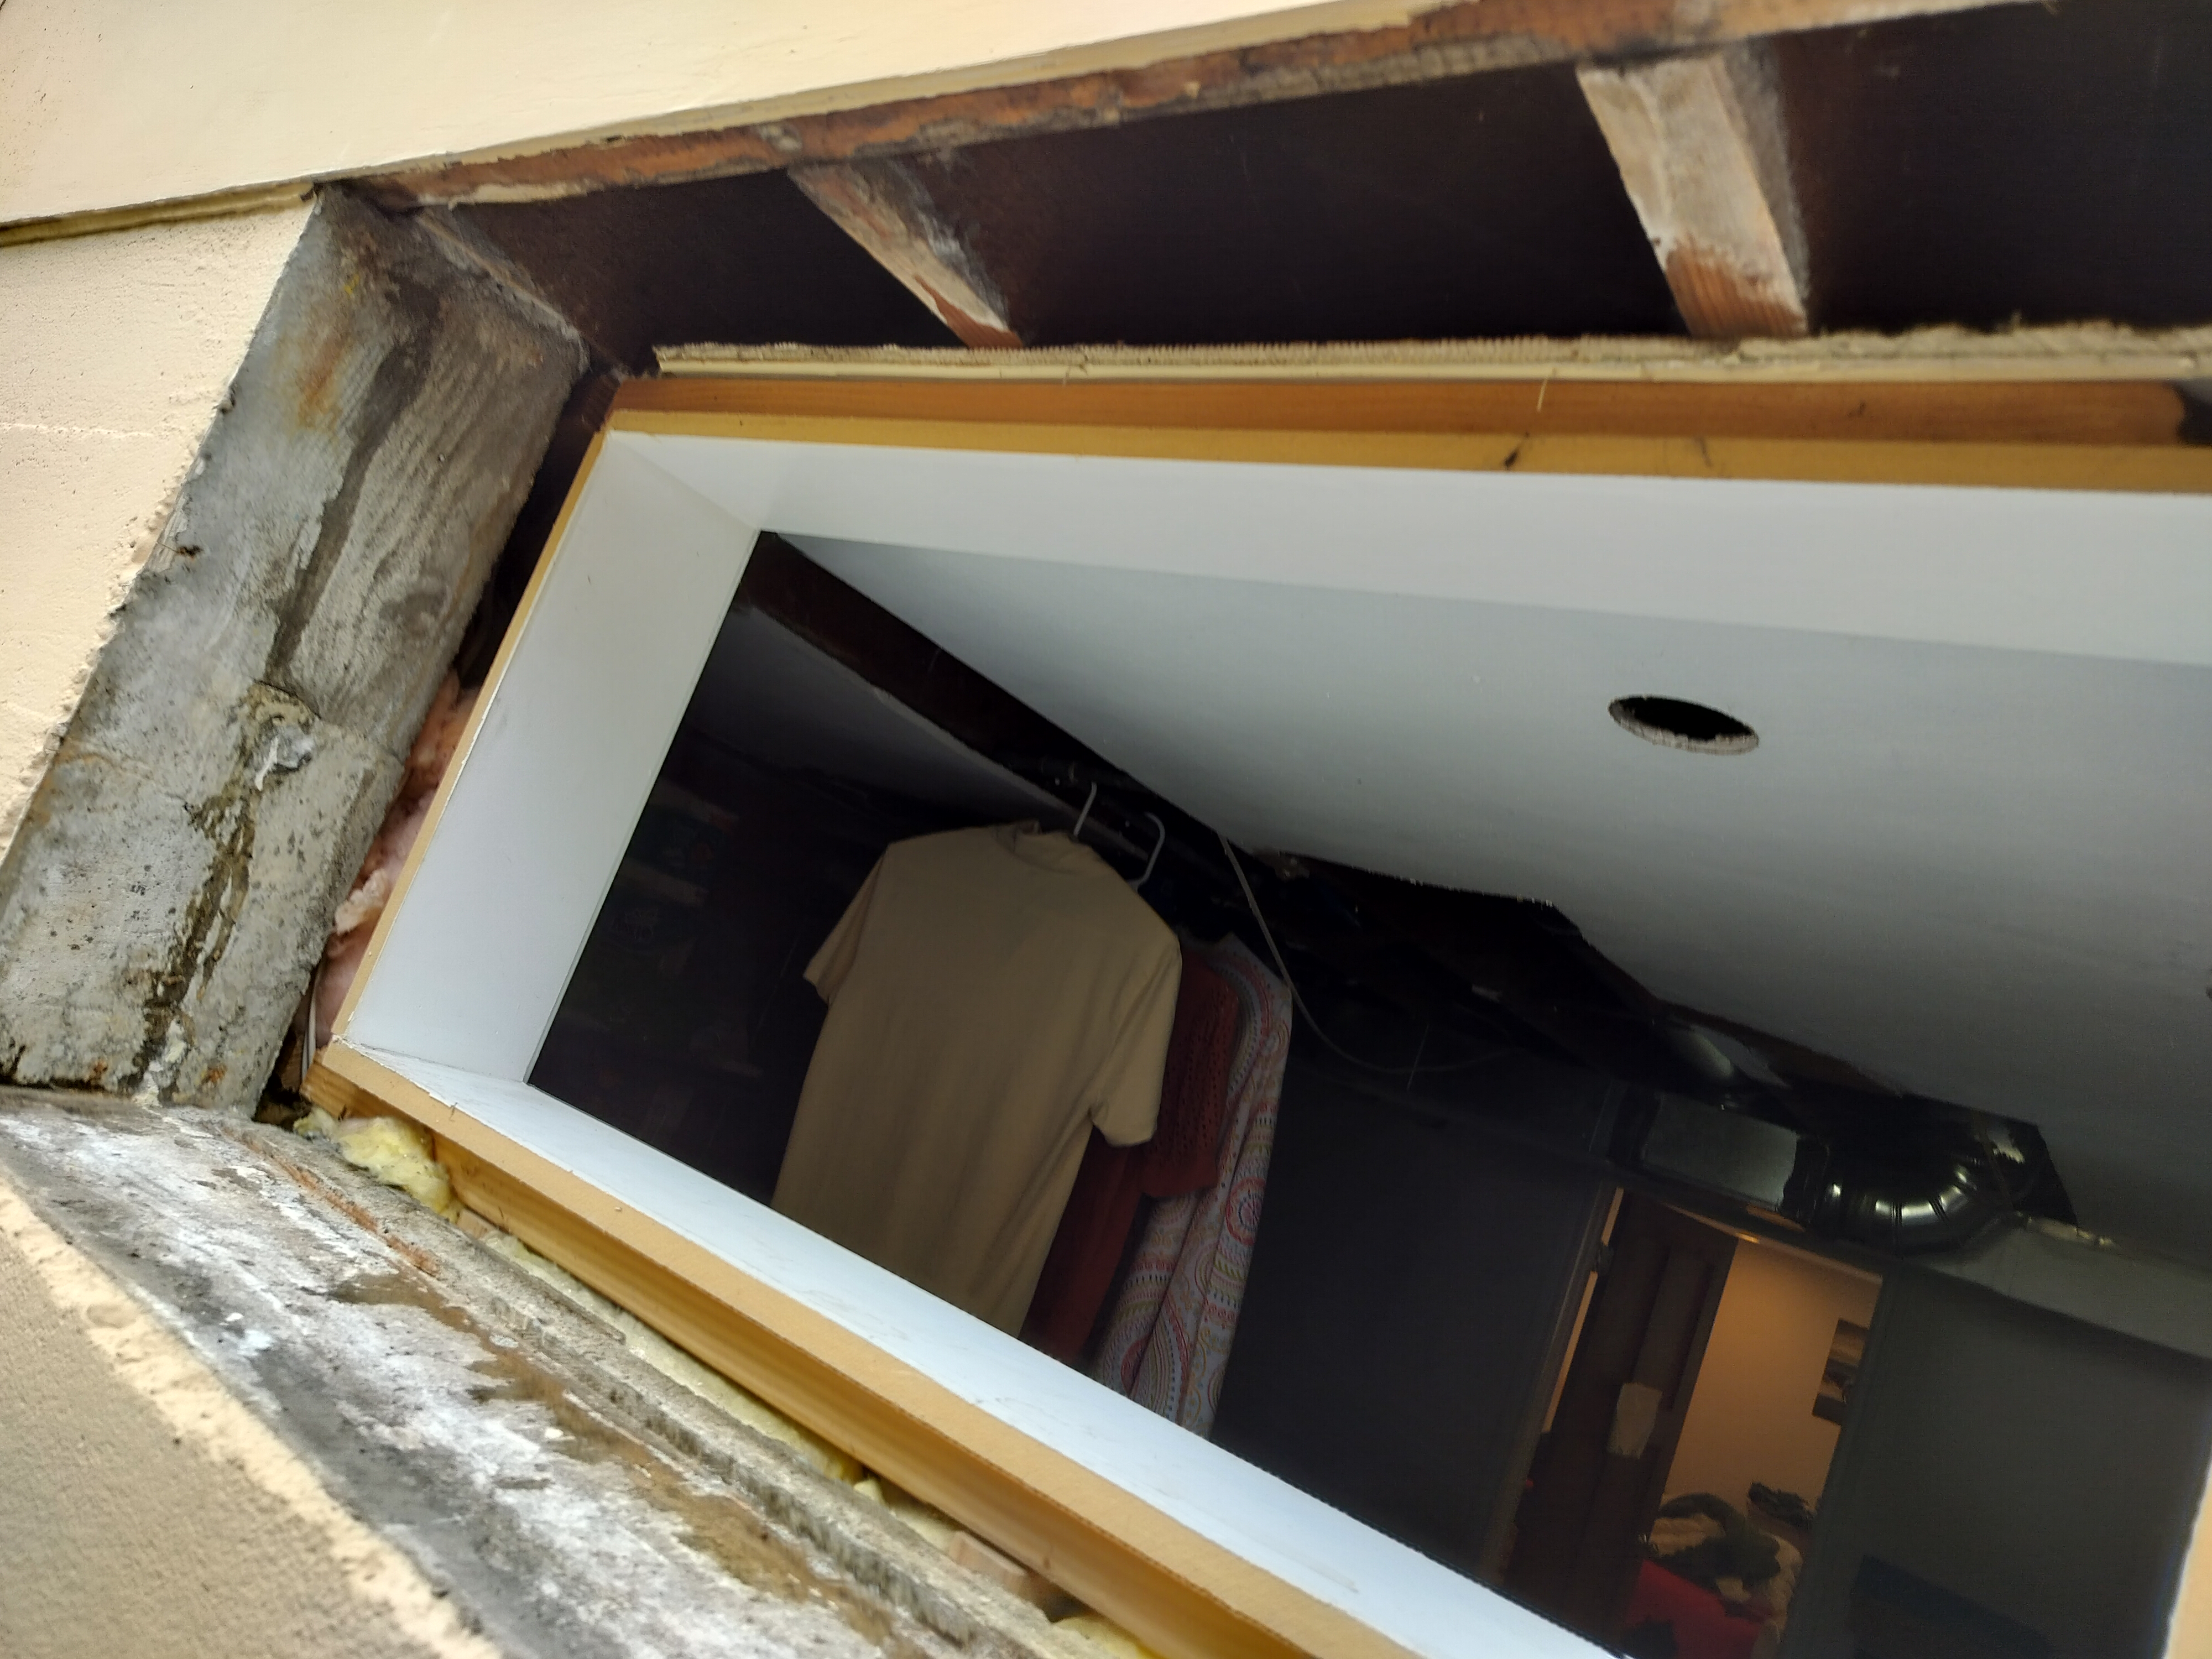
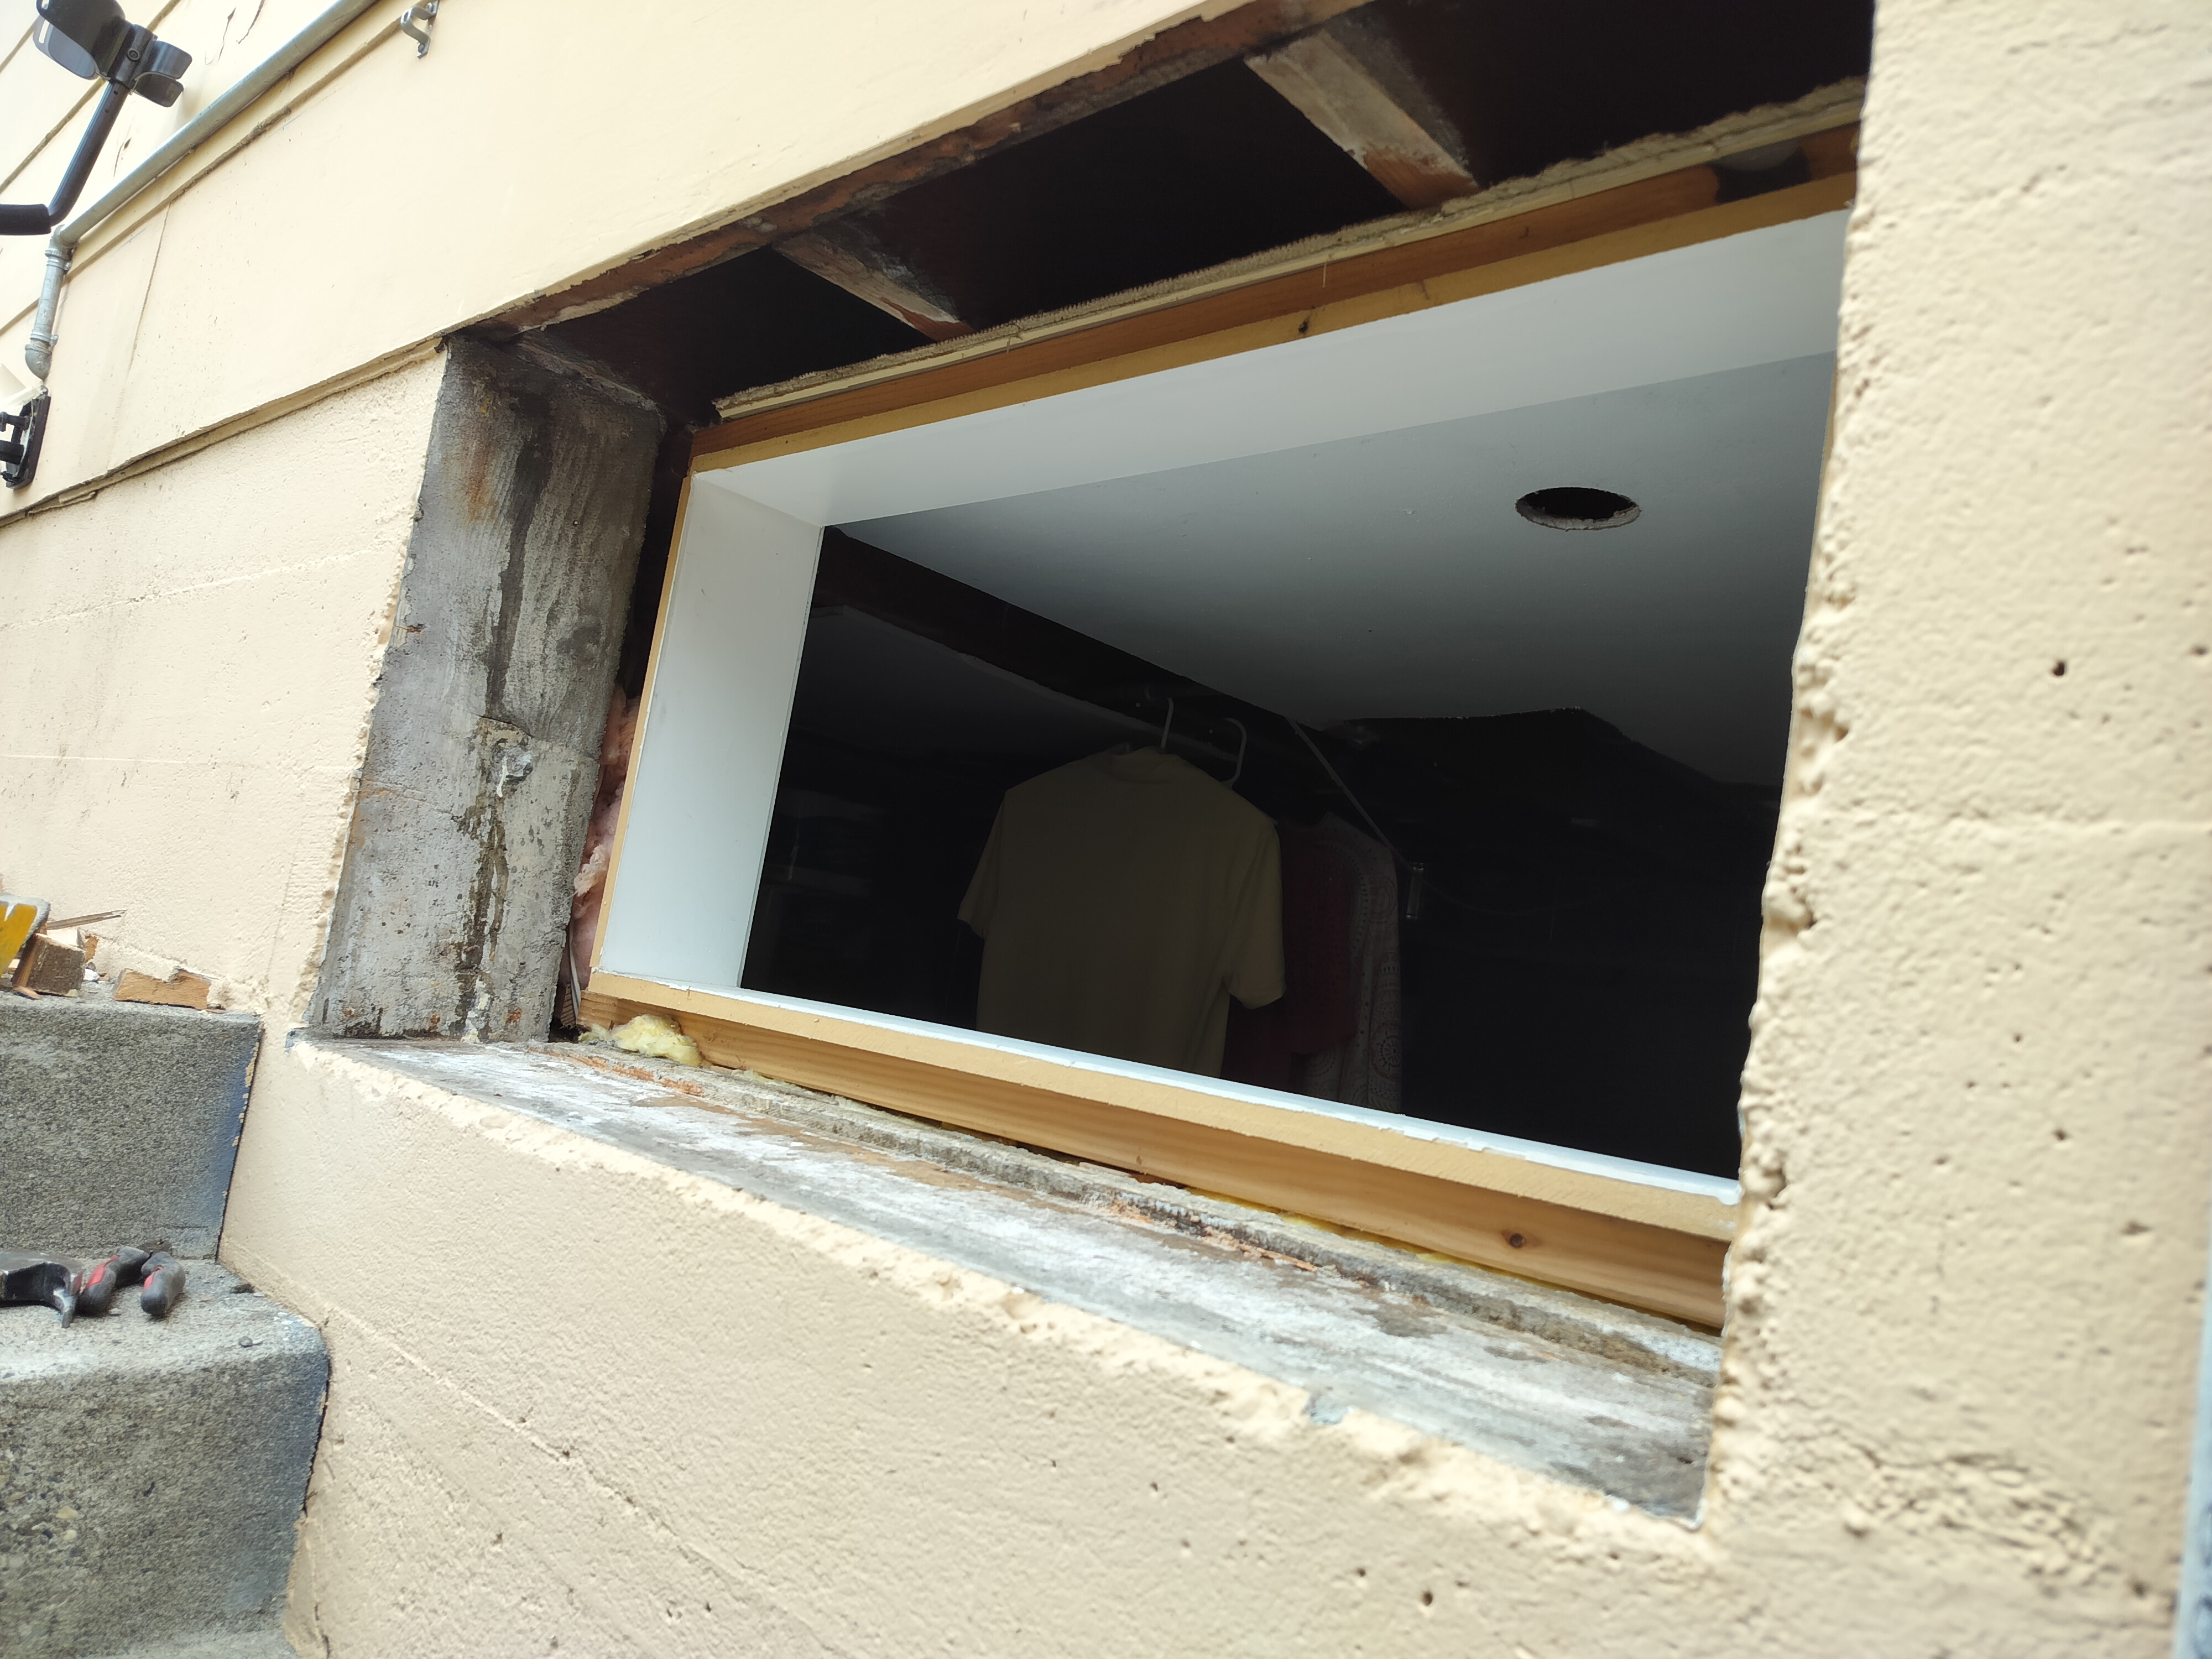
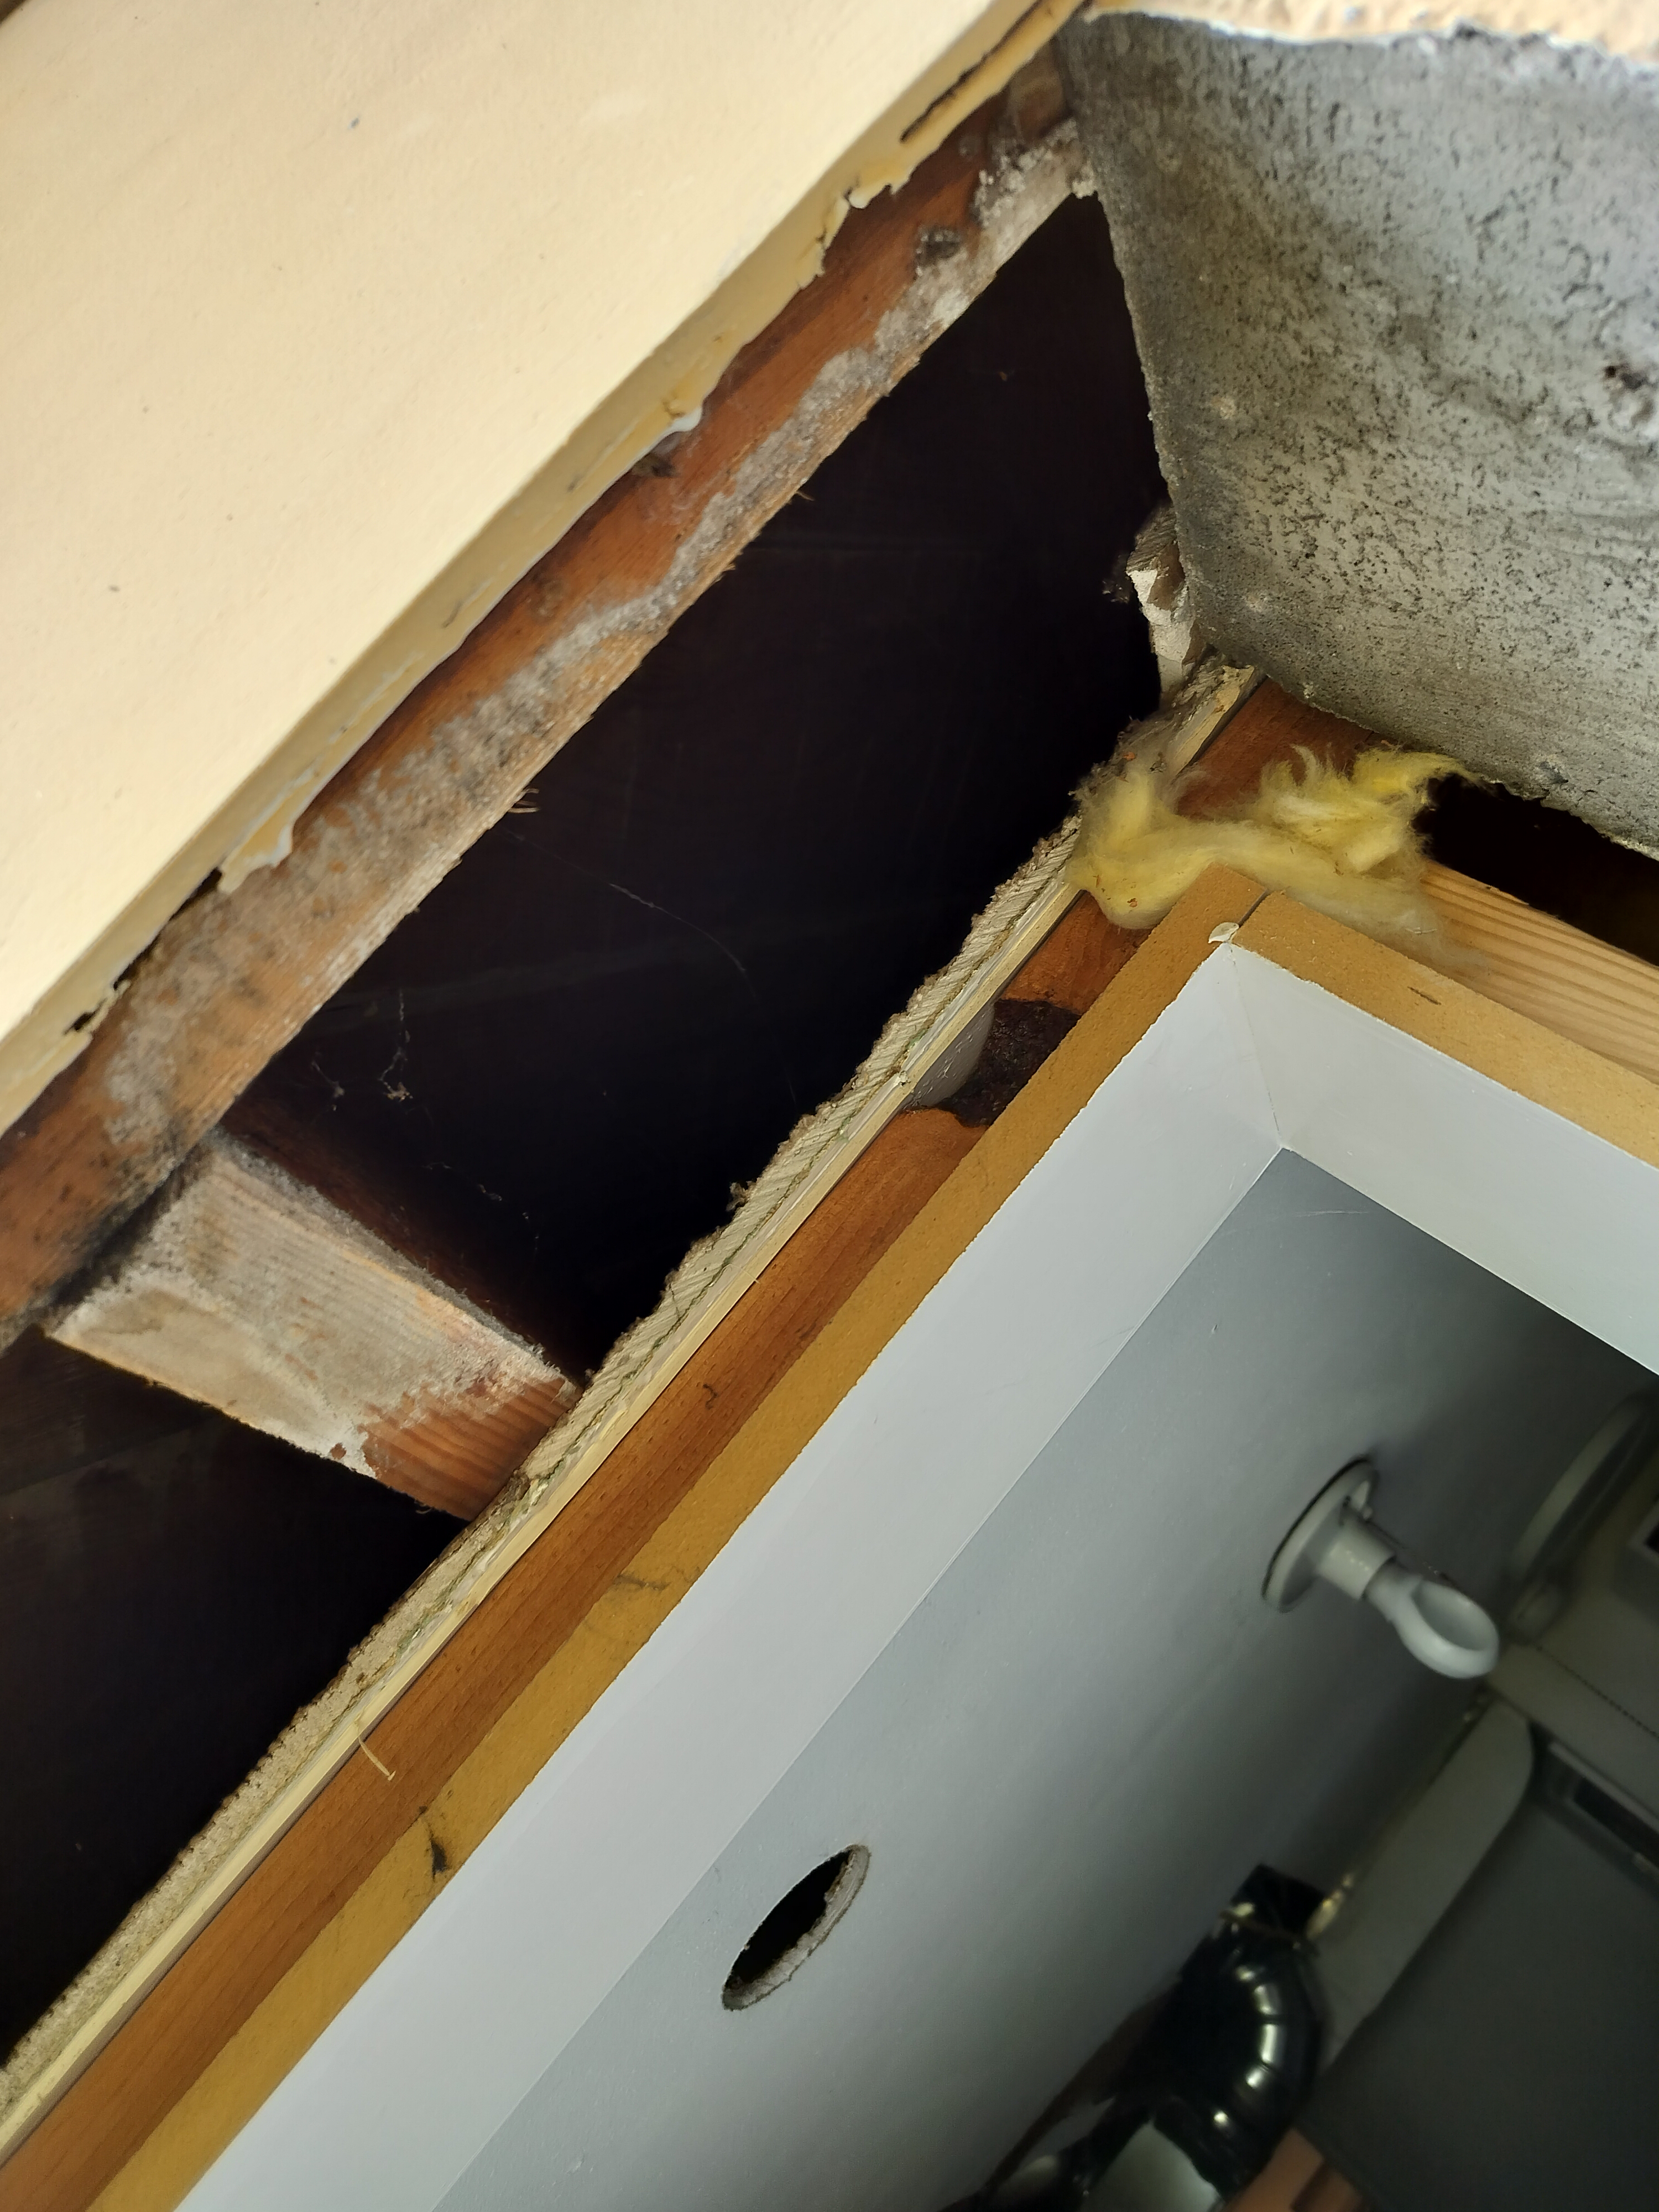
Wider view of frame condition during removal. Don’t mind the interior drywall, that’s a project for another time.
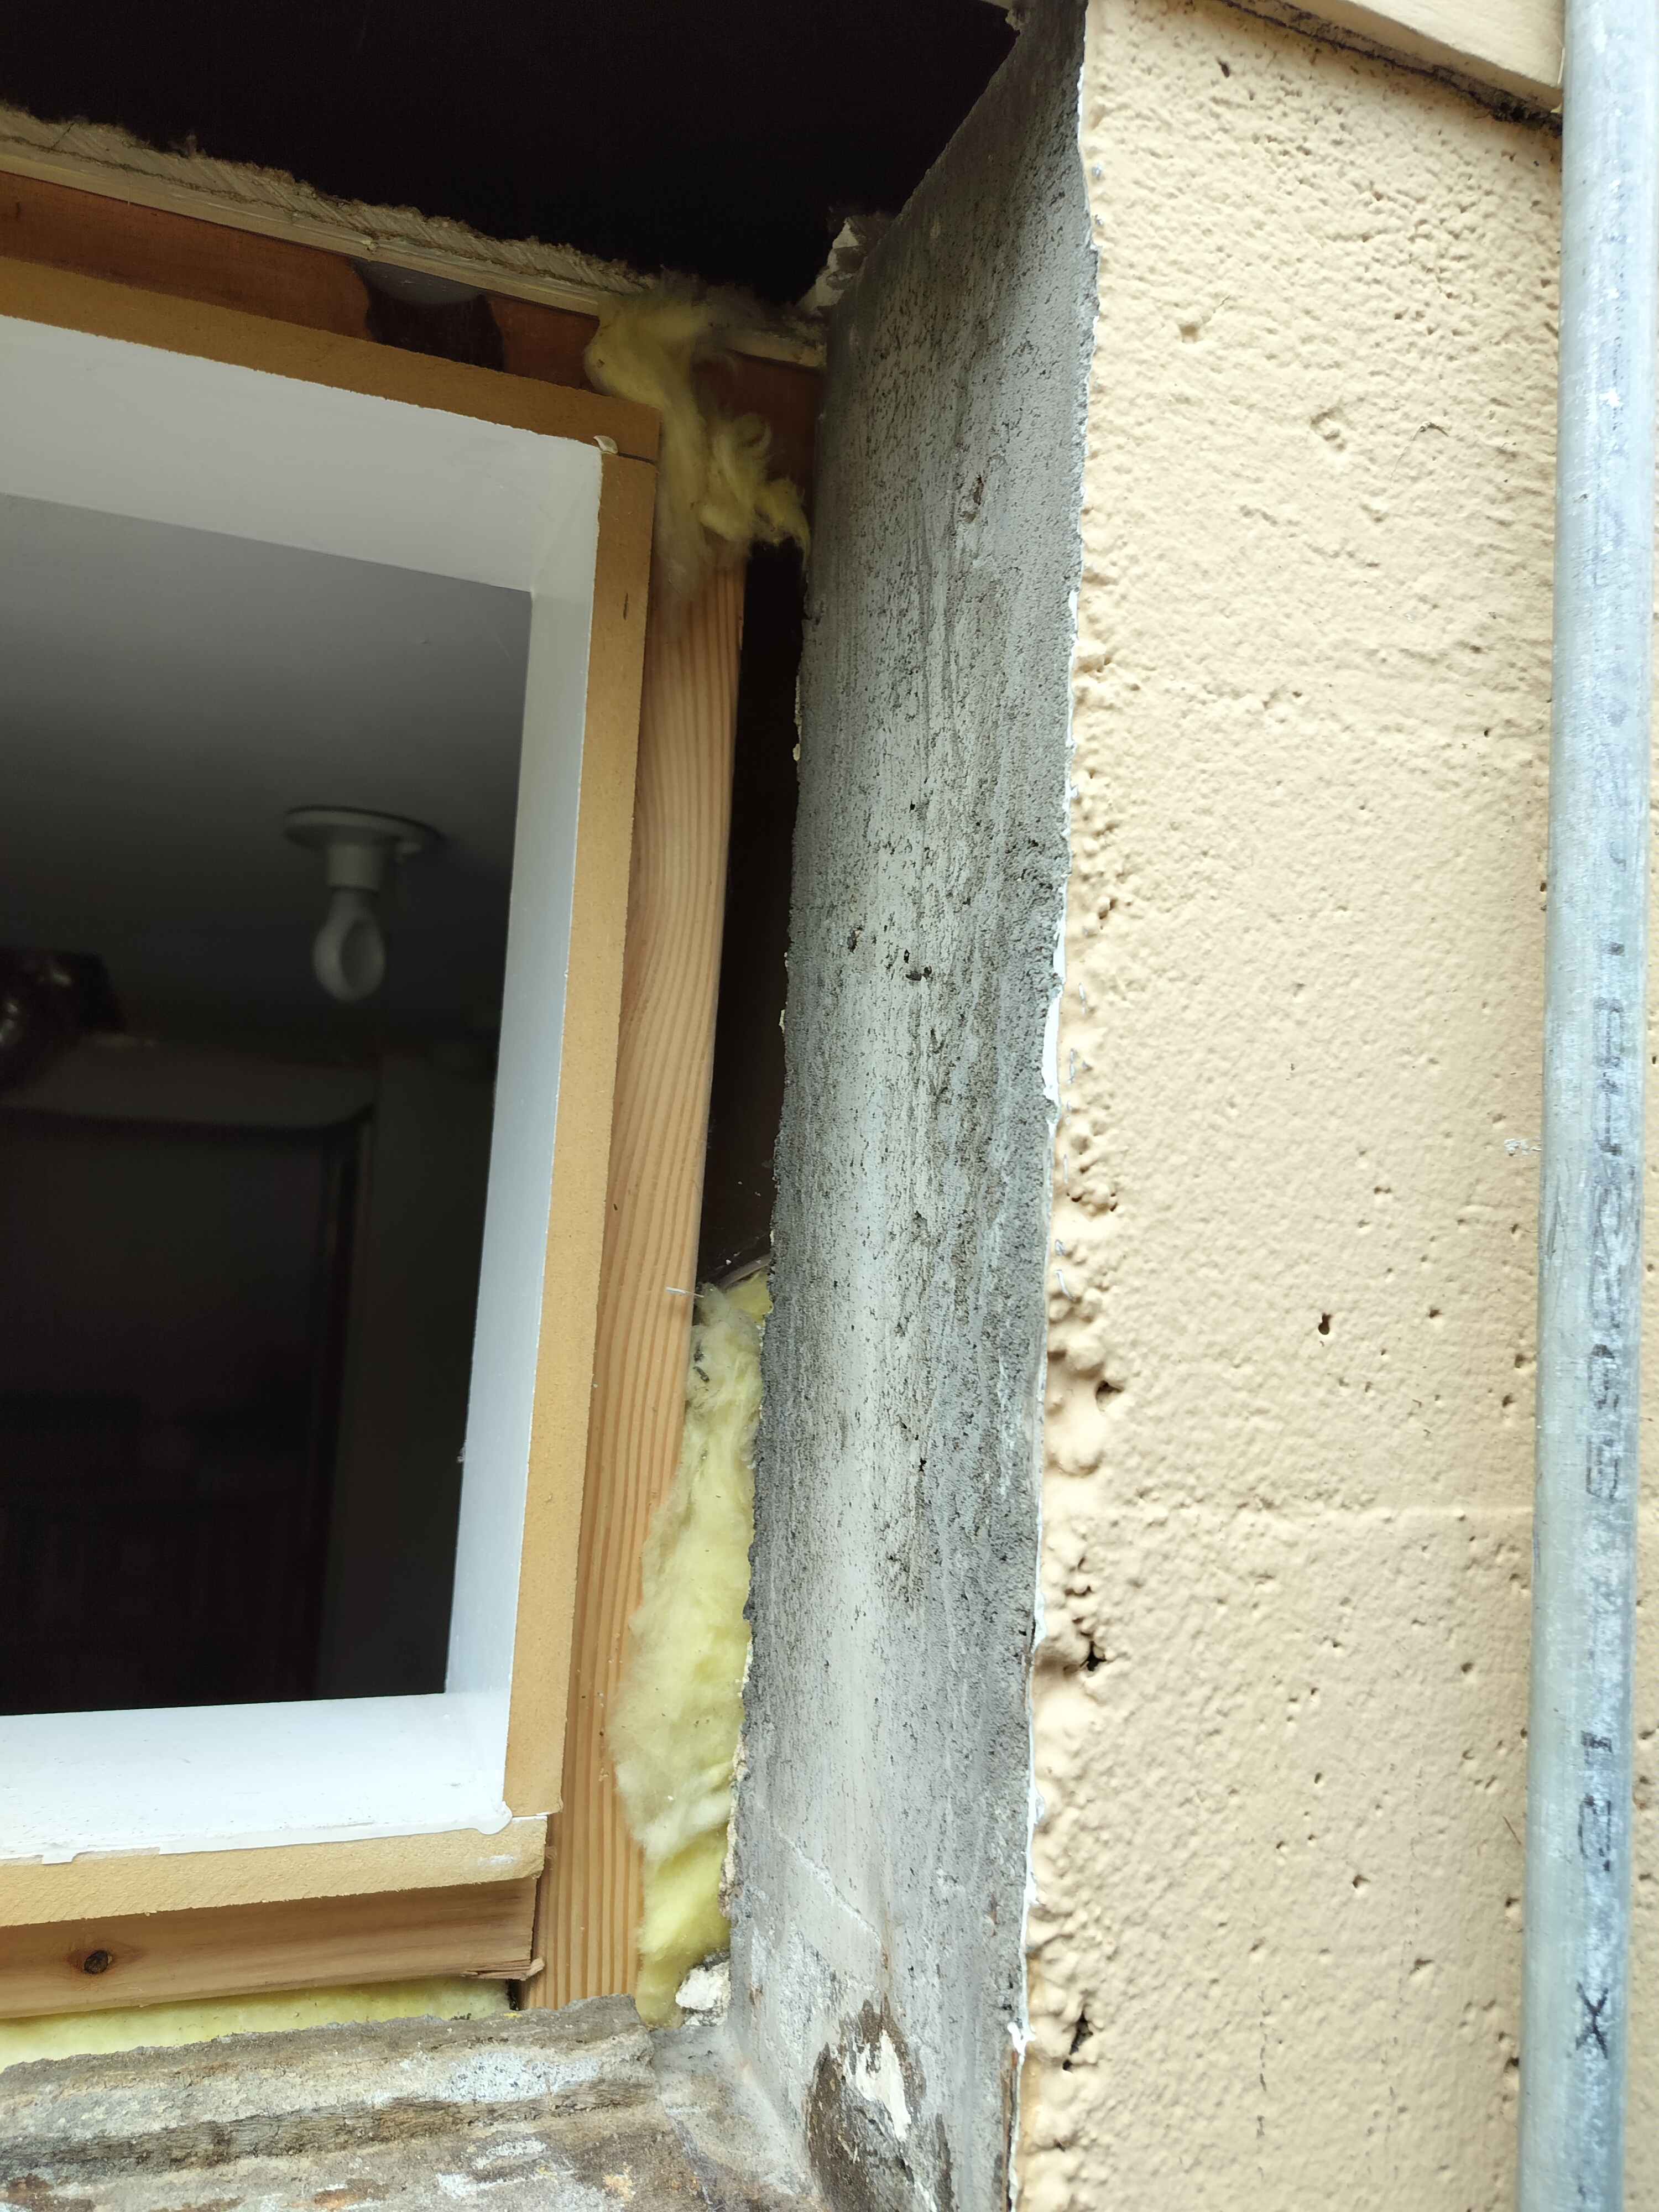
Closeup of the interior wall framing and casing components. The interior wall butts up to the concrete foundation wall. That all stayed the same.
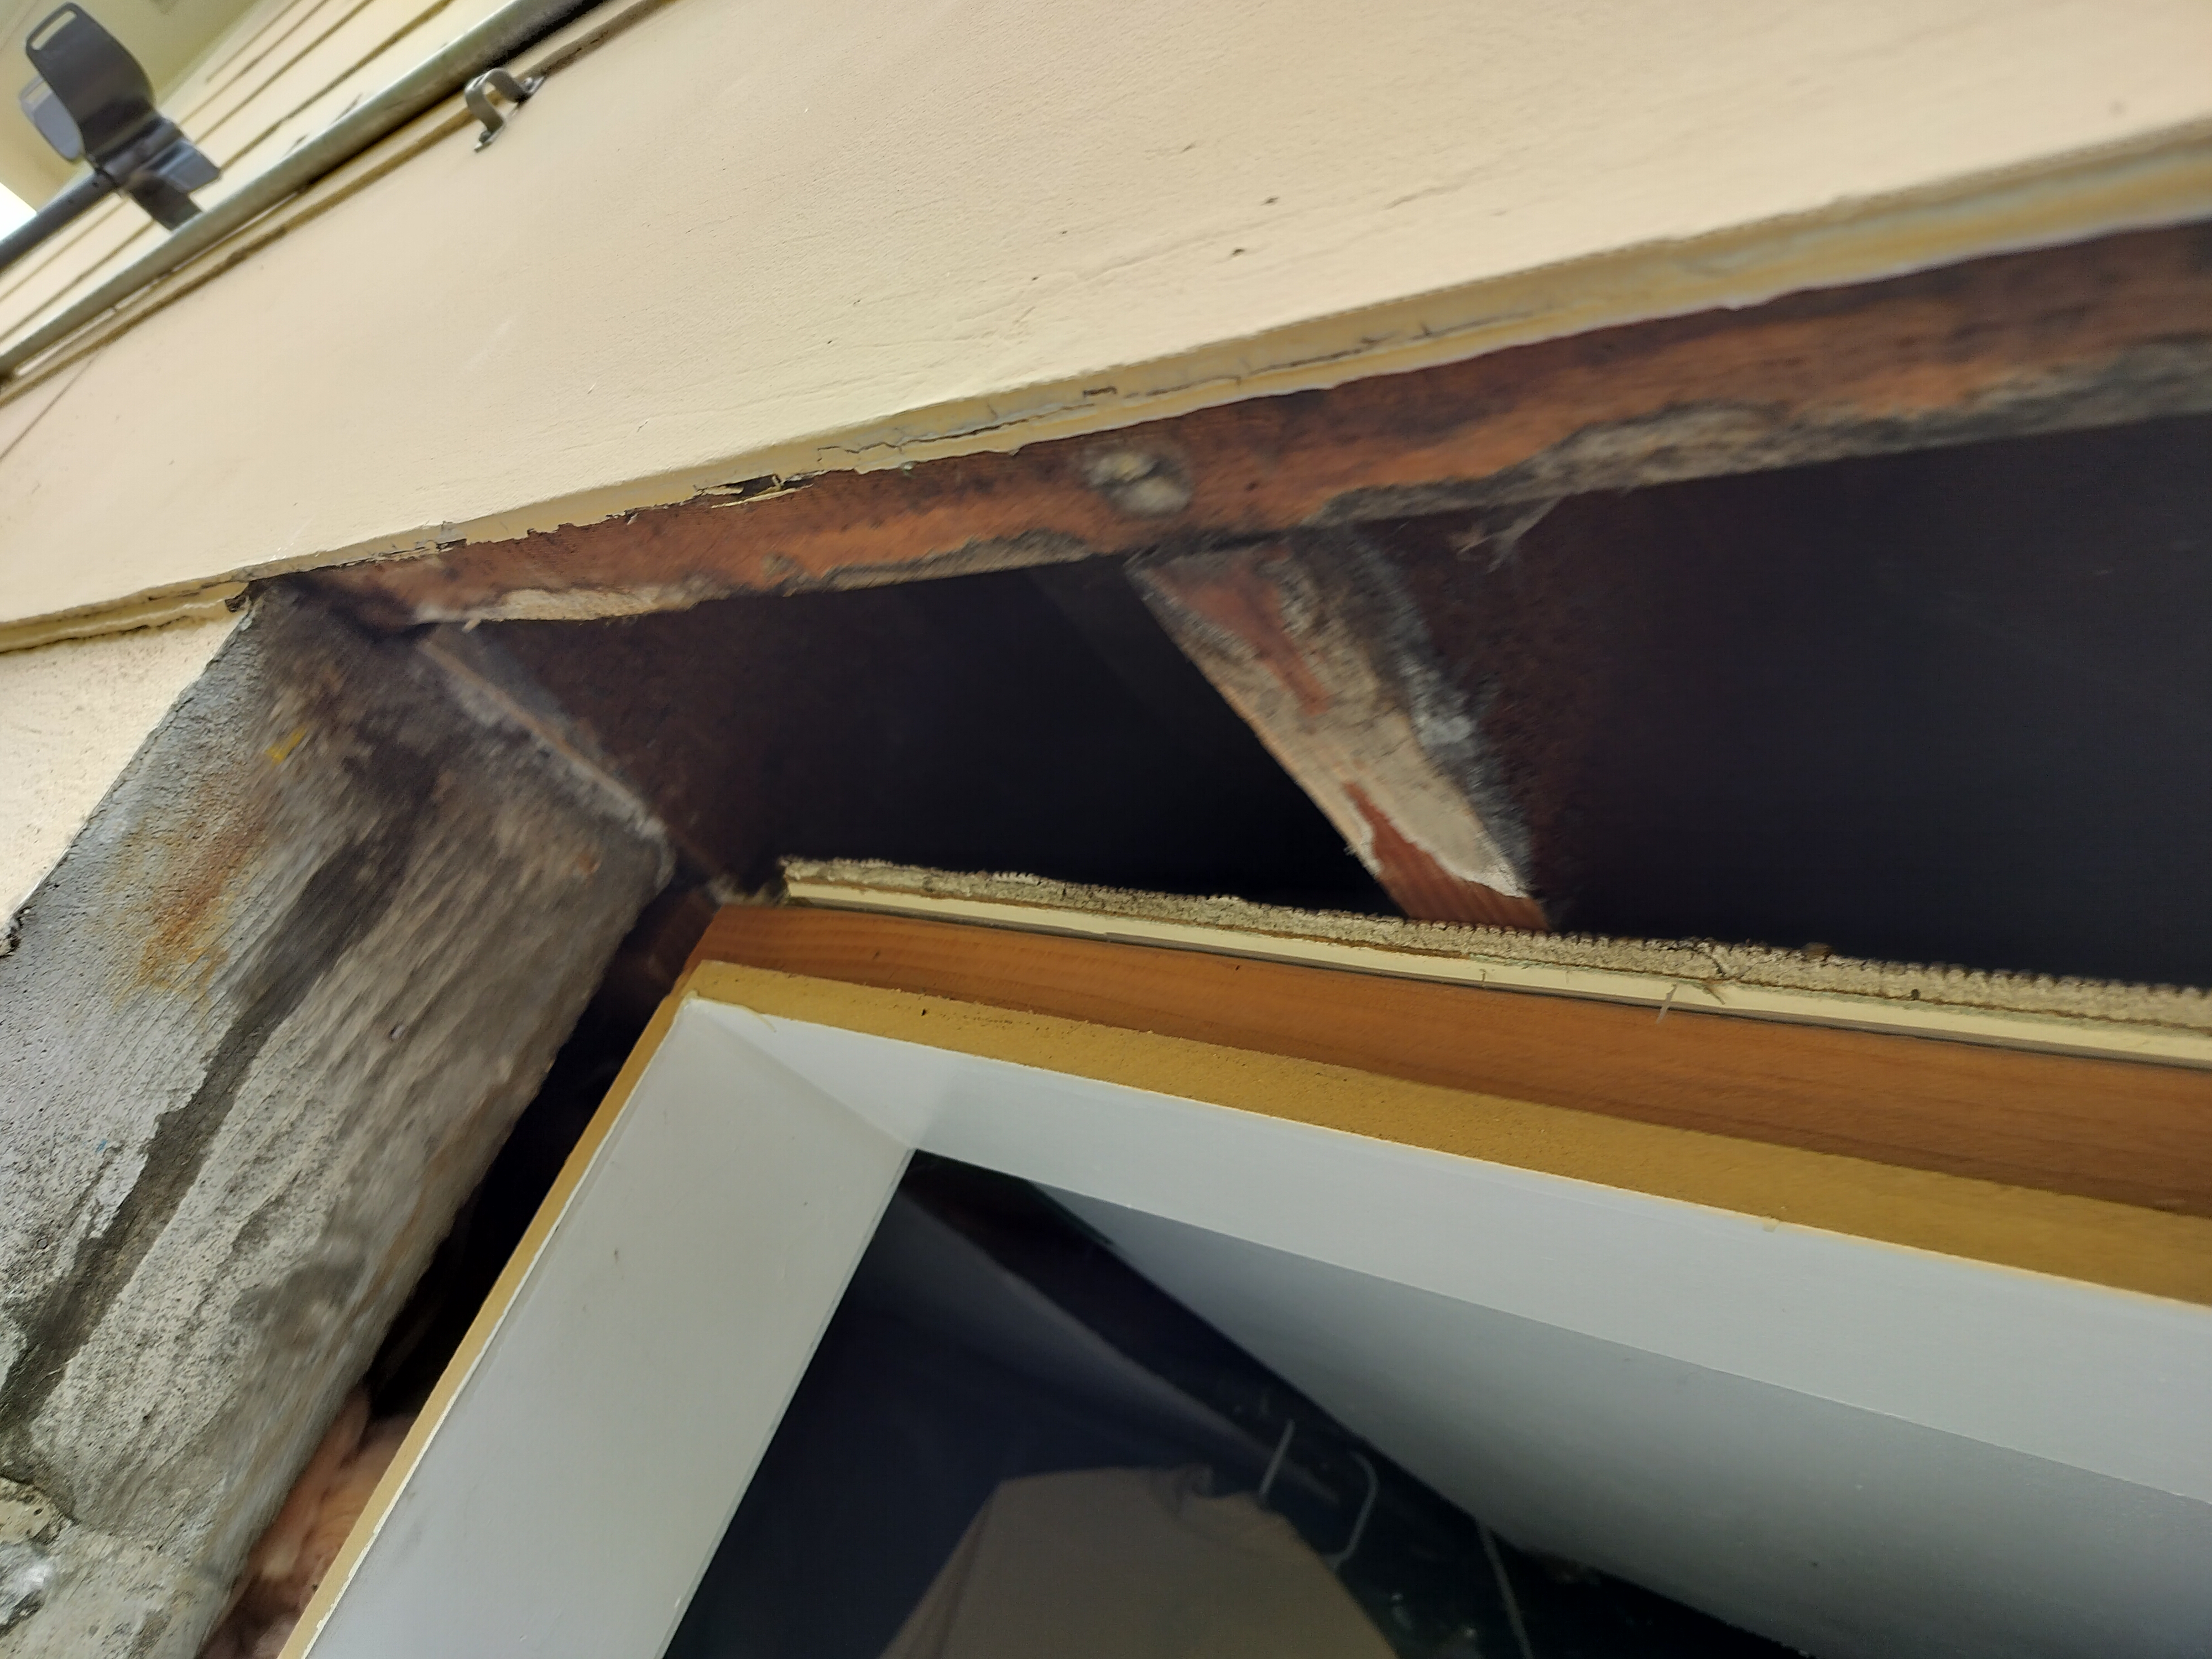
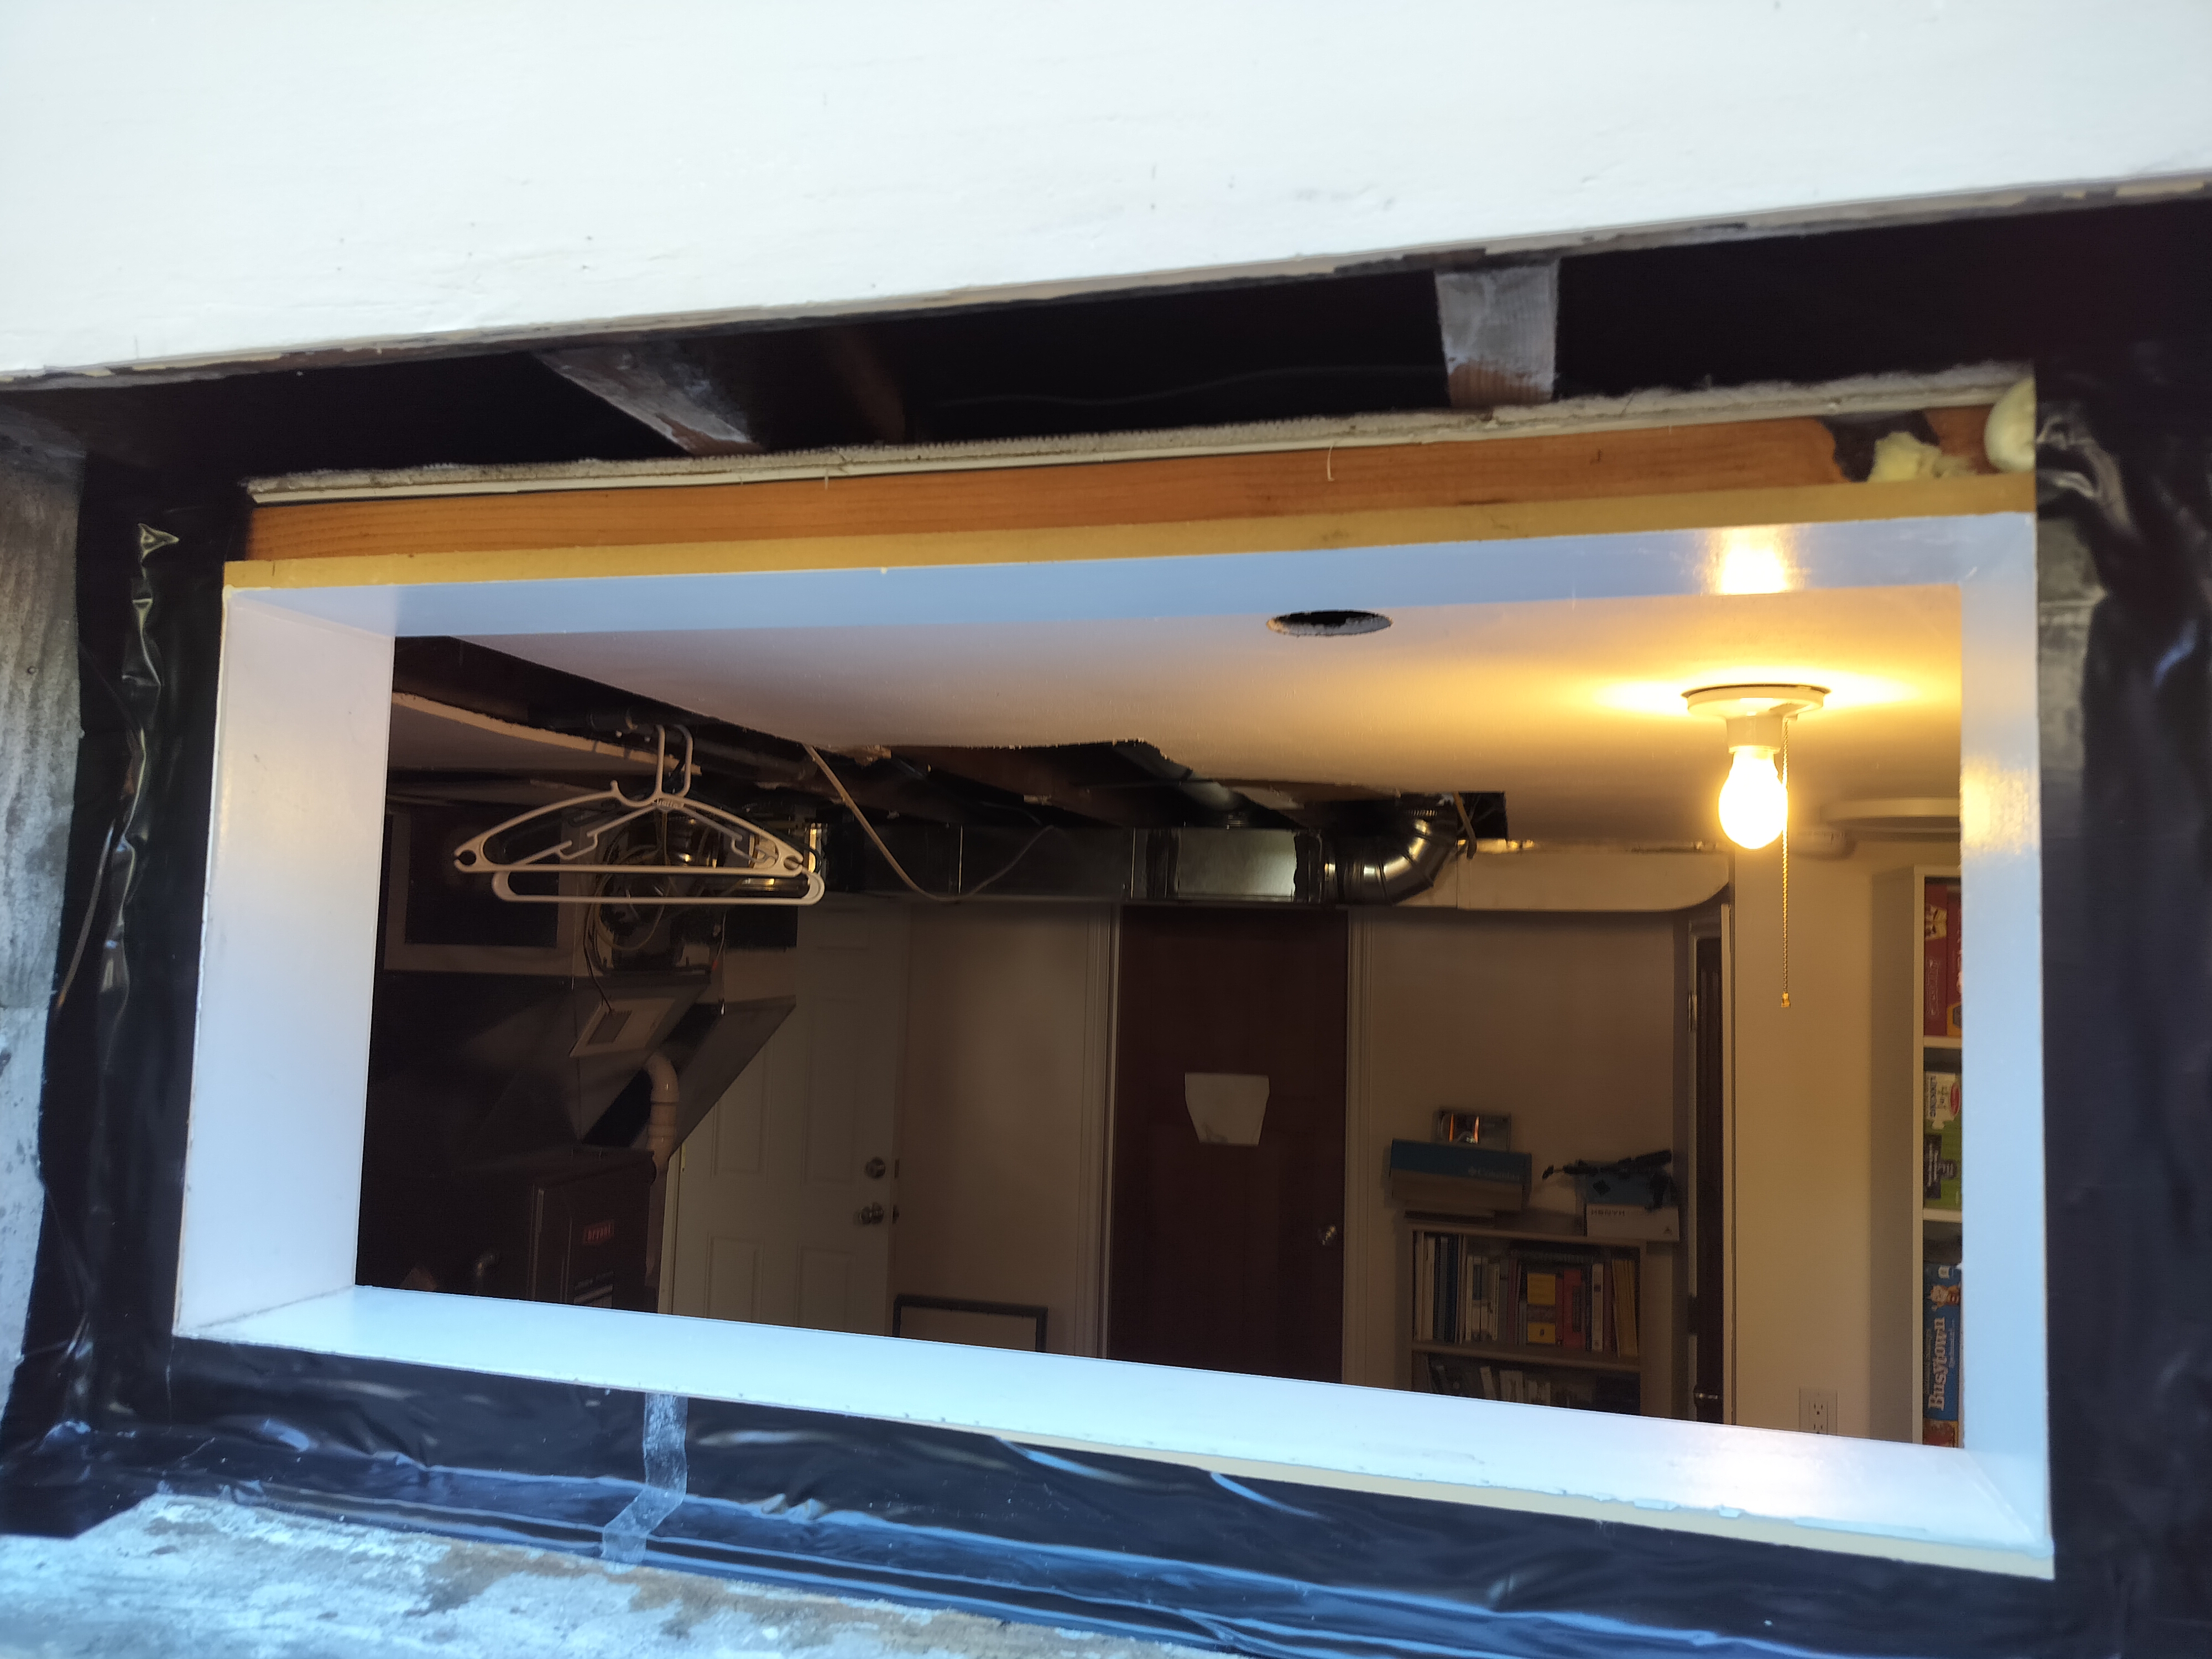
Another view of the top of the window opening. The residue in the overhead cross beams is from when the original framing doubled as a concrete form!
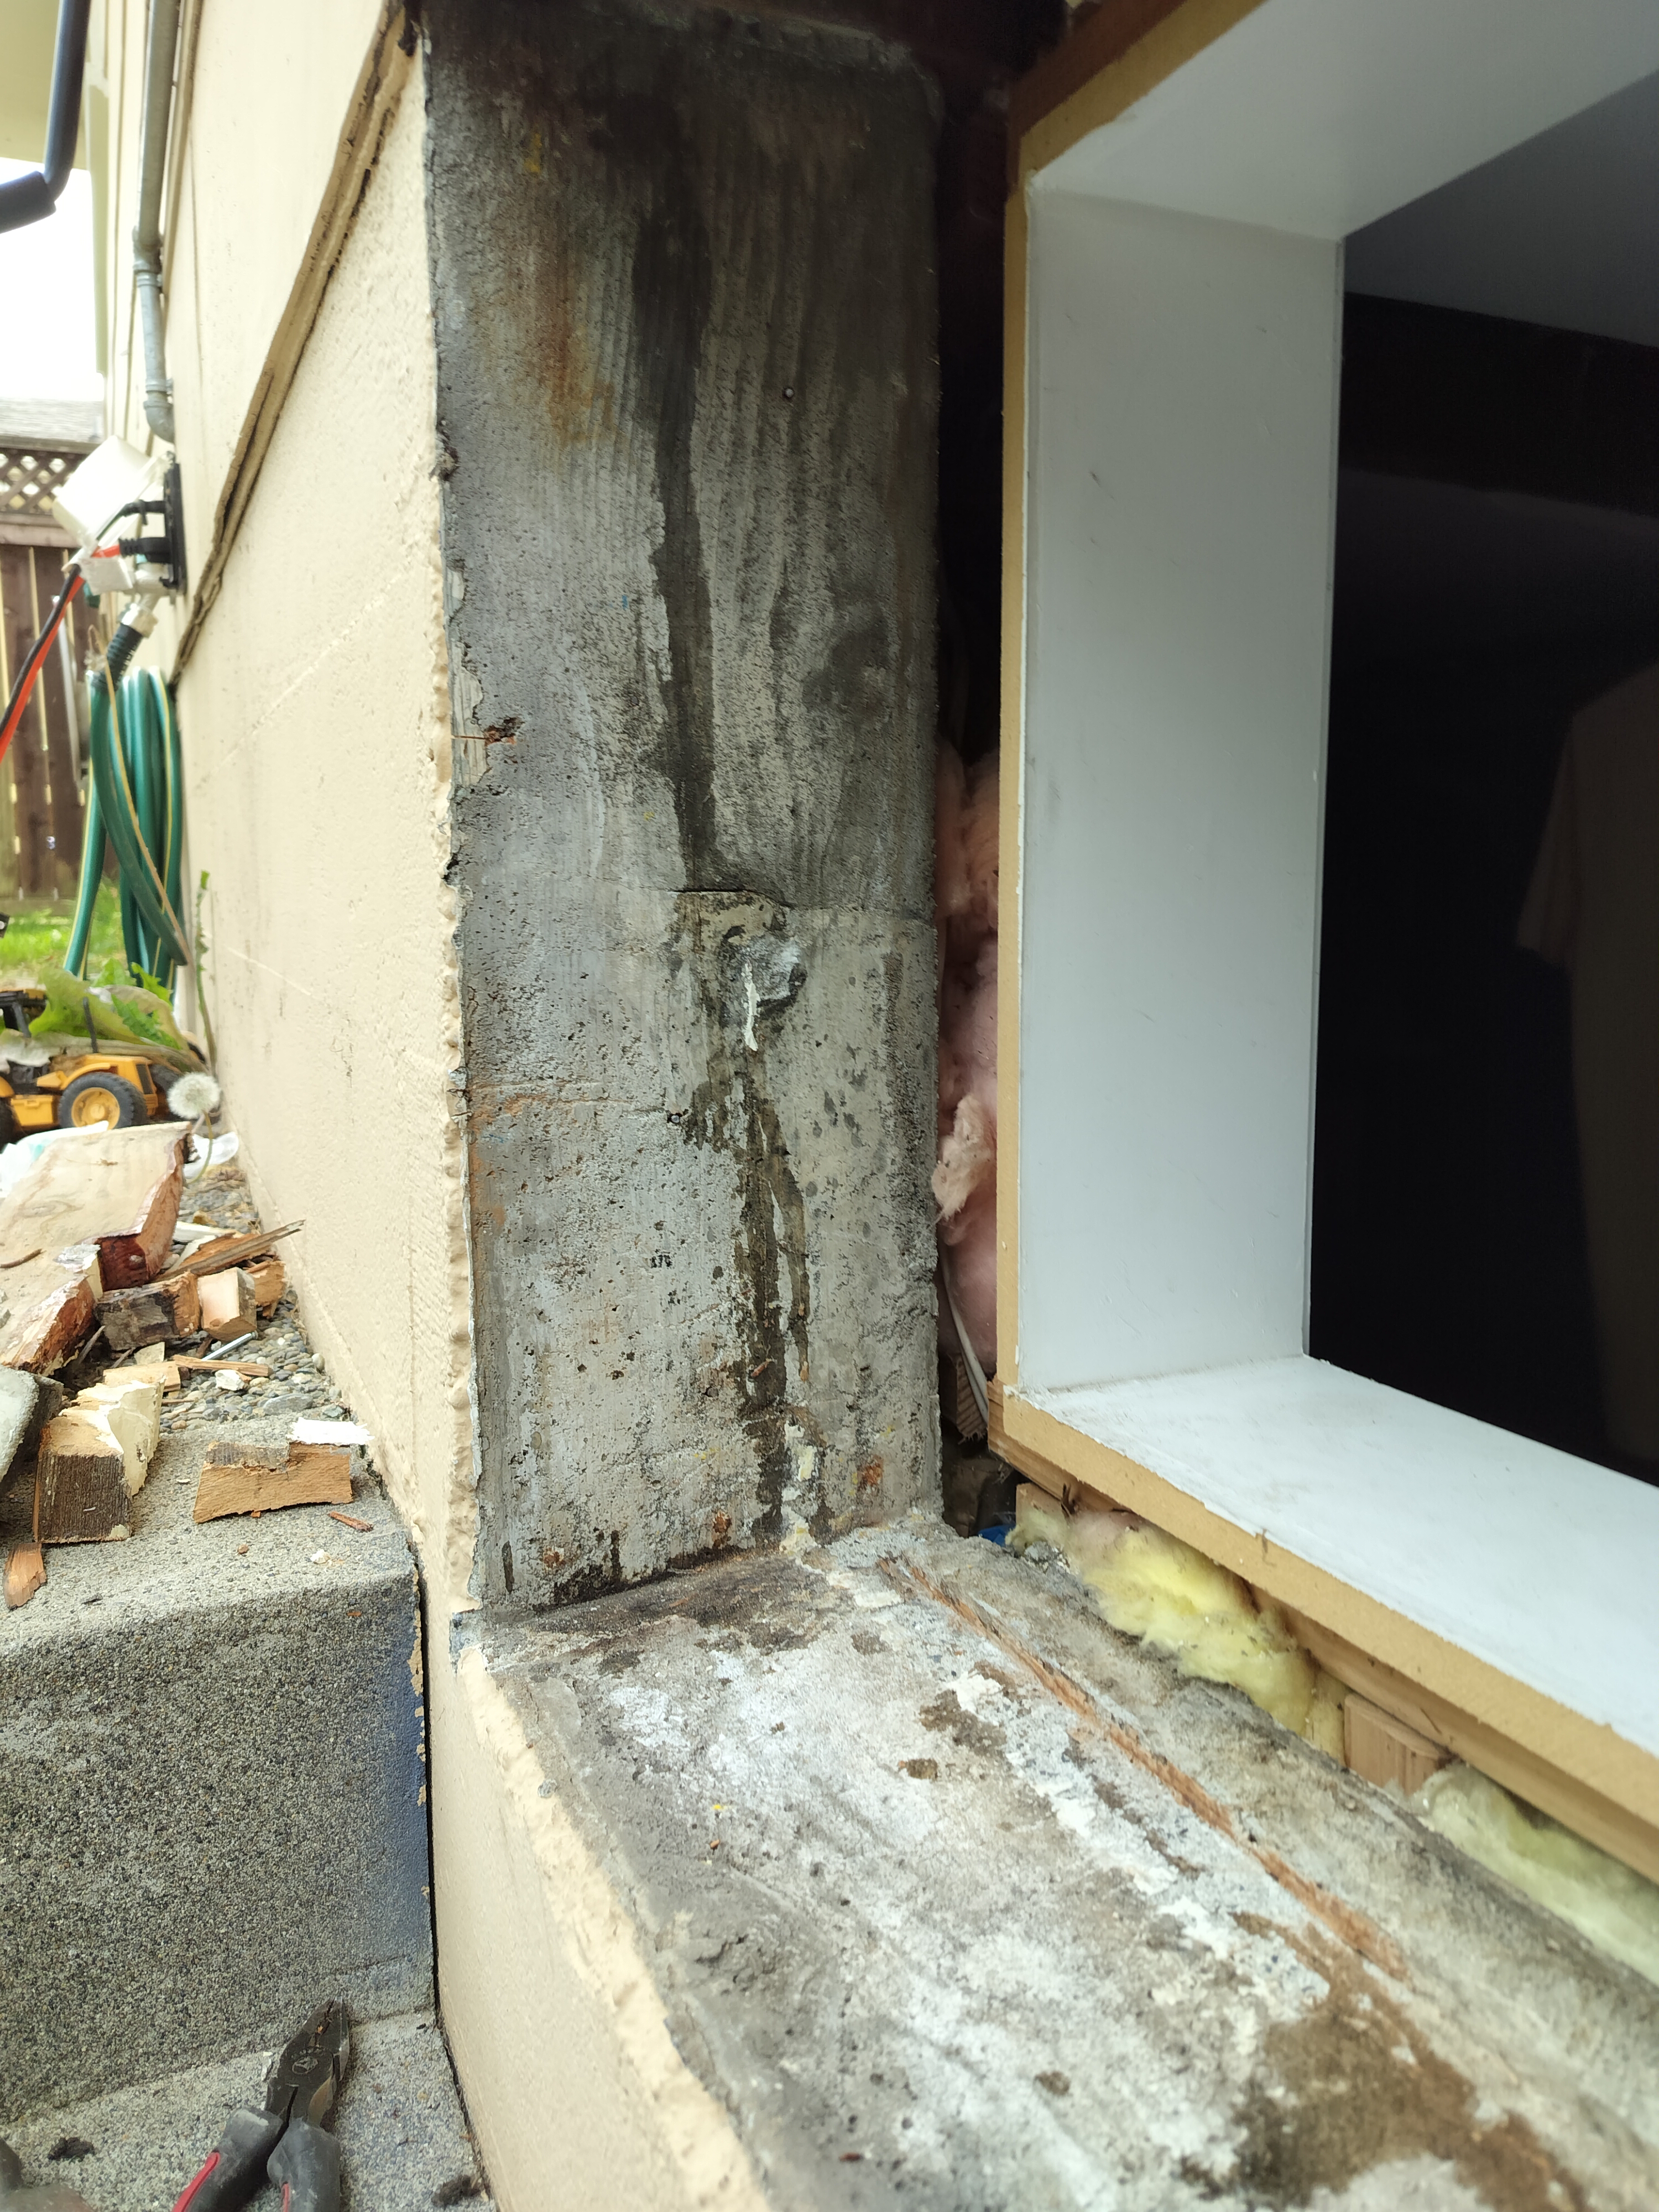
More views of the interior, and the concrete condition

Final Installation and Finishing
After measuring, cutting, dry fitting, and priming, one last dry fit.
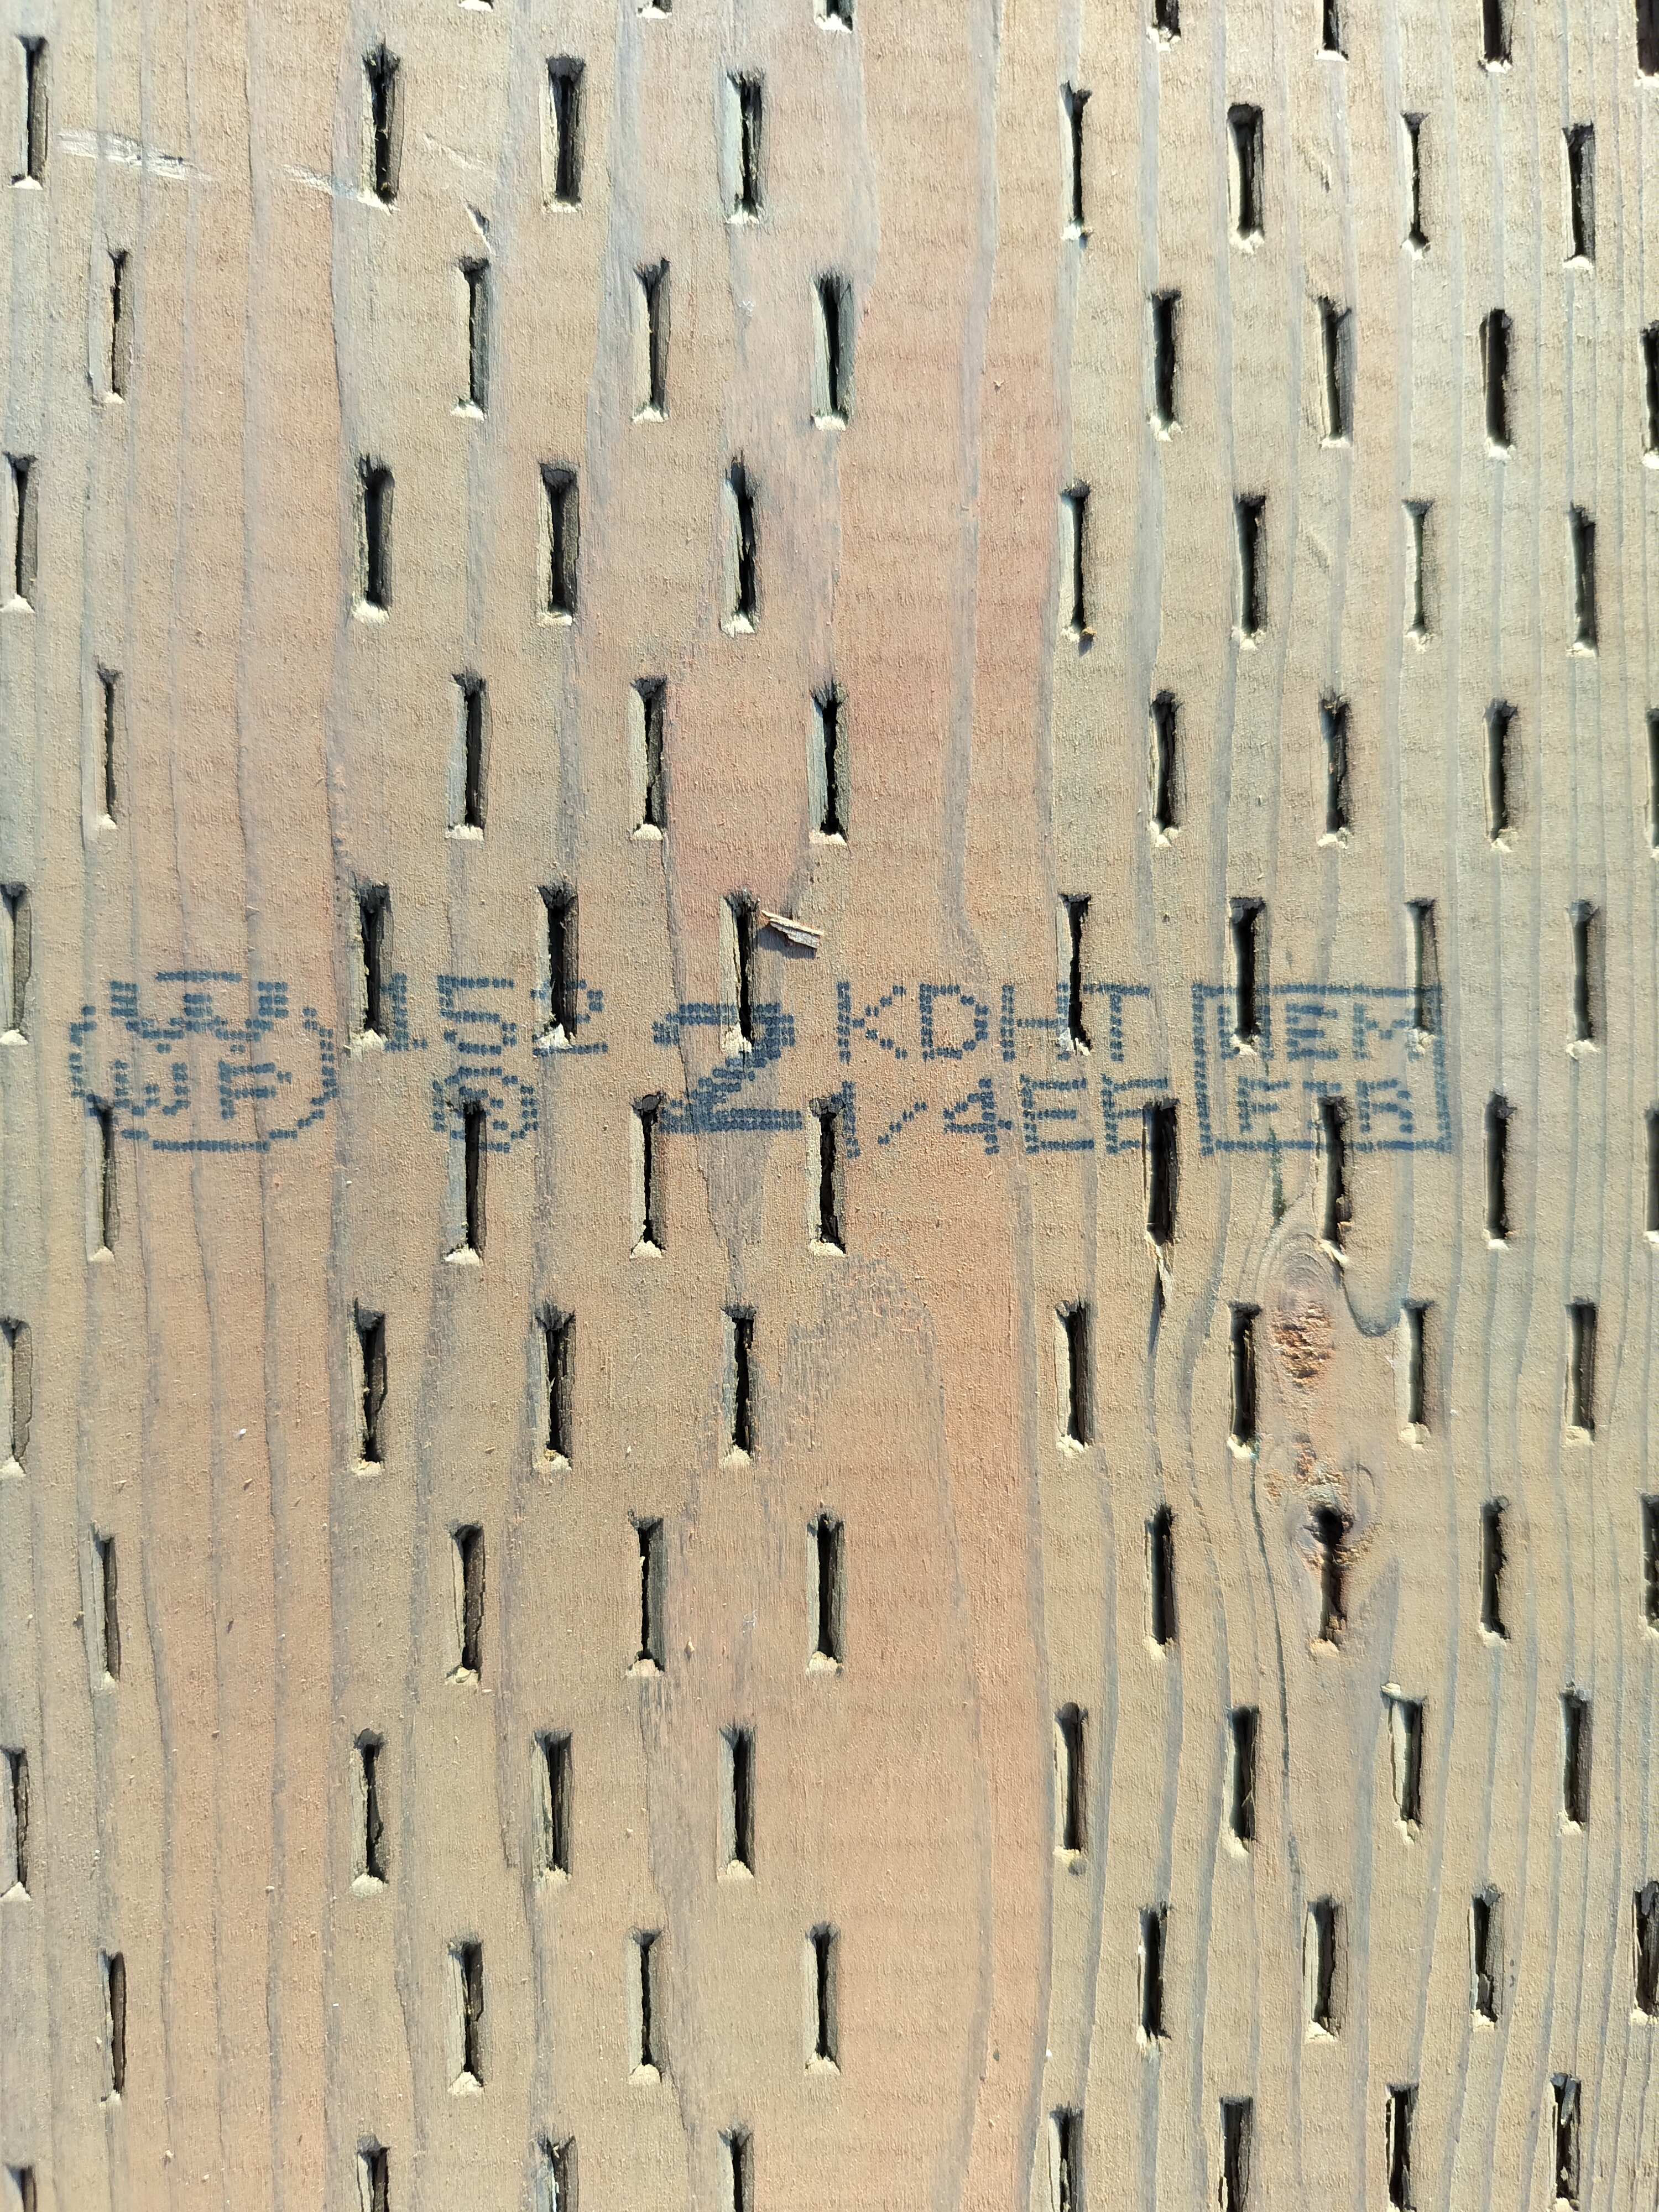
Material used for the new framing. KDHT is “Kiln dried, heat treated.” “HEM/FIR” is hemlock or fir. It has less movement than the typical “green” pressure treated wood. I found this at Lowes and had to pick through the stack to find nice pieces.
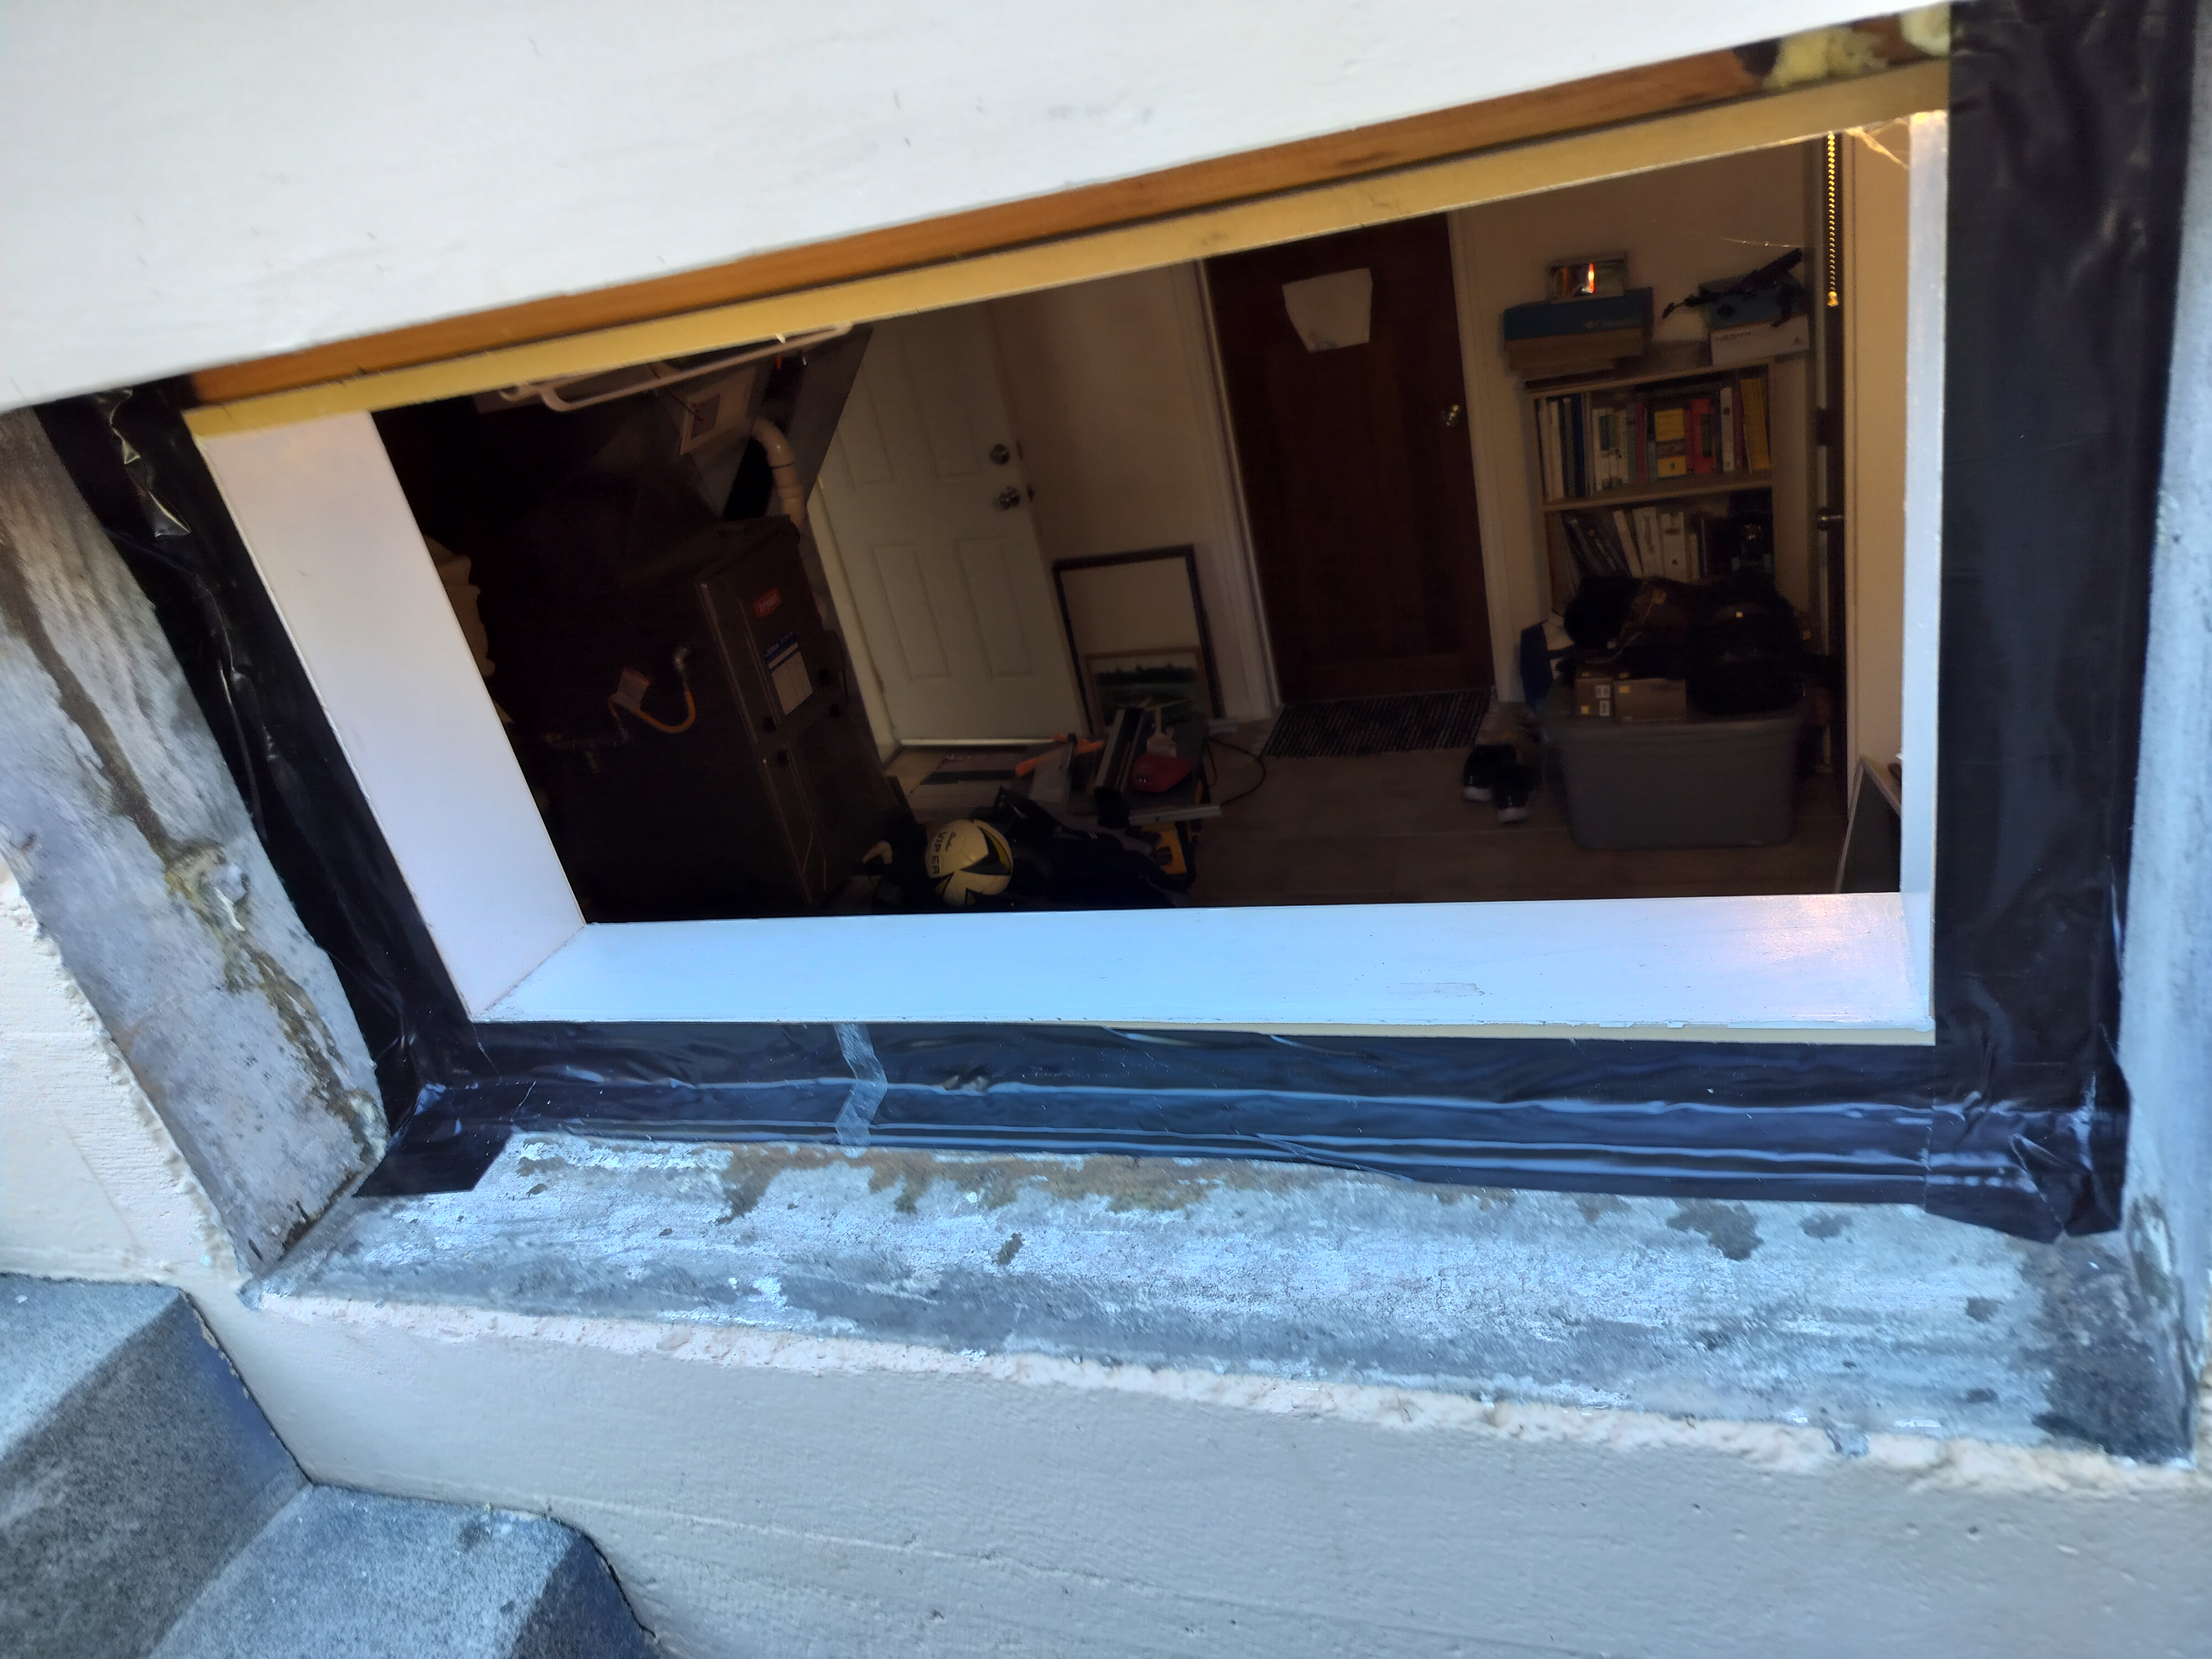
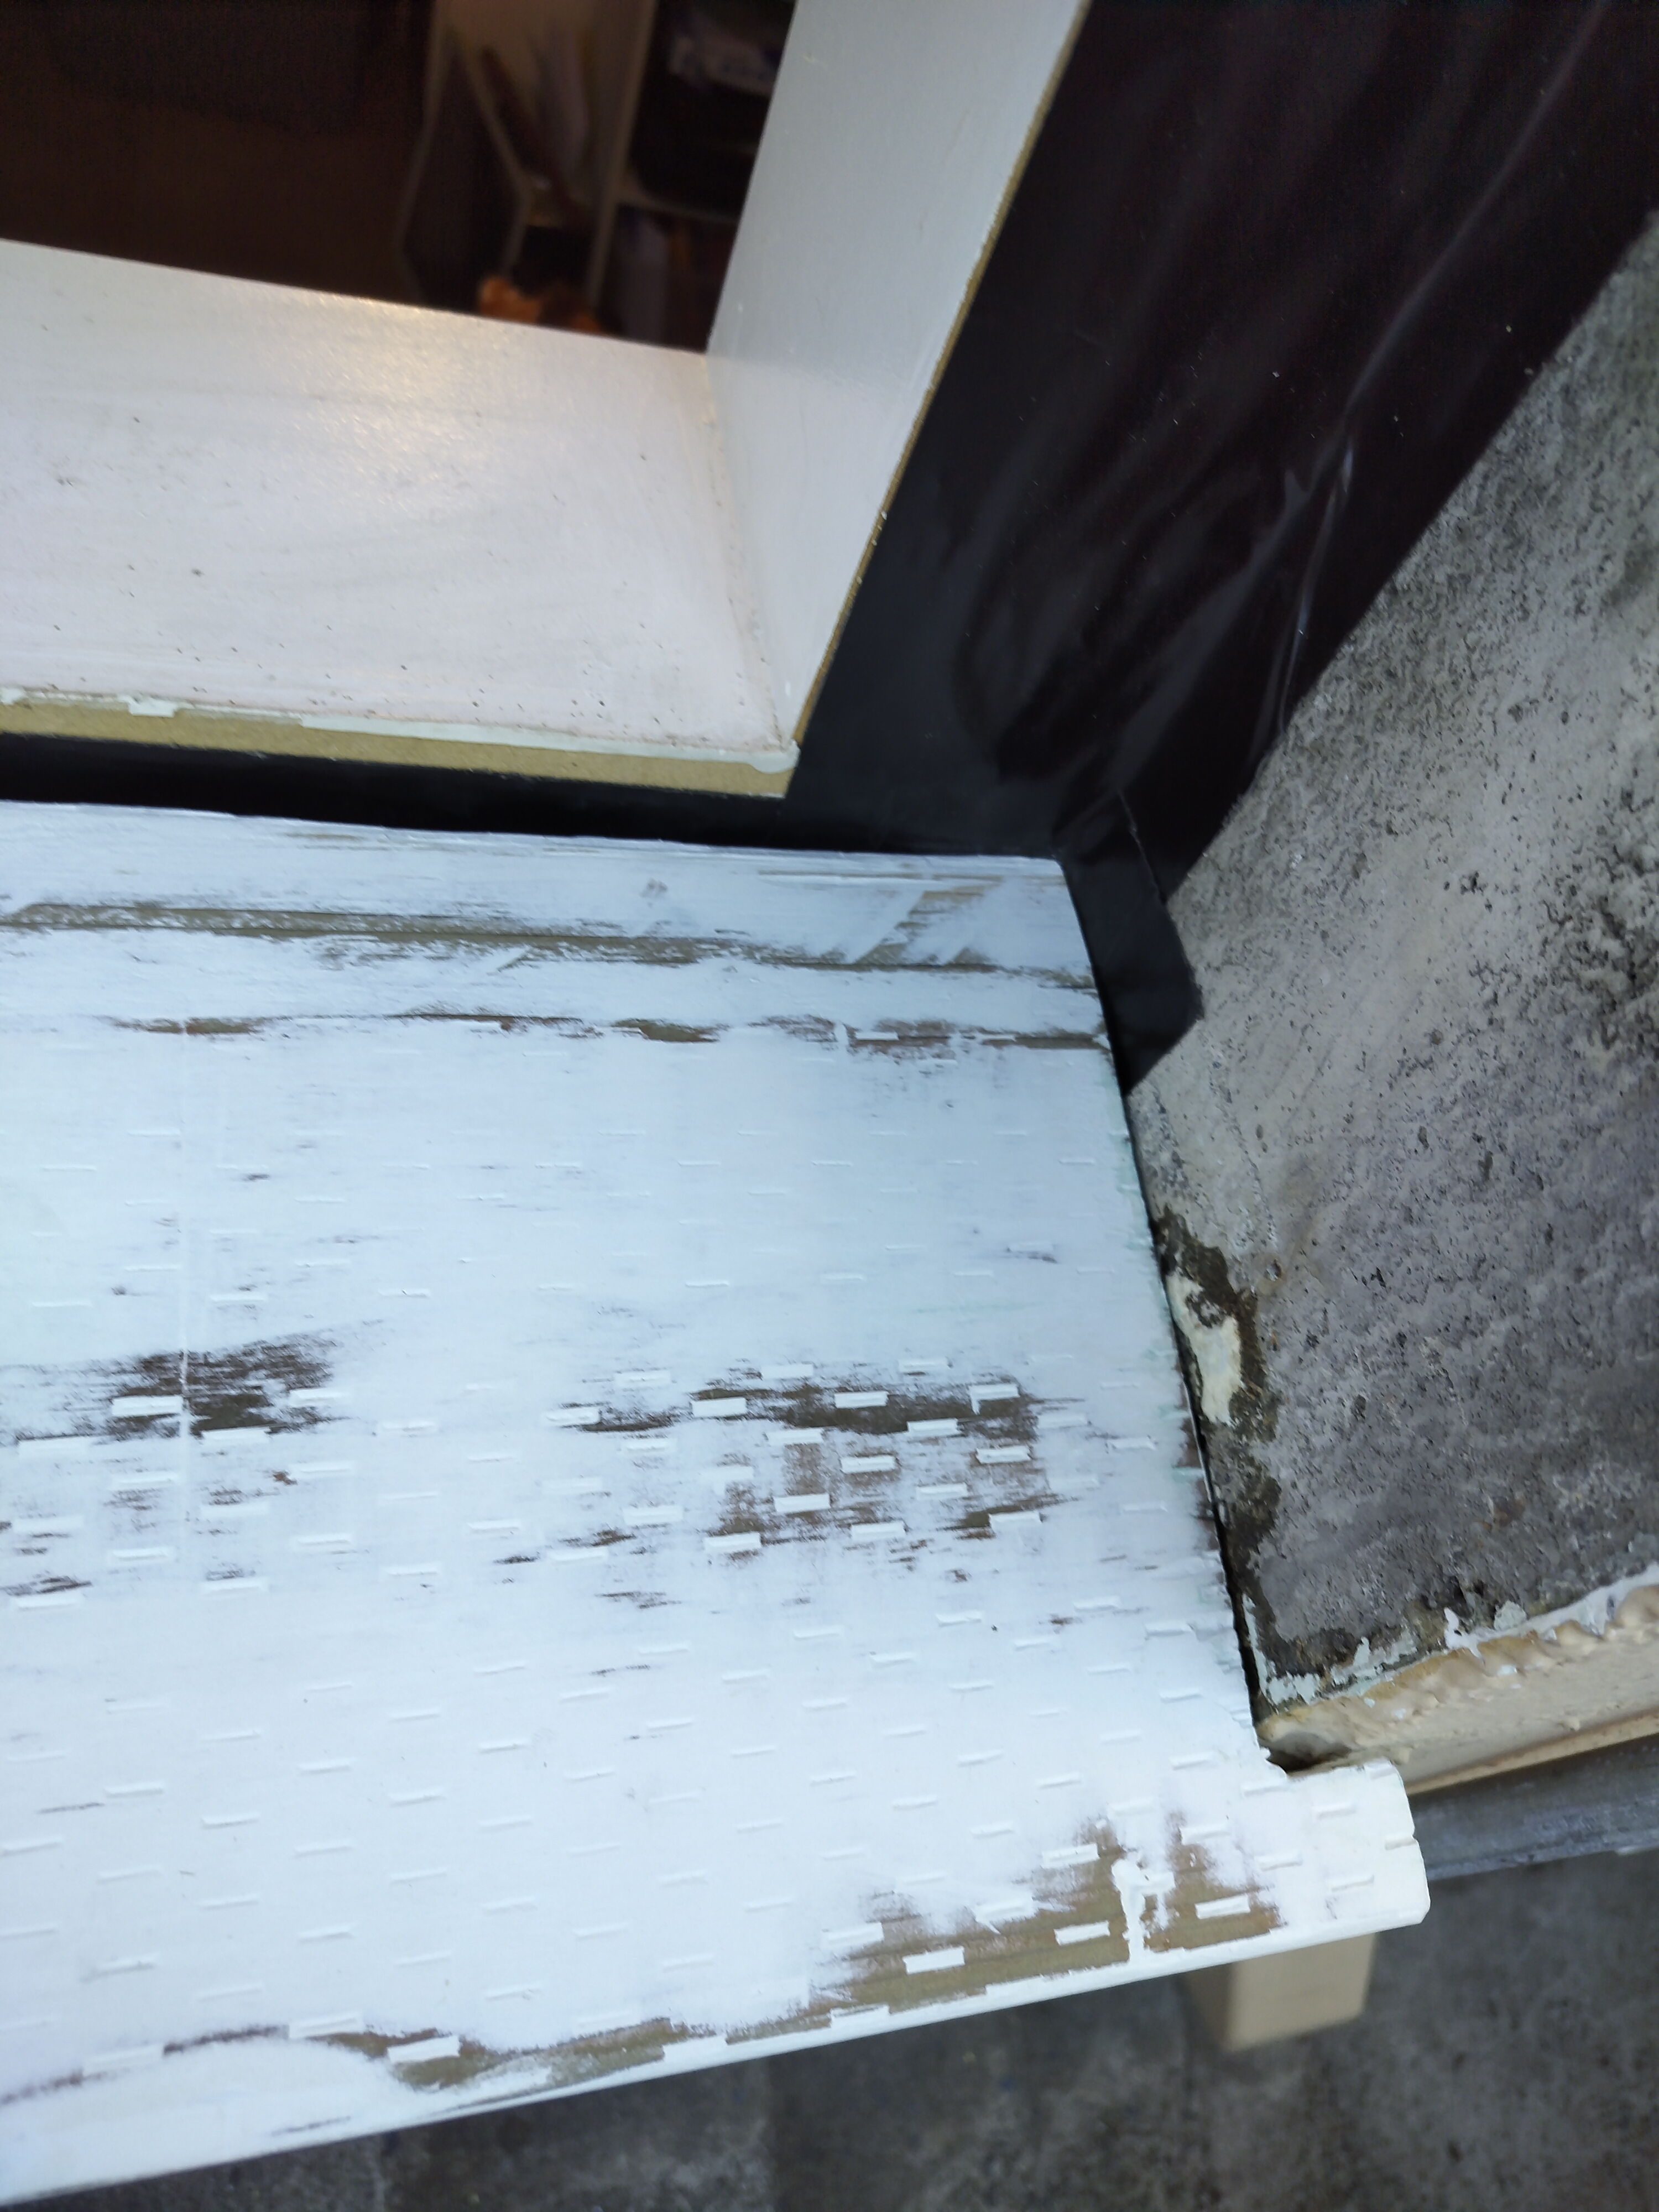
Frame installation and weatherproofing work. I used 4” flex tape to make sure the opening was sealed behind the new framing, and water on the exterior side would not be trapped behind it.
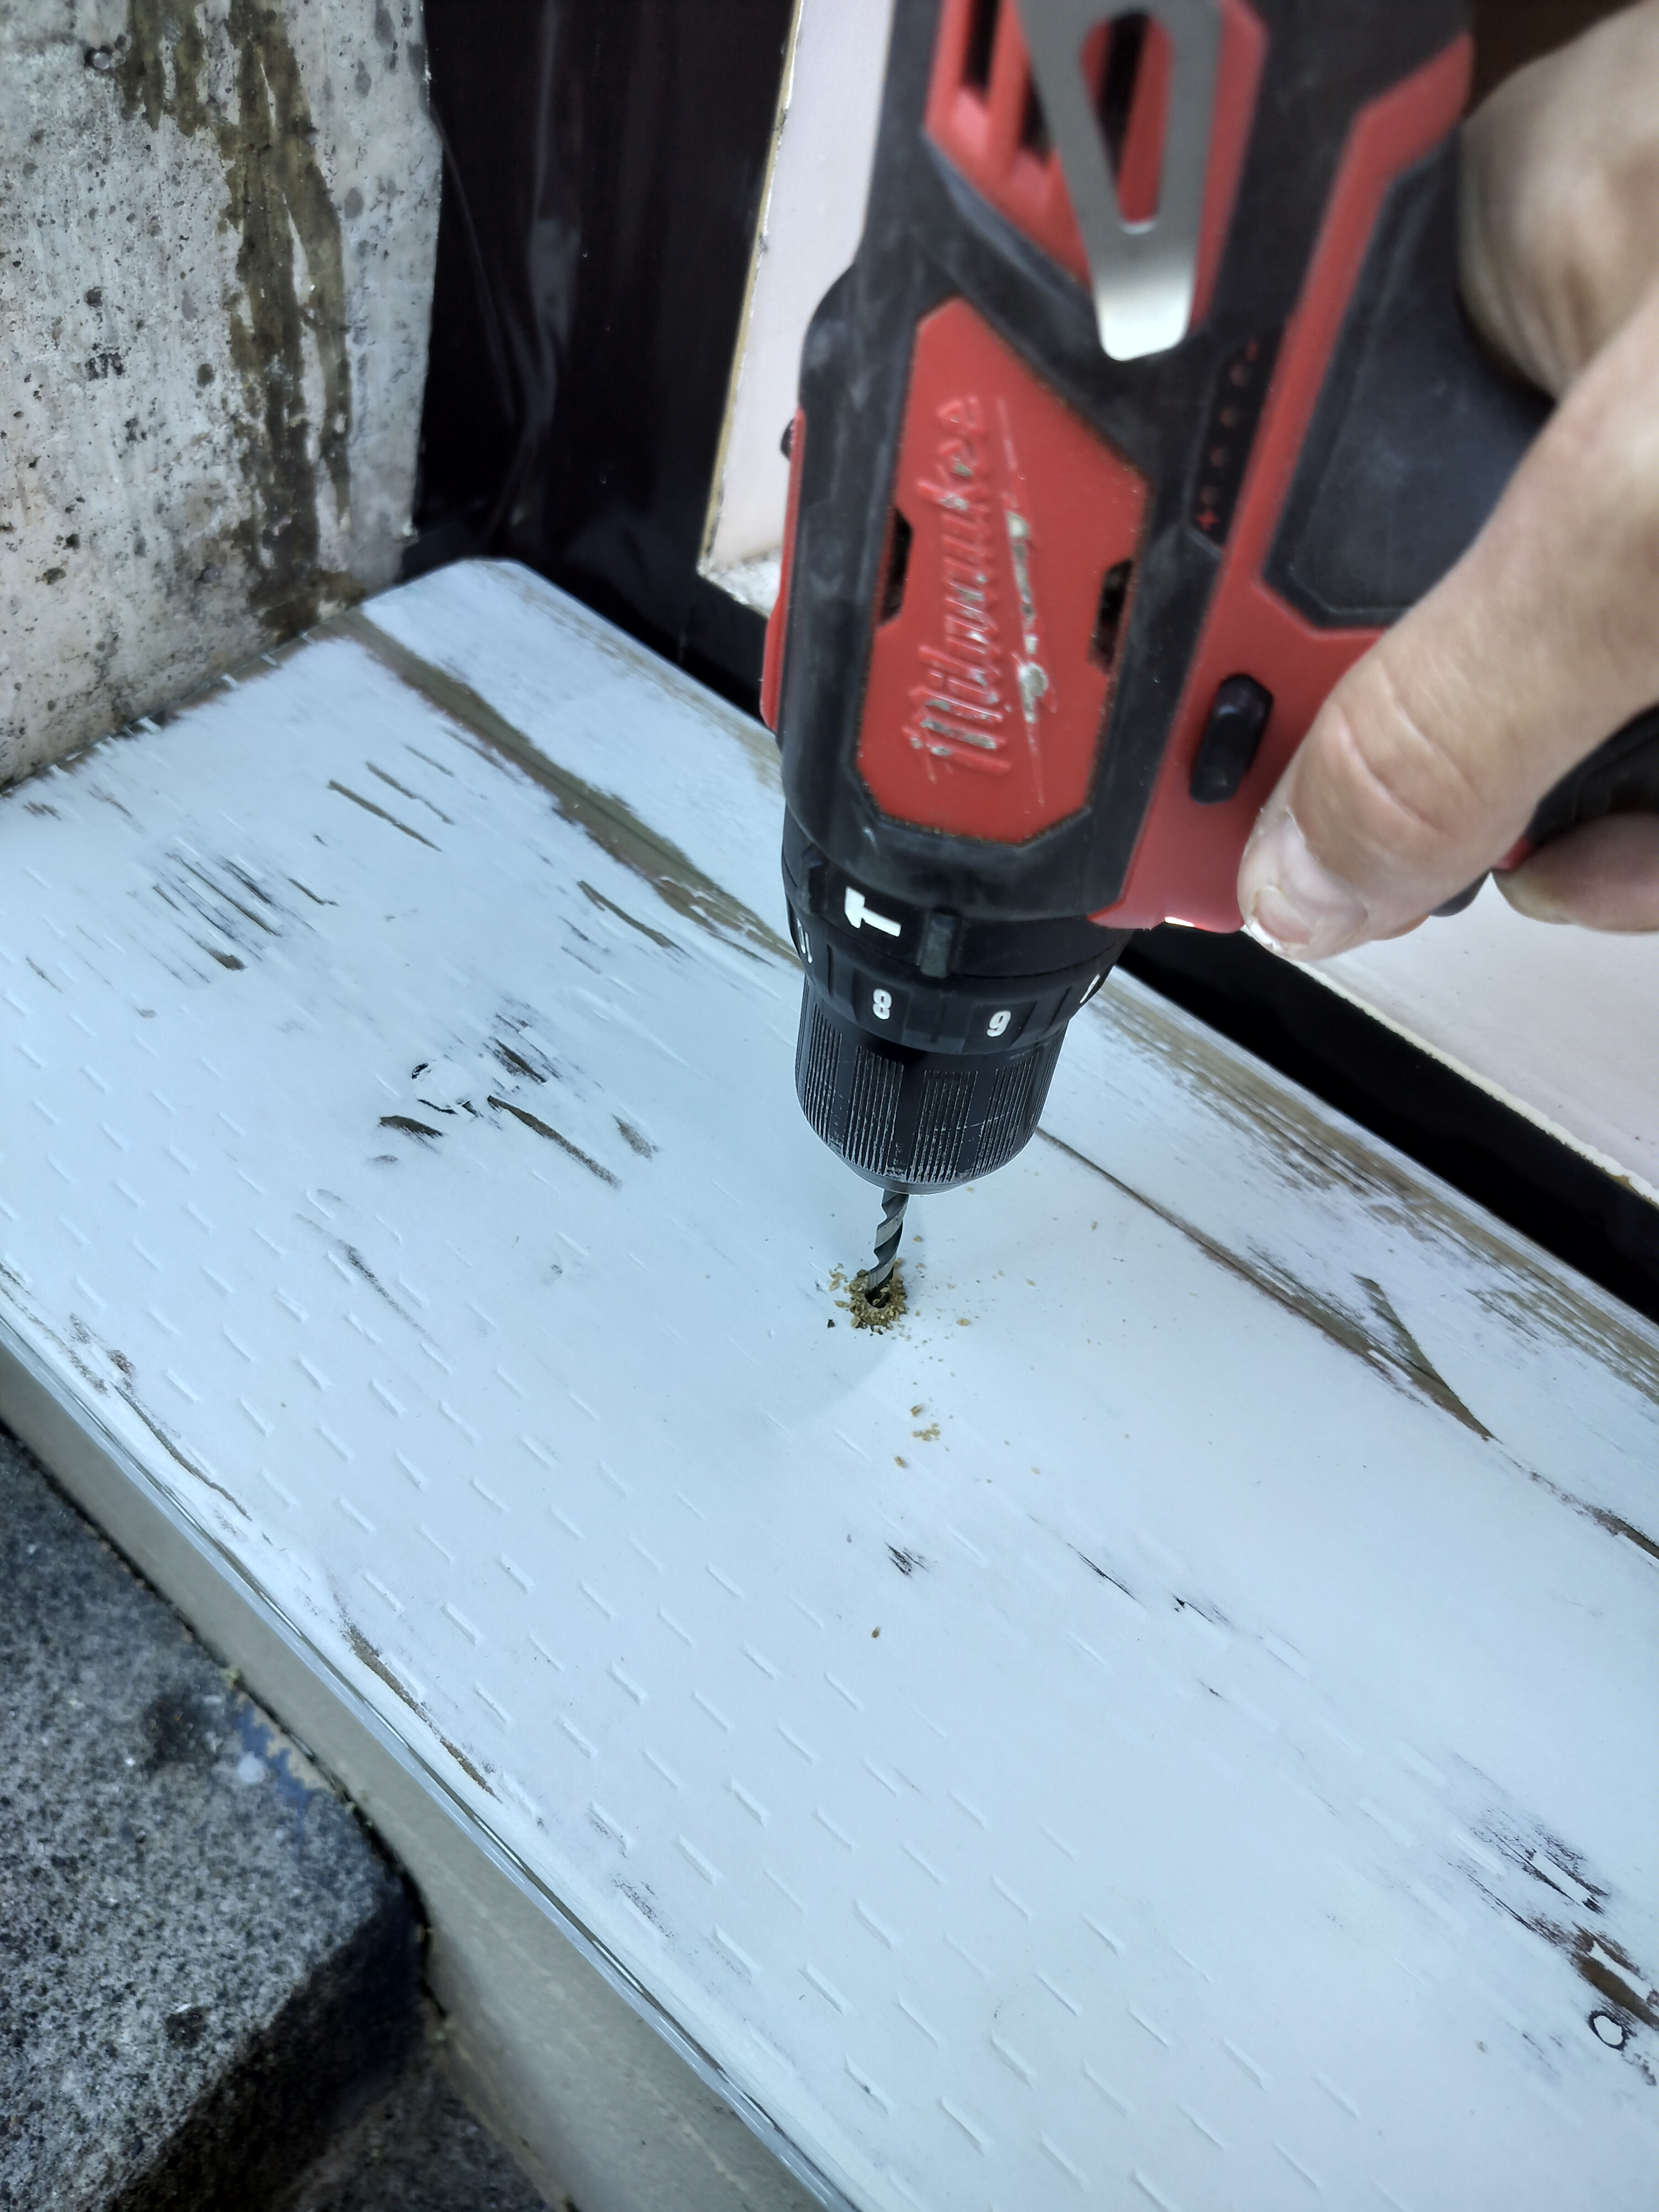
Pre-drilling the holes for the tapcon concrete anchors.
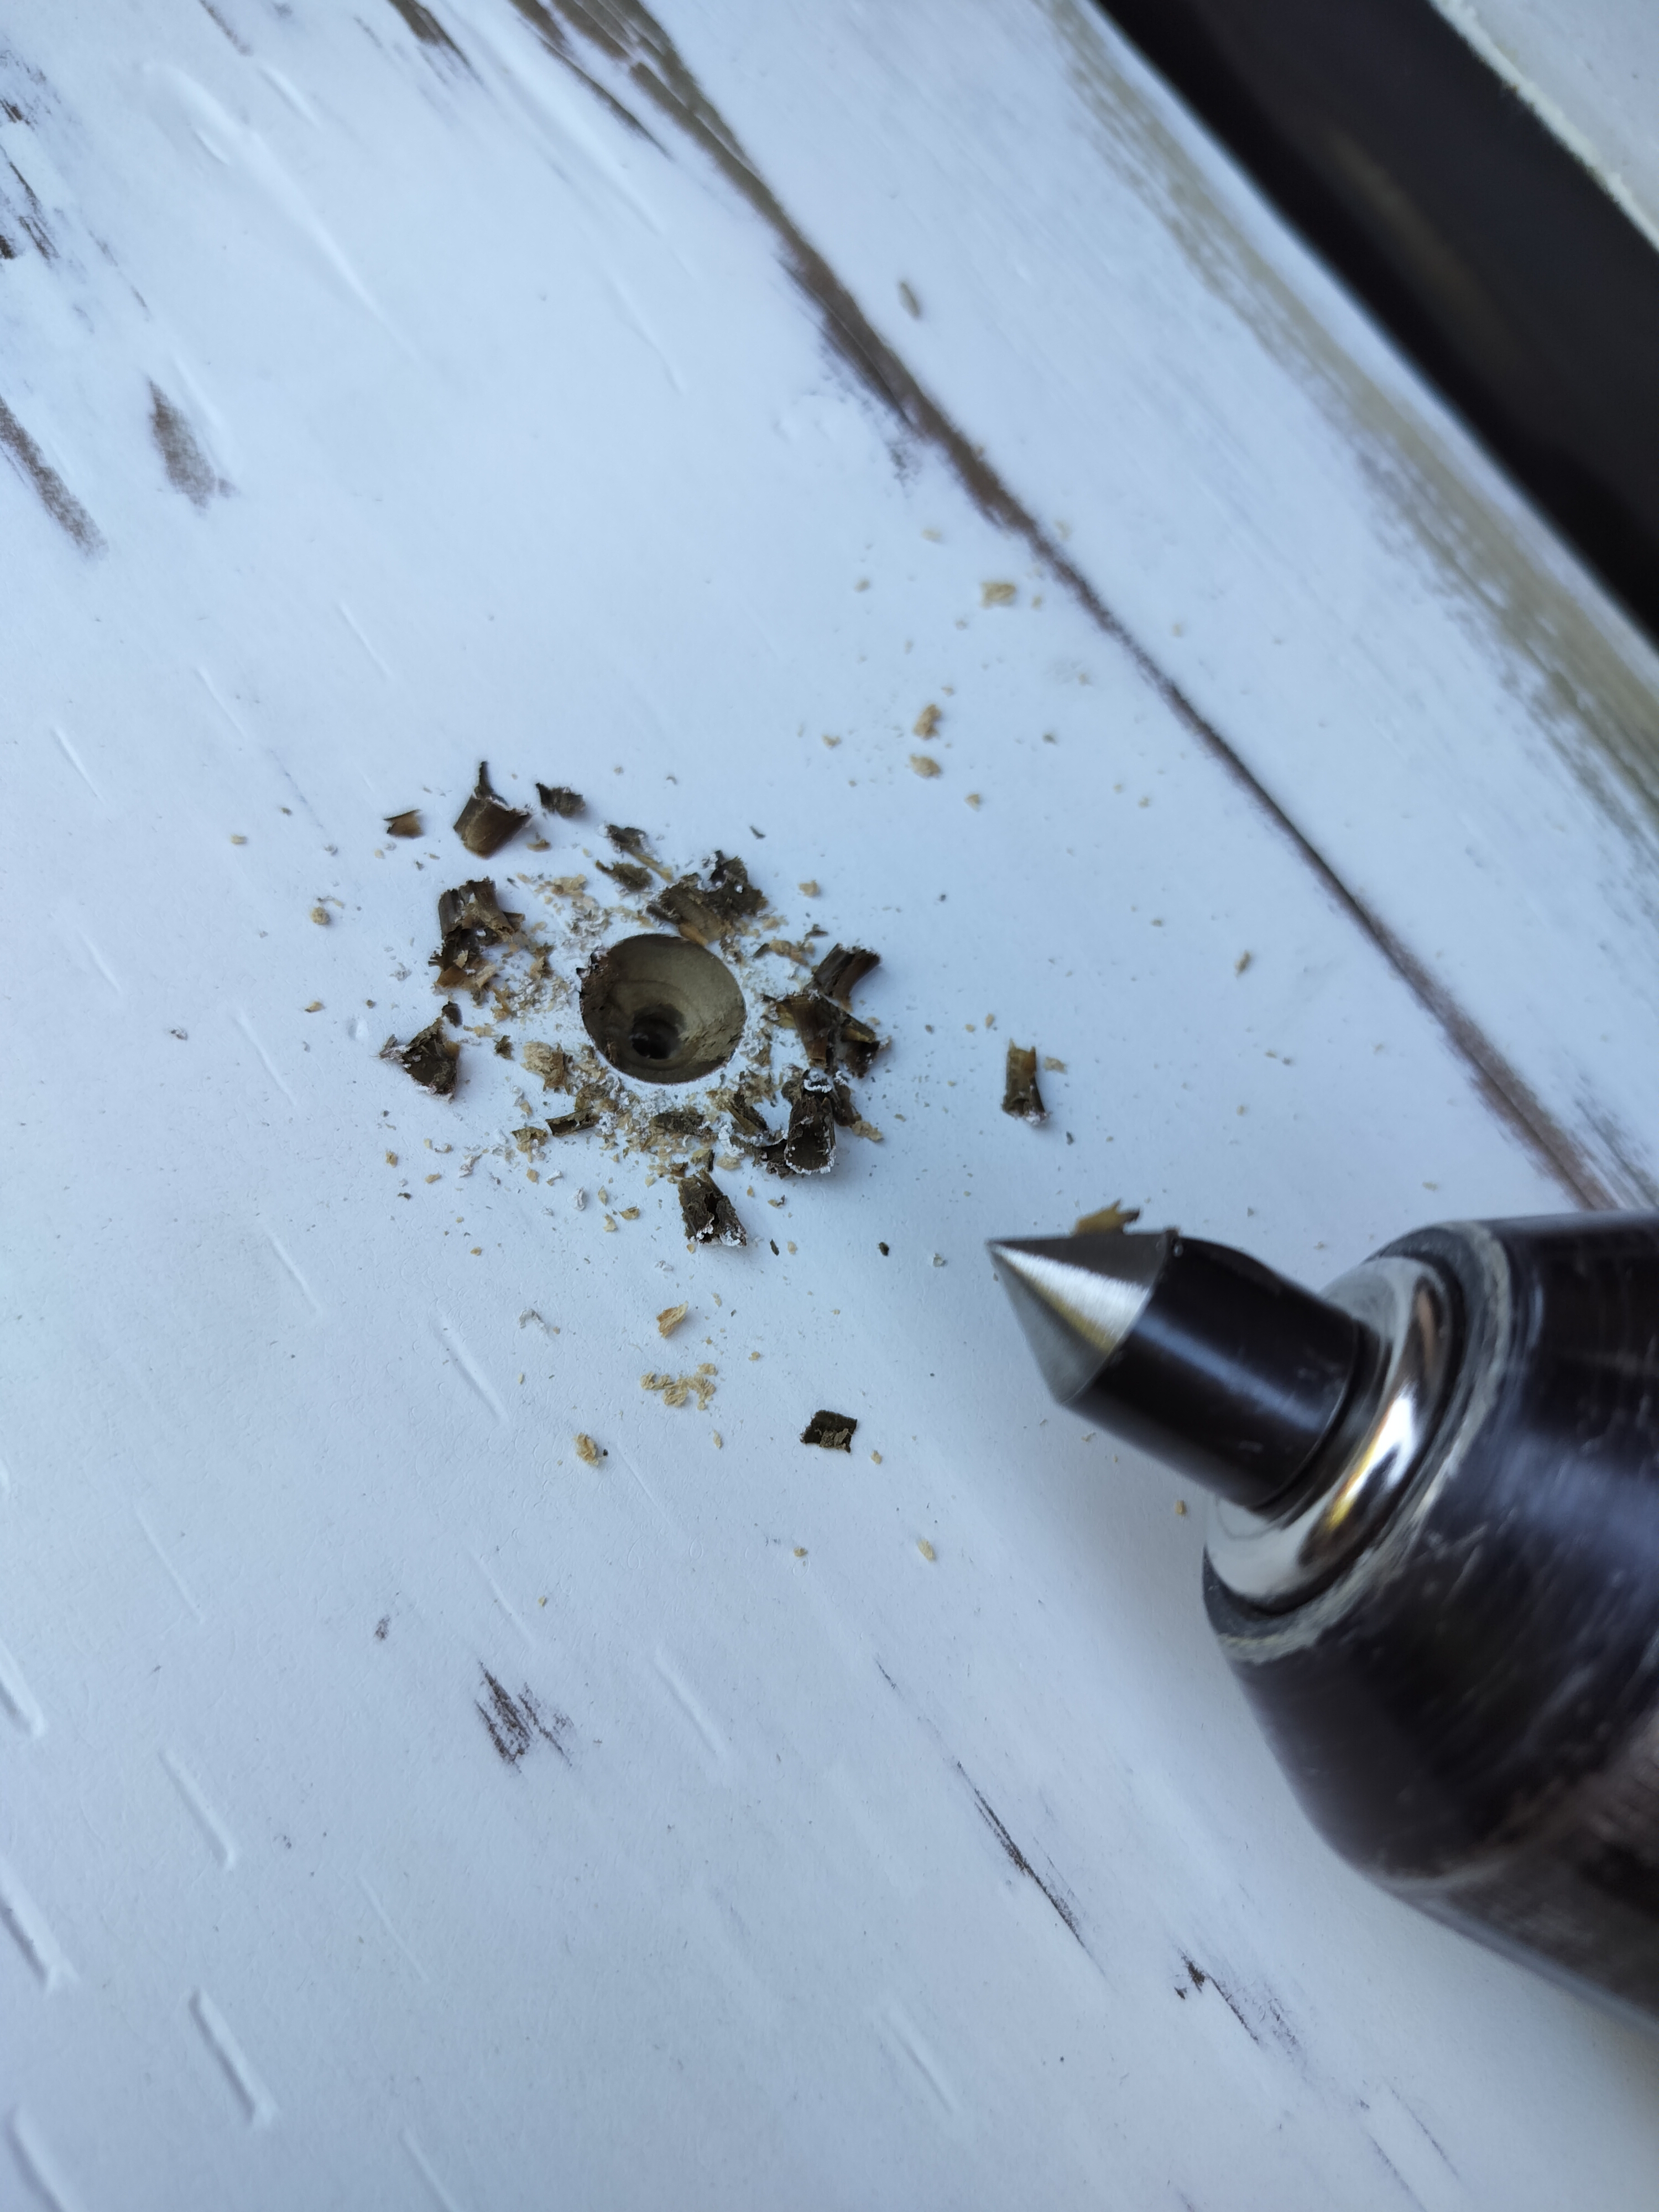
Using a countersink bit so that the tapcons are slightly below the wood surface after installation
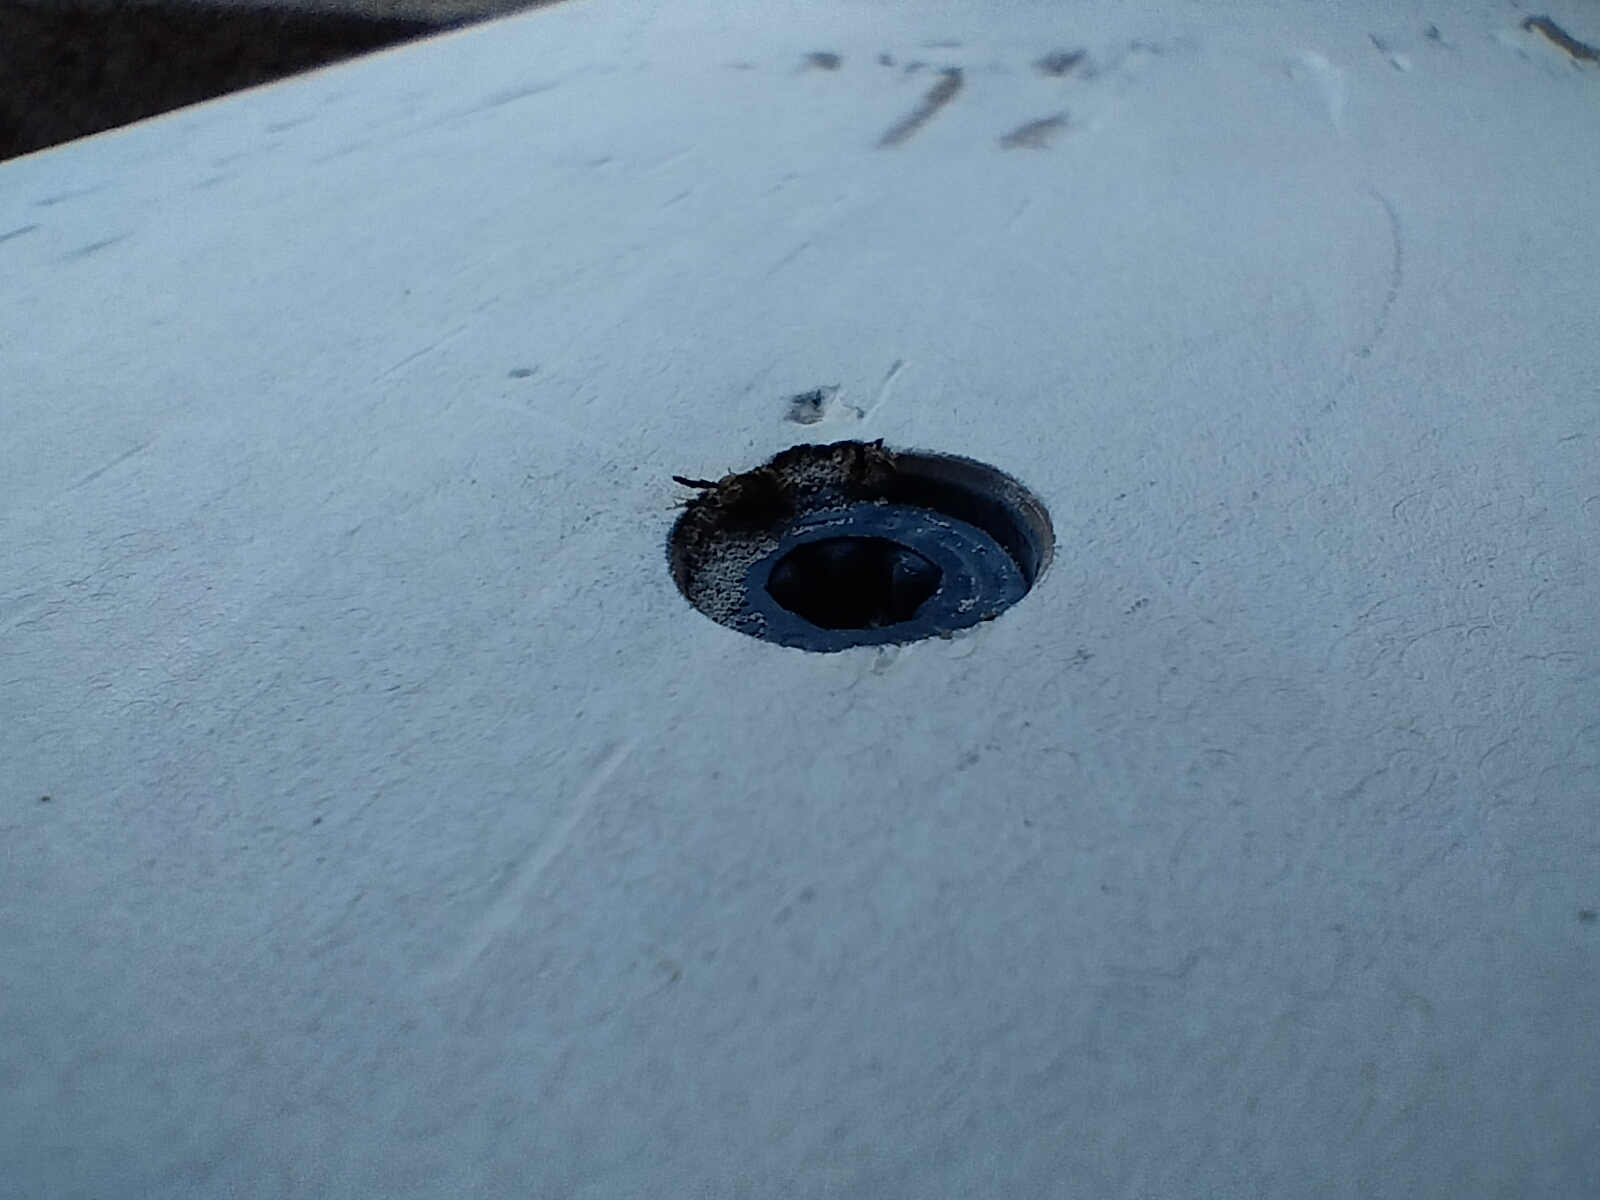
Before installing the tapcons, I used a rotary hammer to drill into the concrete. Then used an air compressor + shop vac to clean out the holes before installing the tapcons. Then I installed the tapcons with an impact wrench. (I missed taking photos of those steps, no helpers and I needed 2 hands!)
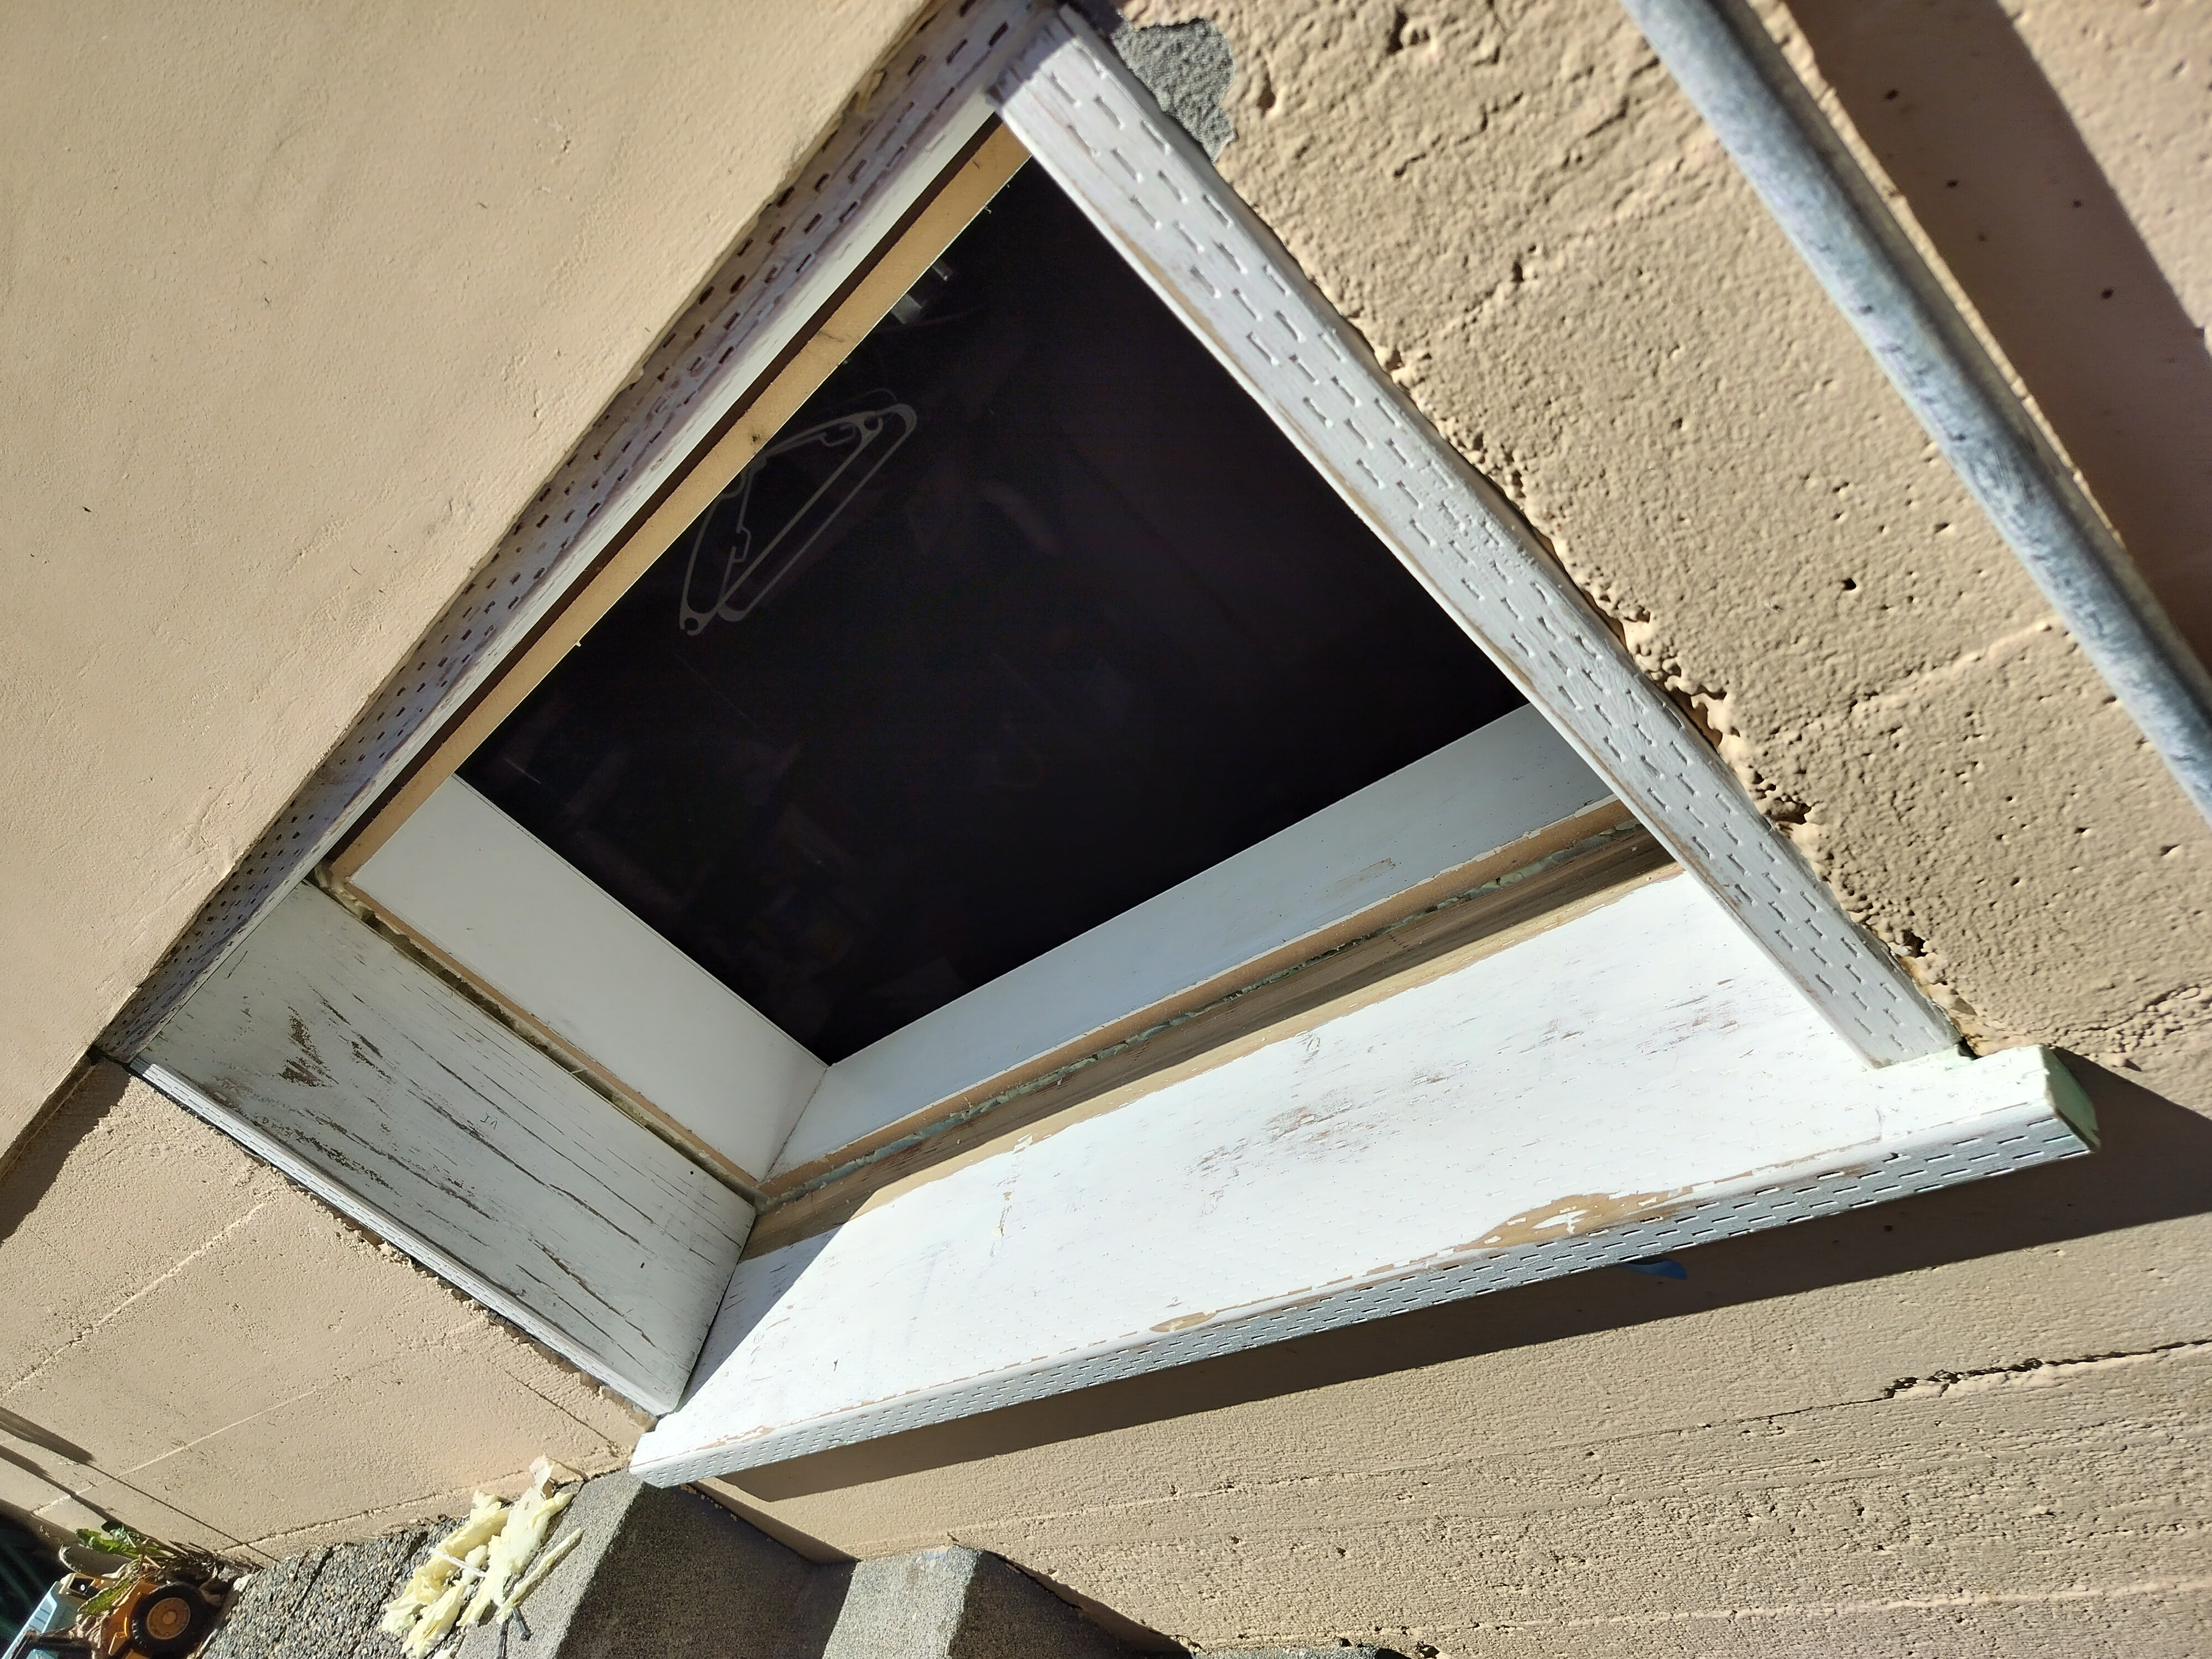
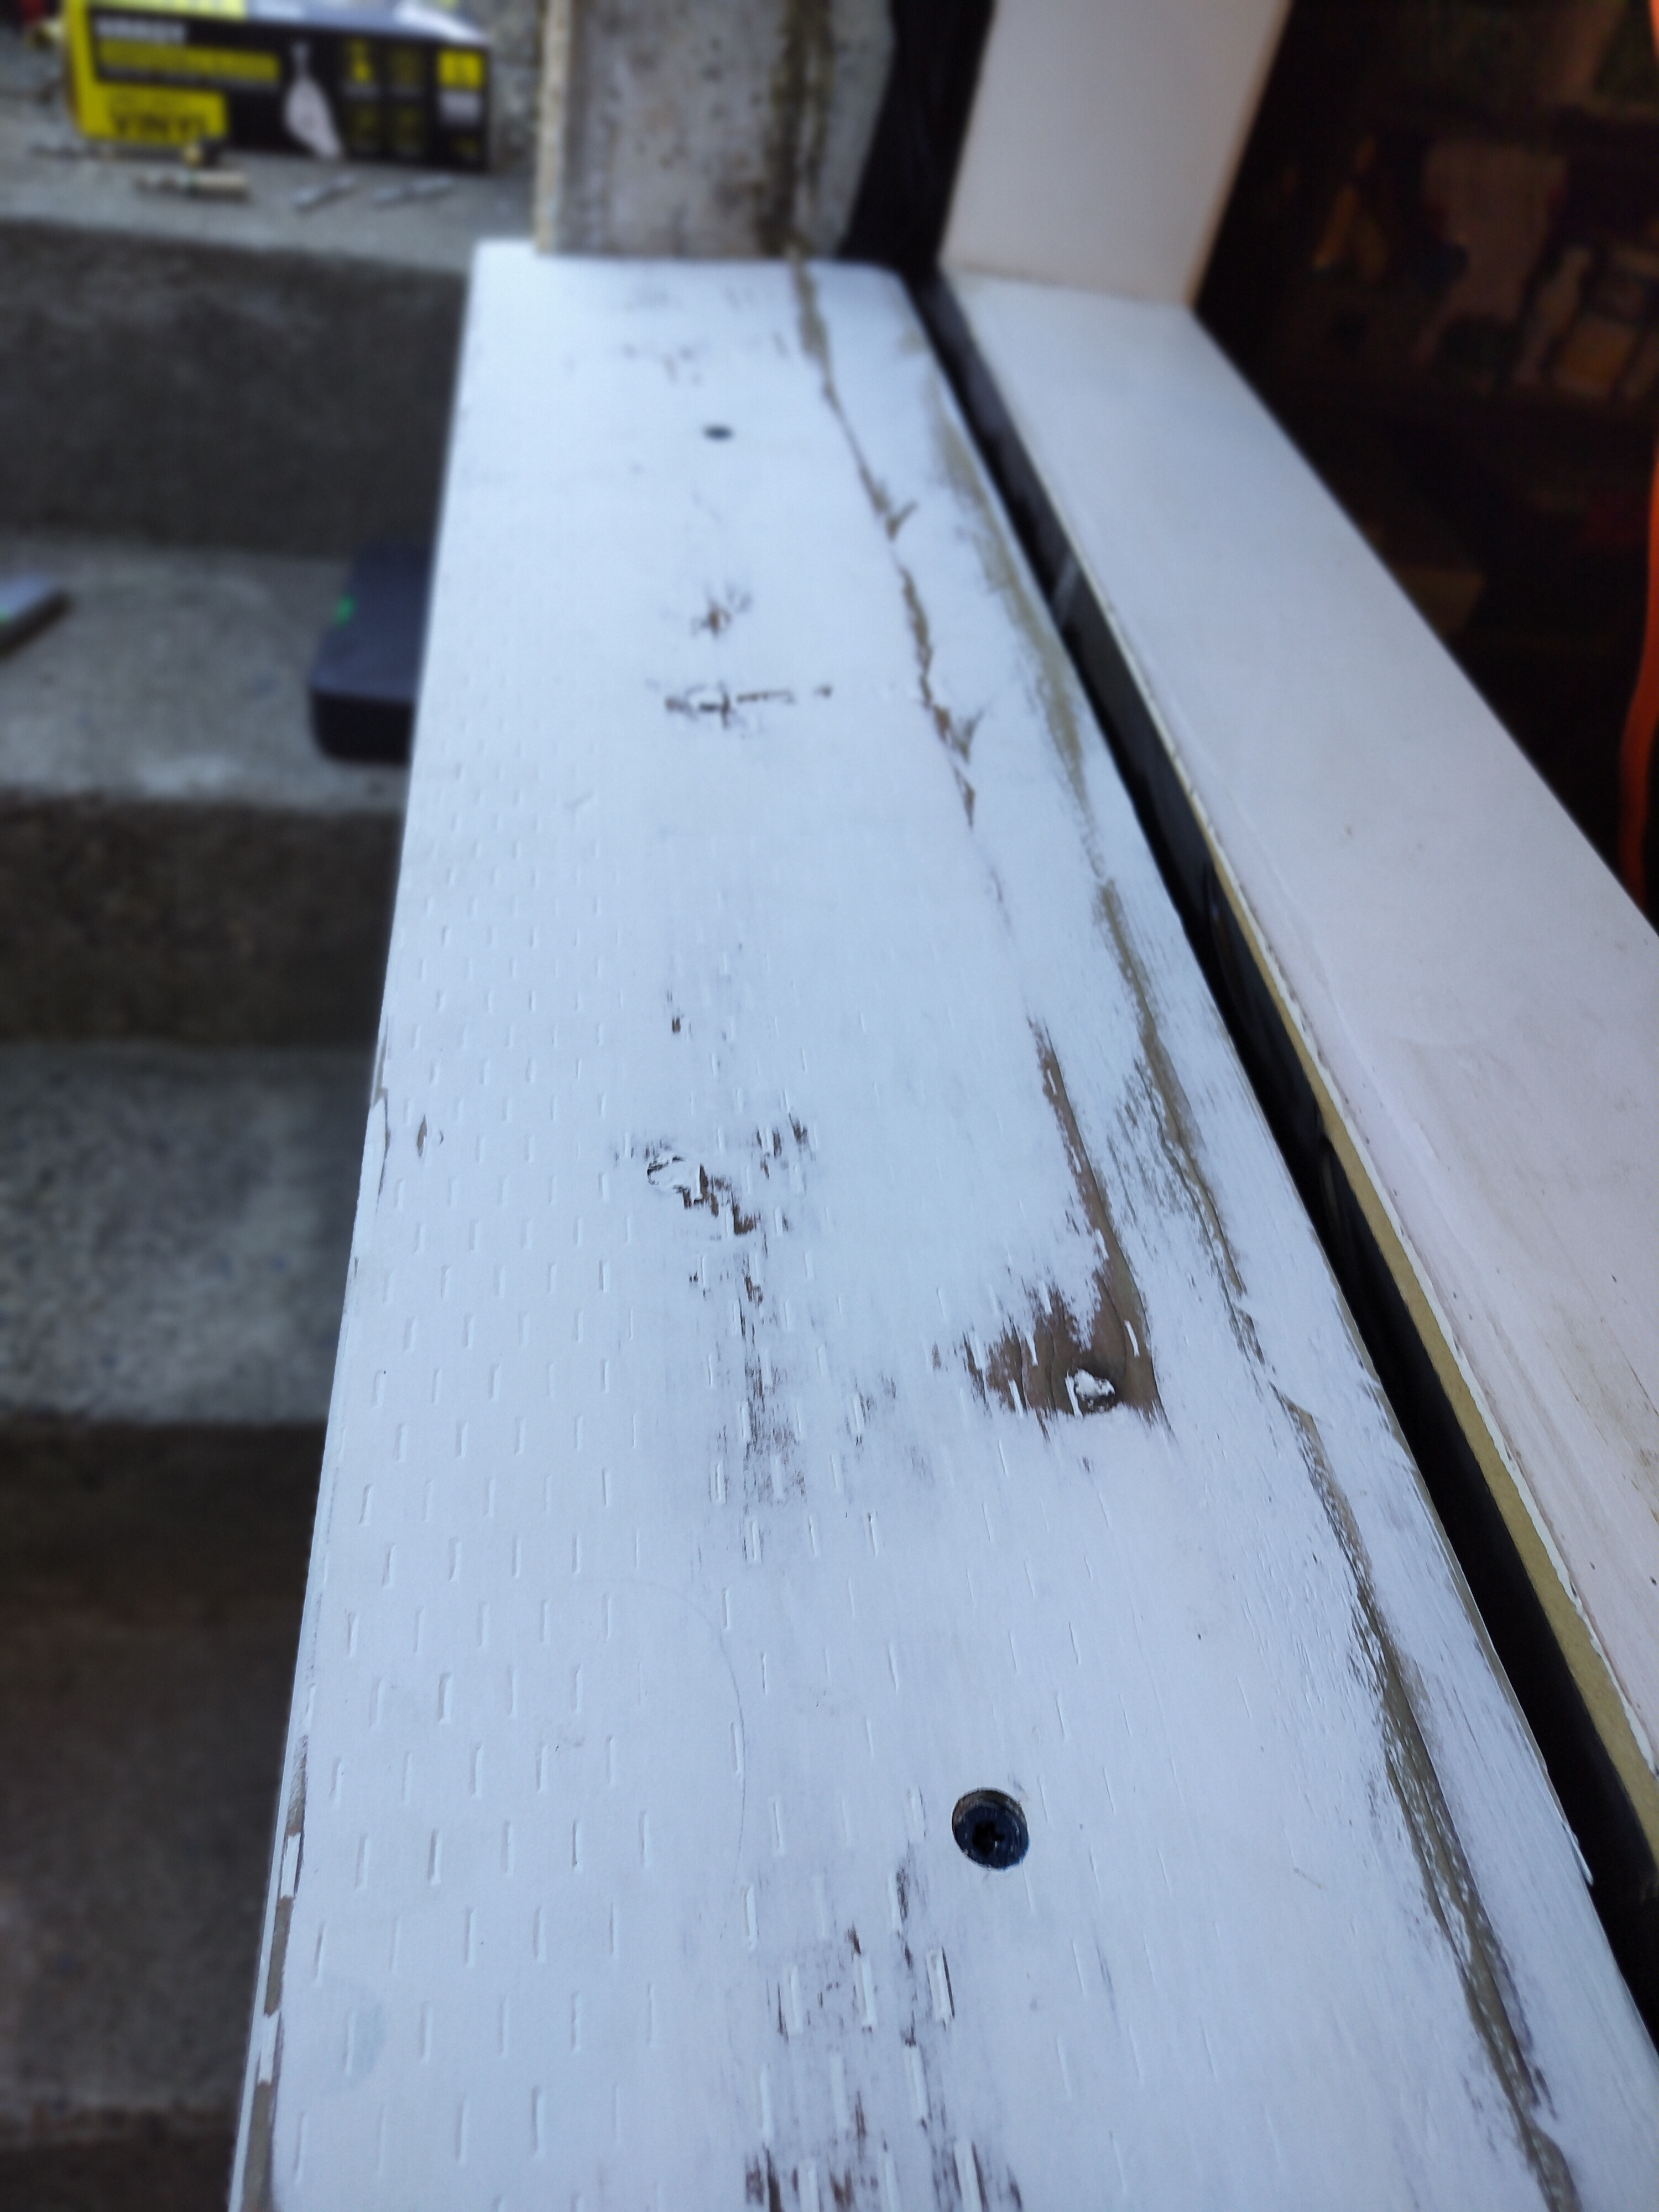
The sill is installed!
All framing components installed, and the window reinstalled and caulked with Osi Quad Max.
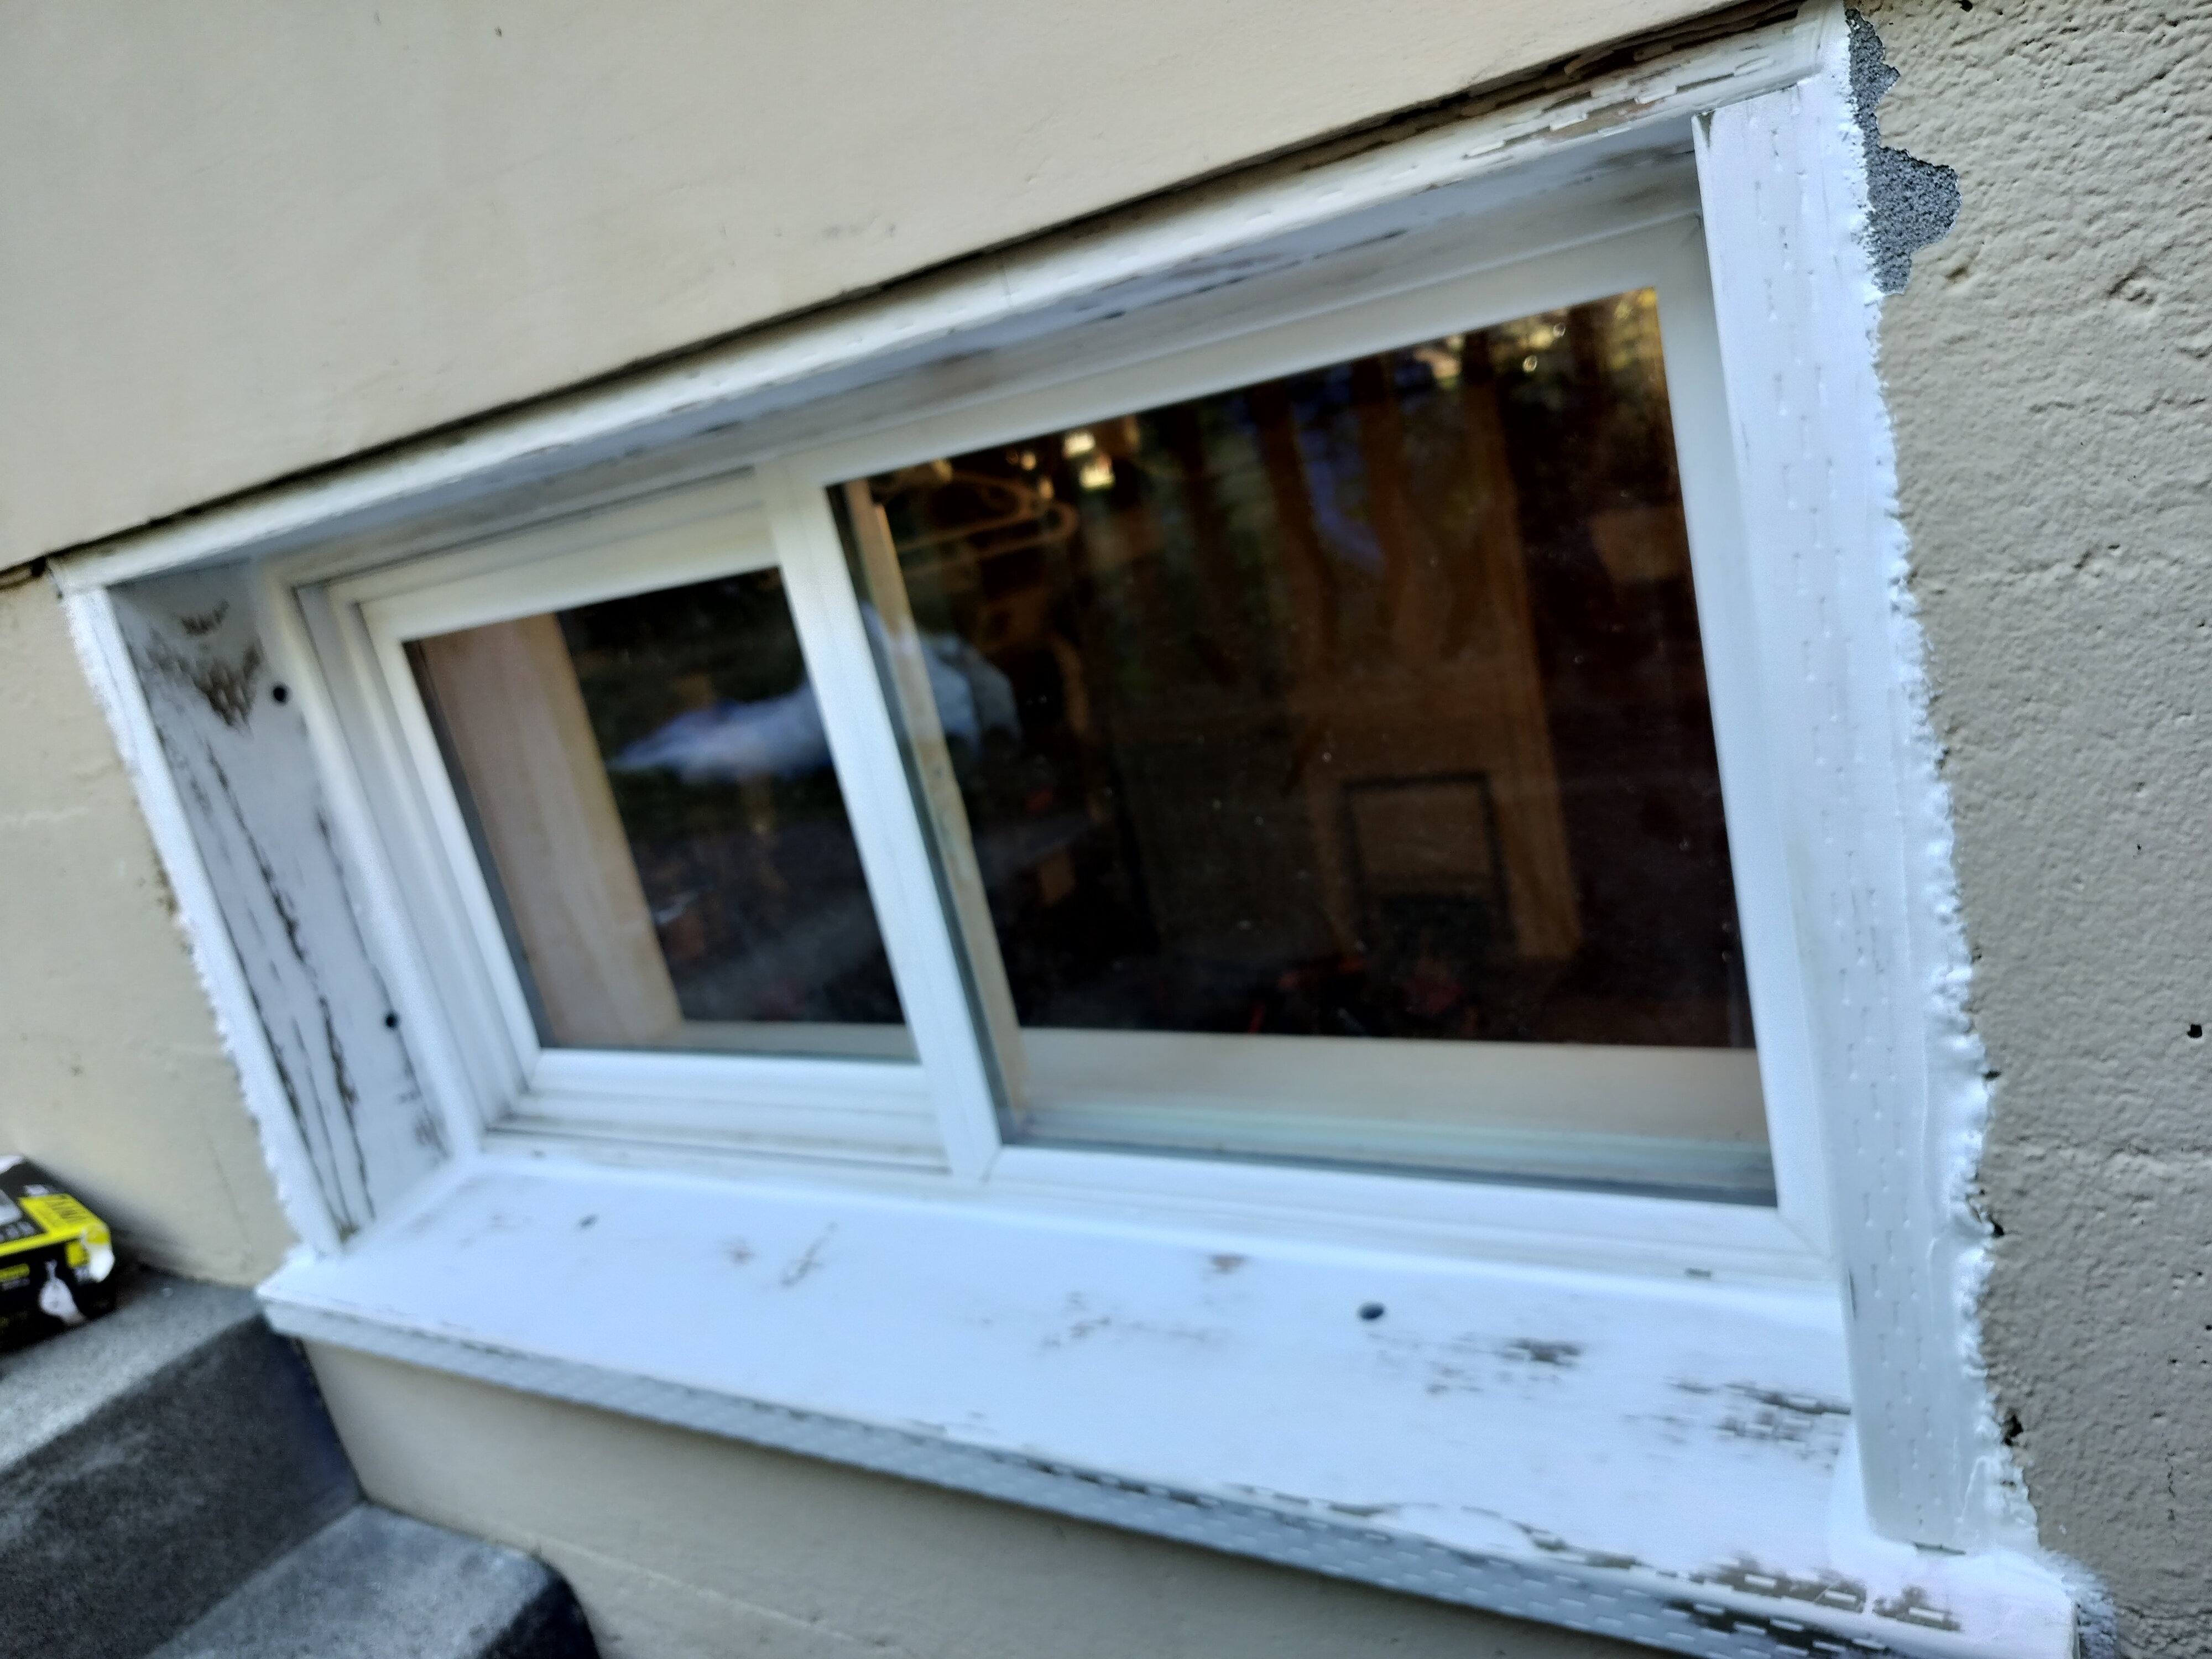
The final remaining steps are header flashing, exterior trim, and paint!